Looking for a fast and fun quilt project? The Square in a Square quilt pattern is a perfect option! This simple design features a center square framed by strips of fabric, making it quick to sew and easy to customize. The best part? It’s layer cake friendly and beginner-friendly, so you can dive in for a quick sew! Let’s explore how to make this quick and fun quilt with this tutorial.
What is the Square in a Square Quilt Pattern?
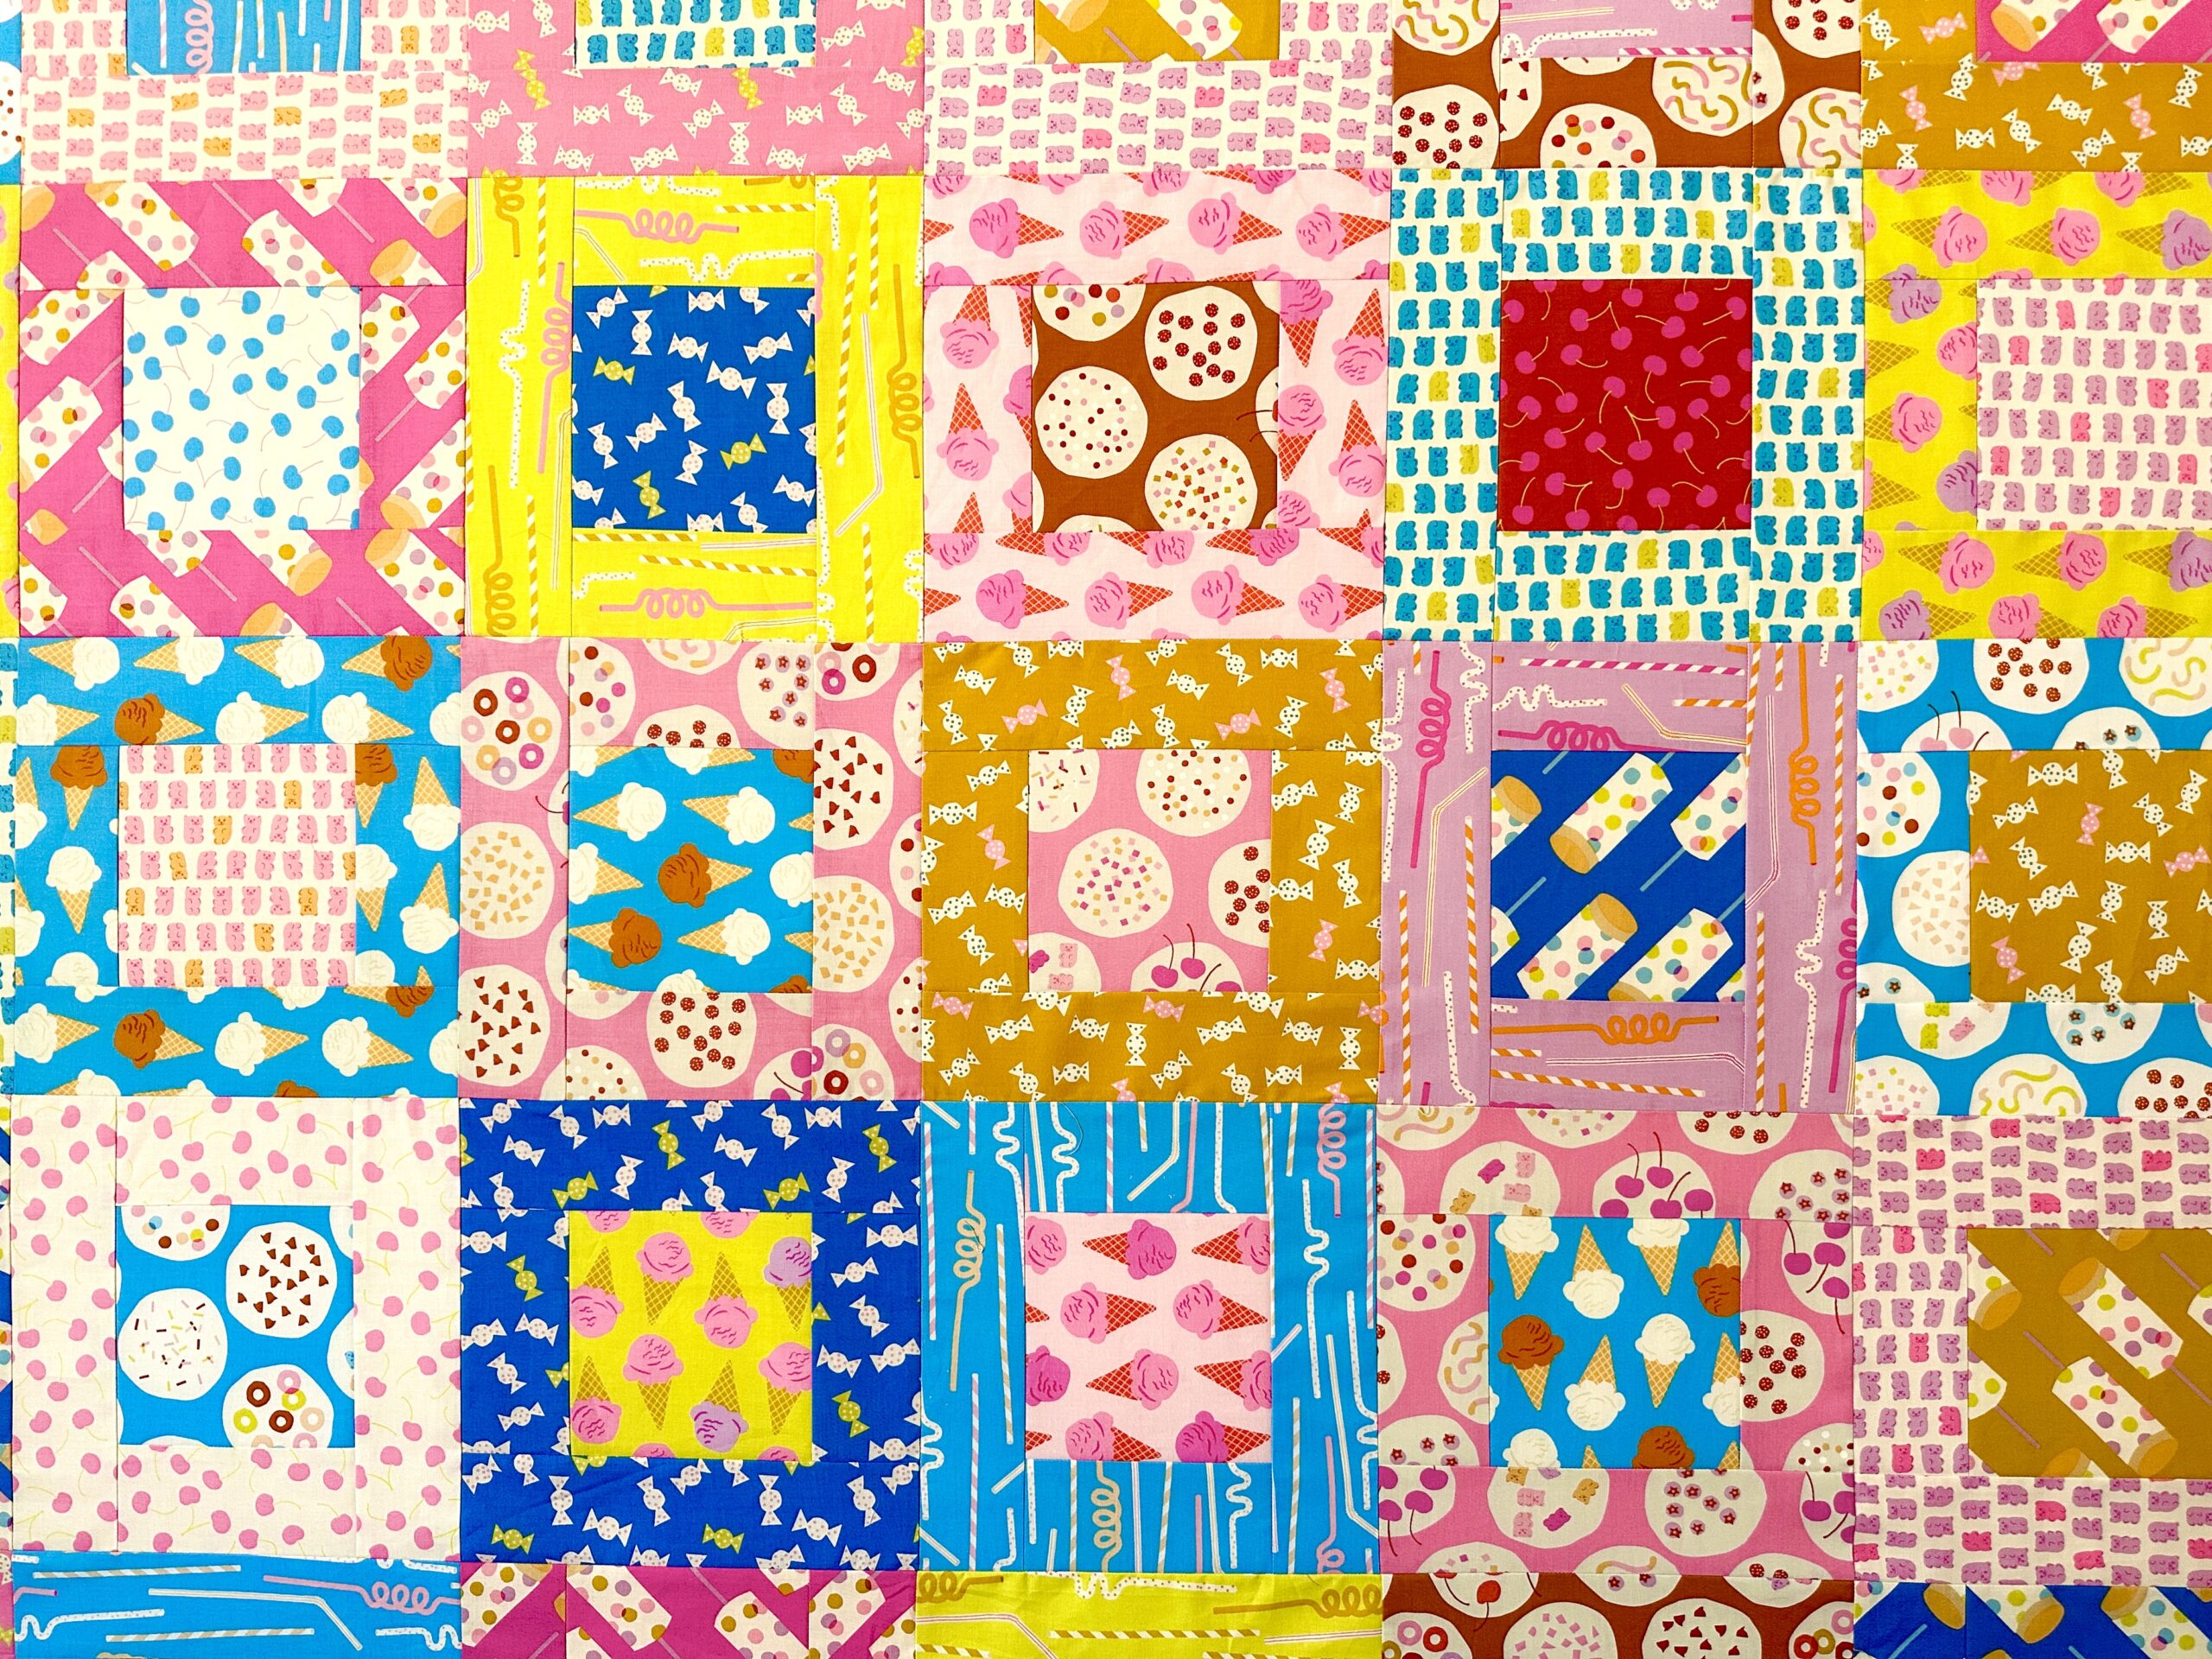
The Square in a Square quilt pattern features a center square surrounded by two sets of strips that frame the square—first on the sides, then on the top and bottom. This creates a framed block effect without the need for complicated piecing. The simplicity of the design allows you to highlight bold prints or mix and match fabrics for a unique, scrappy look.
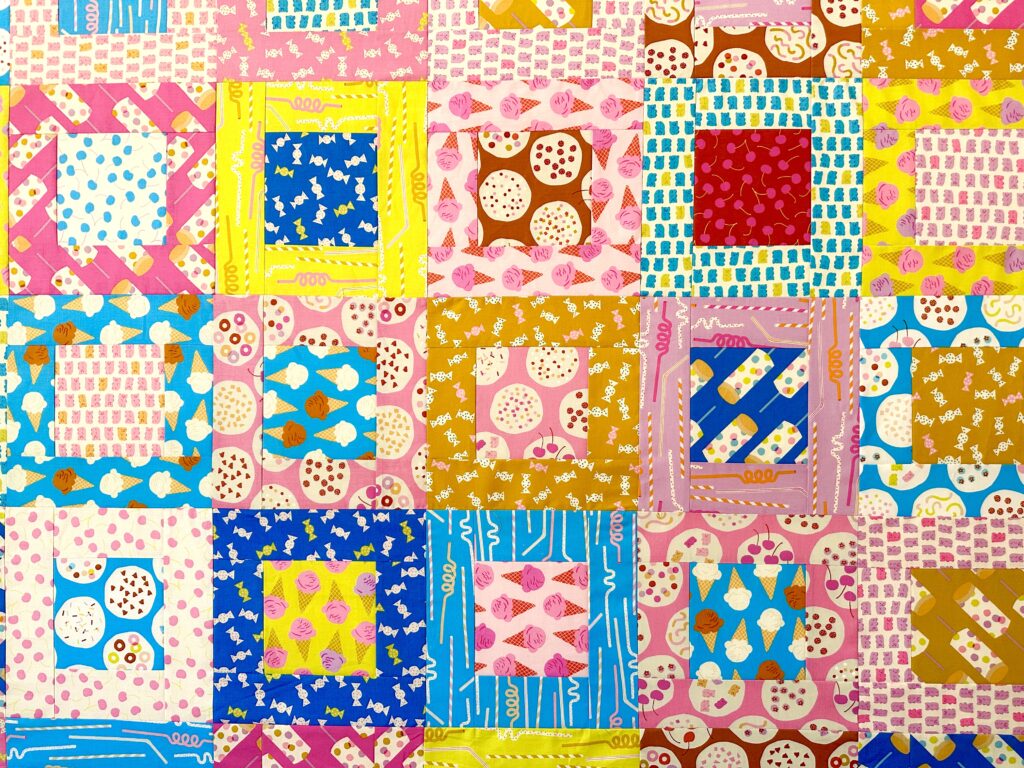
Why You’ll Love This Pattern
- Layer Cake Friendly: This pattern is designed for 10” fabric squares, so you can use your favorite layer cake (a pack of pre-cut 10” squares) to make the quilt. It’s a fantastic way to show off prints without cutting tiny pieces. One layer cake will make a 51” x 60” lap quilt. Want a bigger quilt? Use a second layer cake or add borders!
- Quick and Easy: The straightforward construction means this quilt comes together fast. It’s perfect for quilters looking for a satisfying, quick project.
- Beginner-Friendly: With no tricky seams or points to match, this is a great project for beginners or those looking for a relaxing sewing experience.
What You’ll Need
To make your own Square in a Square lap quilt at 51″ x 60″, here’s what you’ll need:
- Layer Cake (10” squares): You’ll need 1 pack of pre-cut 10” squares for the center squares. *If you don’t have a layer cake, that’s alright! Simply cut from yardage or fat quarters! See the note below for more tips!
- 3 1/3 yards of backing fabric and batting *allows 4″ overage
- 1/2 yard of binding fabric
- Sewing Machine and Basic Tools: Rotary cutter, ruler, cutting mat, pins, and thread.
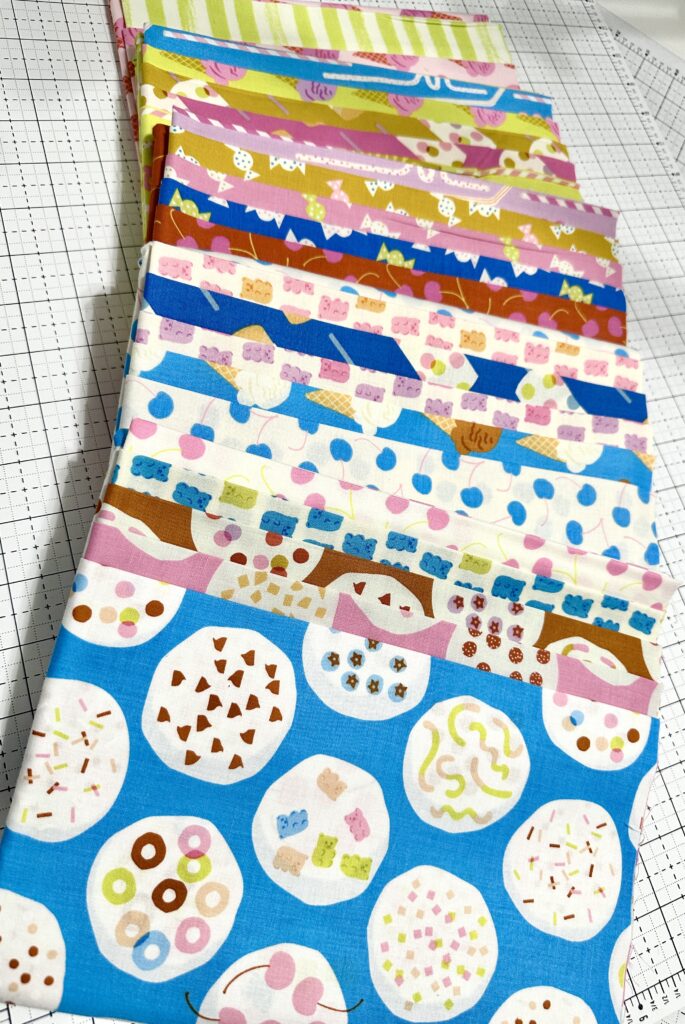
That’s it, so let’s get started!
How to Make the Square in a Square Quilt
- Cut Your Fabric: From each 10″ square, you will cut:
- (1) 5″ square
- (2) 2.5″ x 5″ rectangles
- (2) 2.5″ x 9″ rectangles
- If you are using yardage or scraps, you’ll need the above cuts for each 8.5″ block.
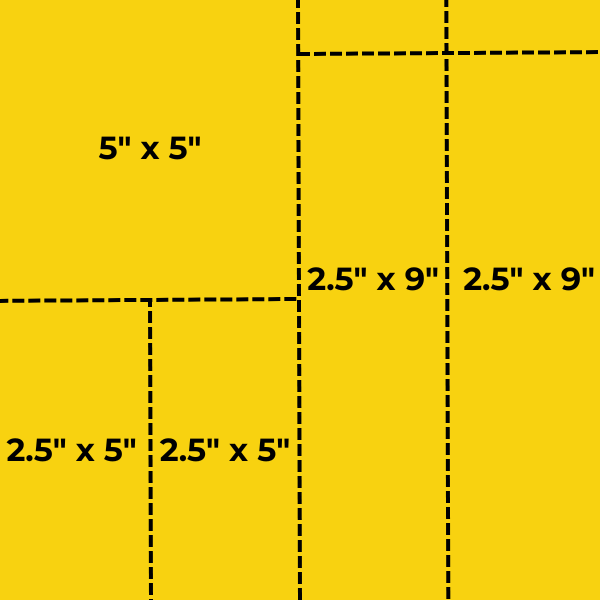
- Mix and match: Match your fabrics until you achieve the look you like! Each block is made up of (1) 5″ square and matching (2) 2.5″ x 5″ rectangles and (2) 2.5″ x 9″ rectangles.
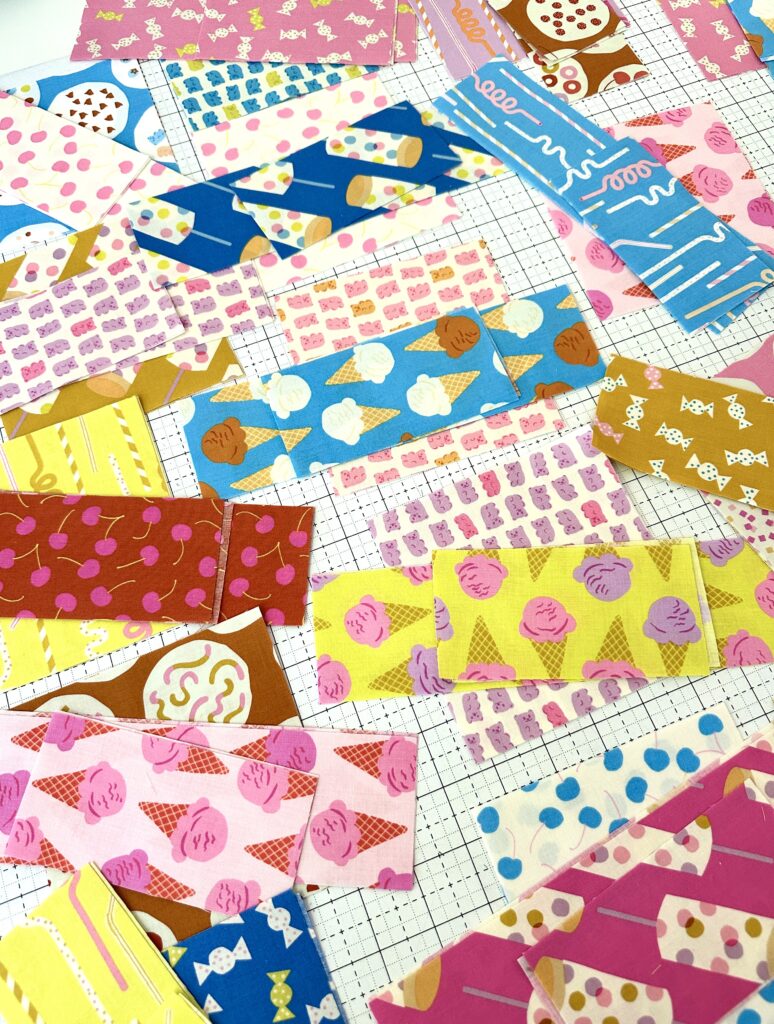
- Assembling the Blocks: Take one of your center squares and sew two smaller rectangles on both sides. Press the seams toward the rectangles. Sew a rectangle to the top and bottom of the center square. This will create the framed “Square in a Square” block. Press the seams outward toward the rectangles. Repeat for all your blocks until you have the desired number for your quilt top.
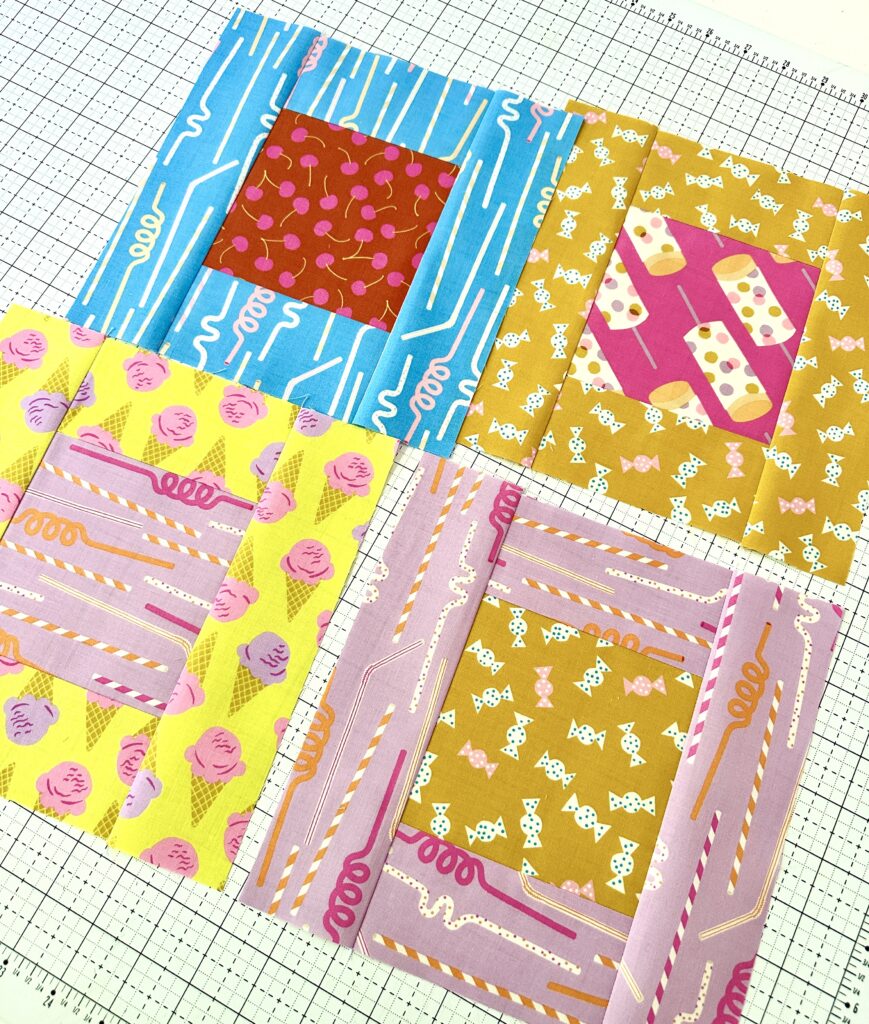
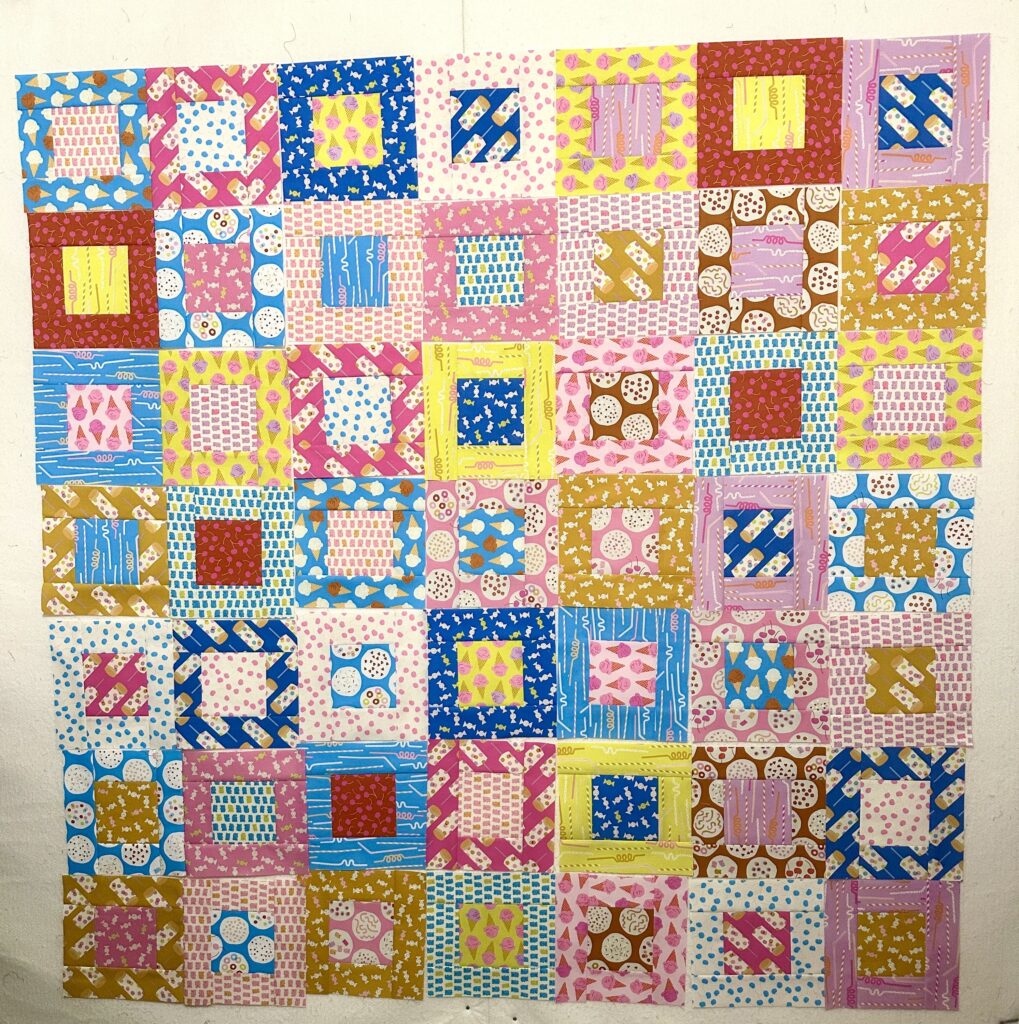
- Layout and Assembly: Once you’ve made all of your blocks, arrange them in your chosen layout. If you are using a layer cake, you can layout in a 6 x 7 block layout to achieve the 51″ x 60″ quilt. If you want a larger quilt then simply add additional blocks to your rows or columns or add borders! Sew the blocks together, row by row, pressing each row in opposite directions and then join the rows to form the complete quilt top.
- Borders (Optional): If you want to add extra dimension or size to your quilt, consider adding one or more borders.
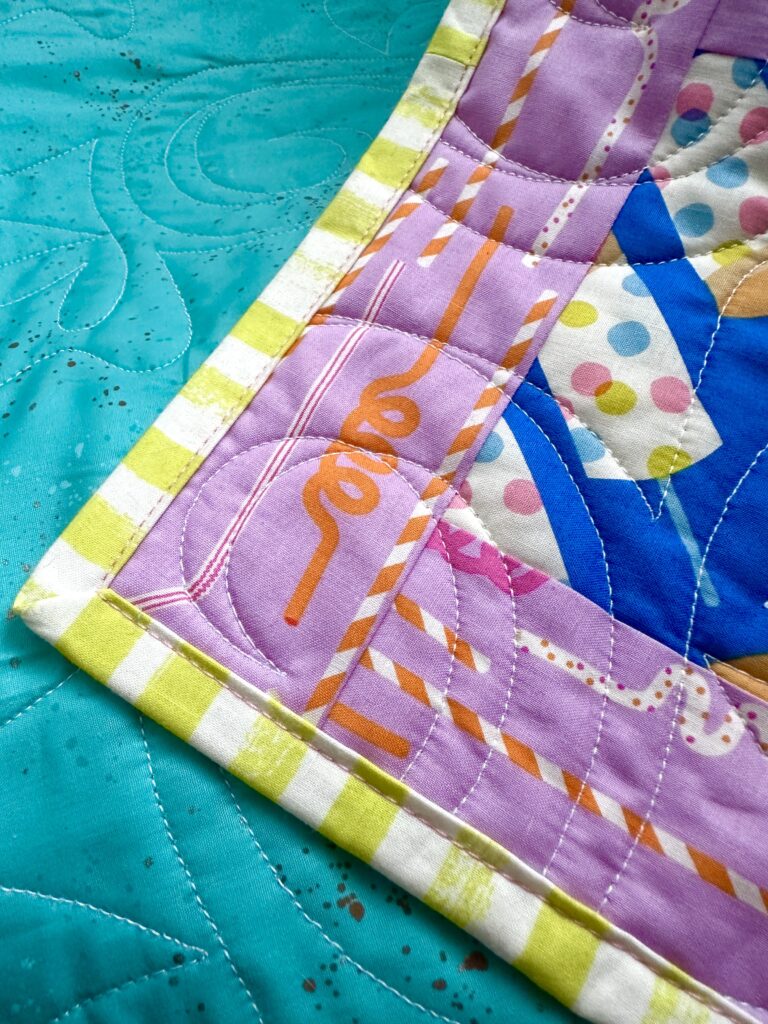
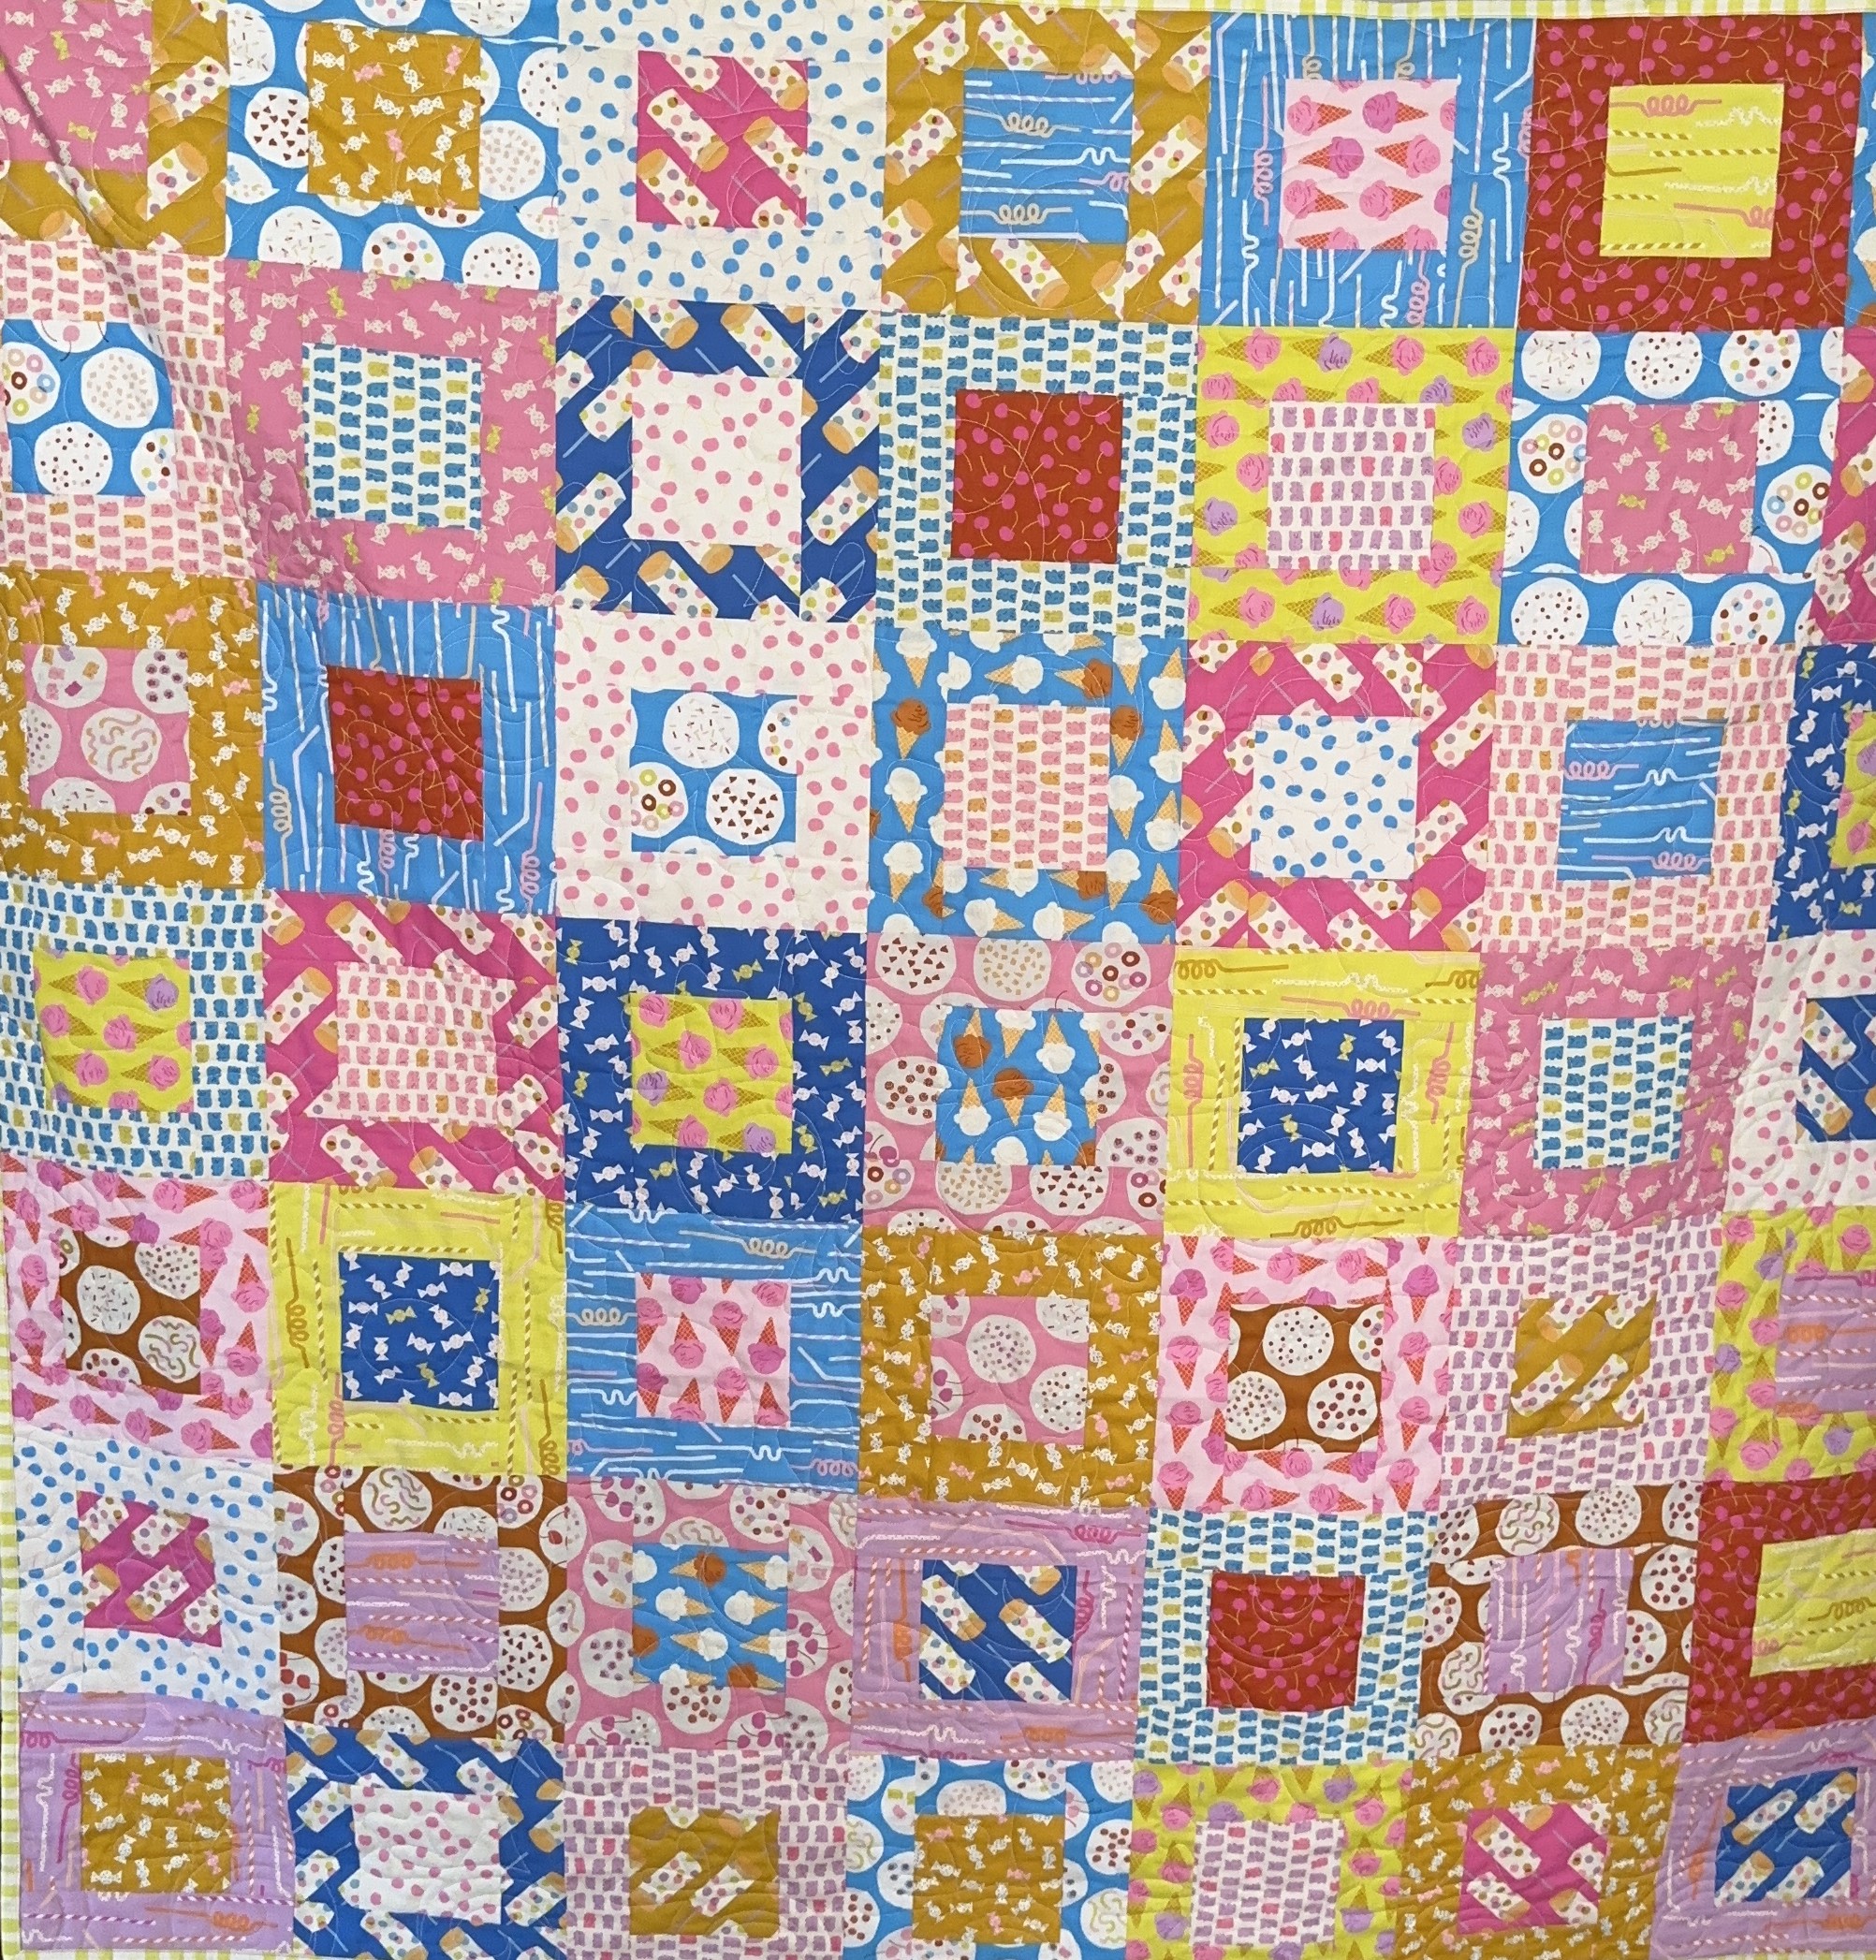
- Quilting and Binding: Once your quilt top is assembled, layer it with batting and backing, and quilt as desired. Bind your quilt and then admire your beautiful creation!
Customizing Your Quilt
The Square in a Square pattern is perfect for customization. Here are some ideas to make it your own:
- Change the Size: You can easily adjust the size of the quilt by adding or reducing the number of blocks. Make a small baby quilt with just a few blocks, or go big for a bed quilt.
- Scrappy Look: Use fabric scraps for the center squares or framing strips to give your quilt a unique, scrappy look.
- Bold Prints or Solids: Play with color by using bold prints for the center squares and a neutral solid for the frames—or reverse it for a different effect.
