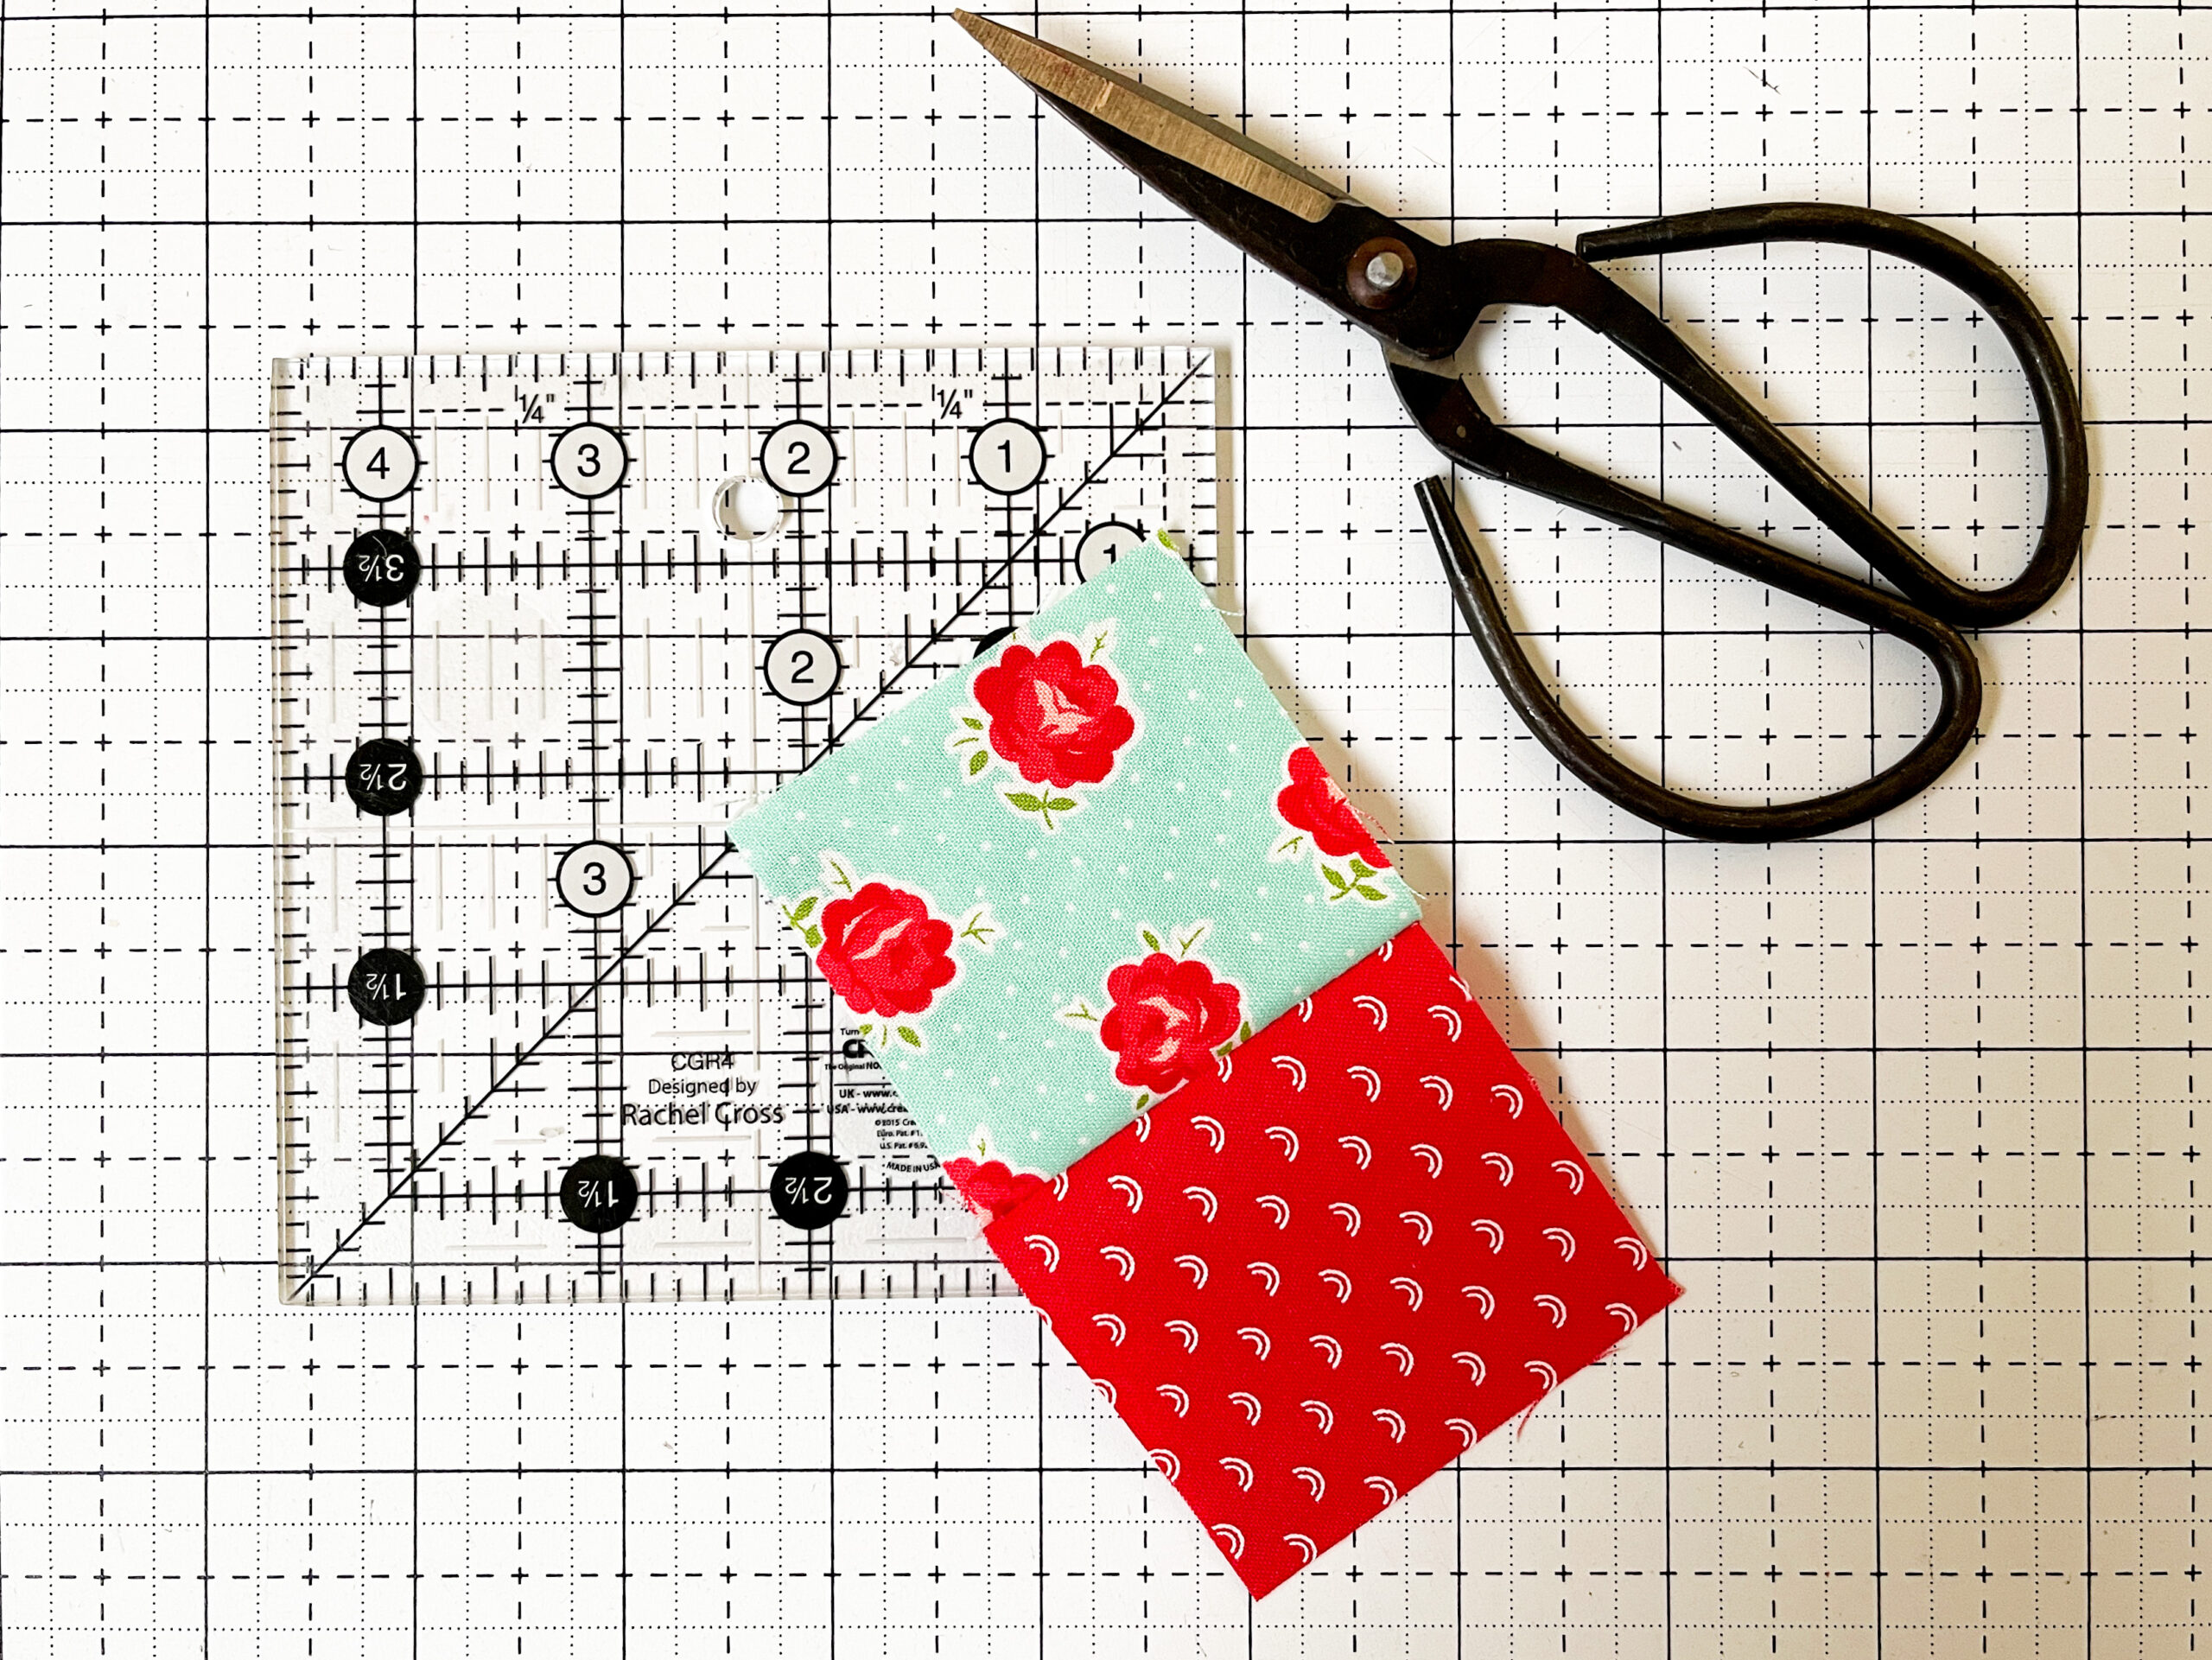
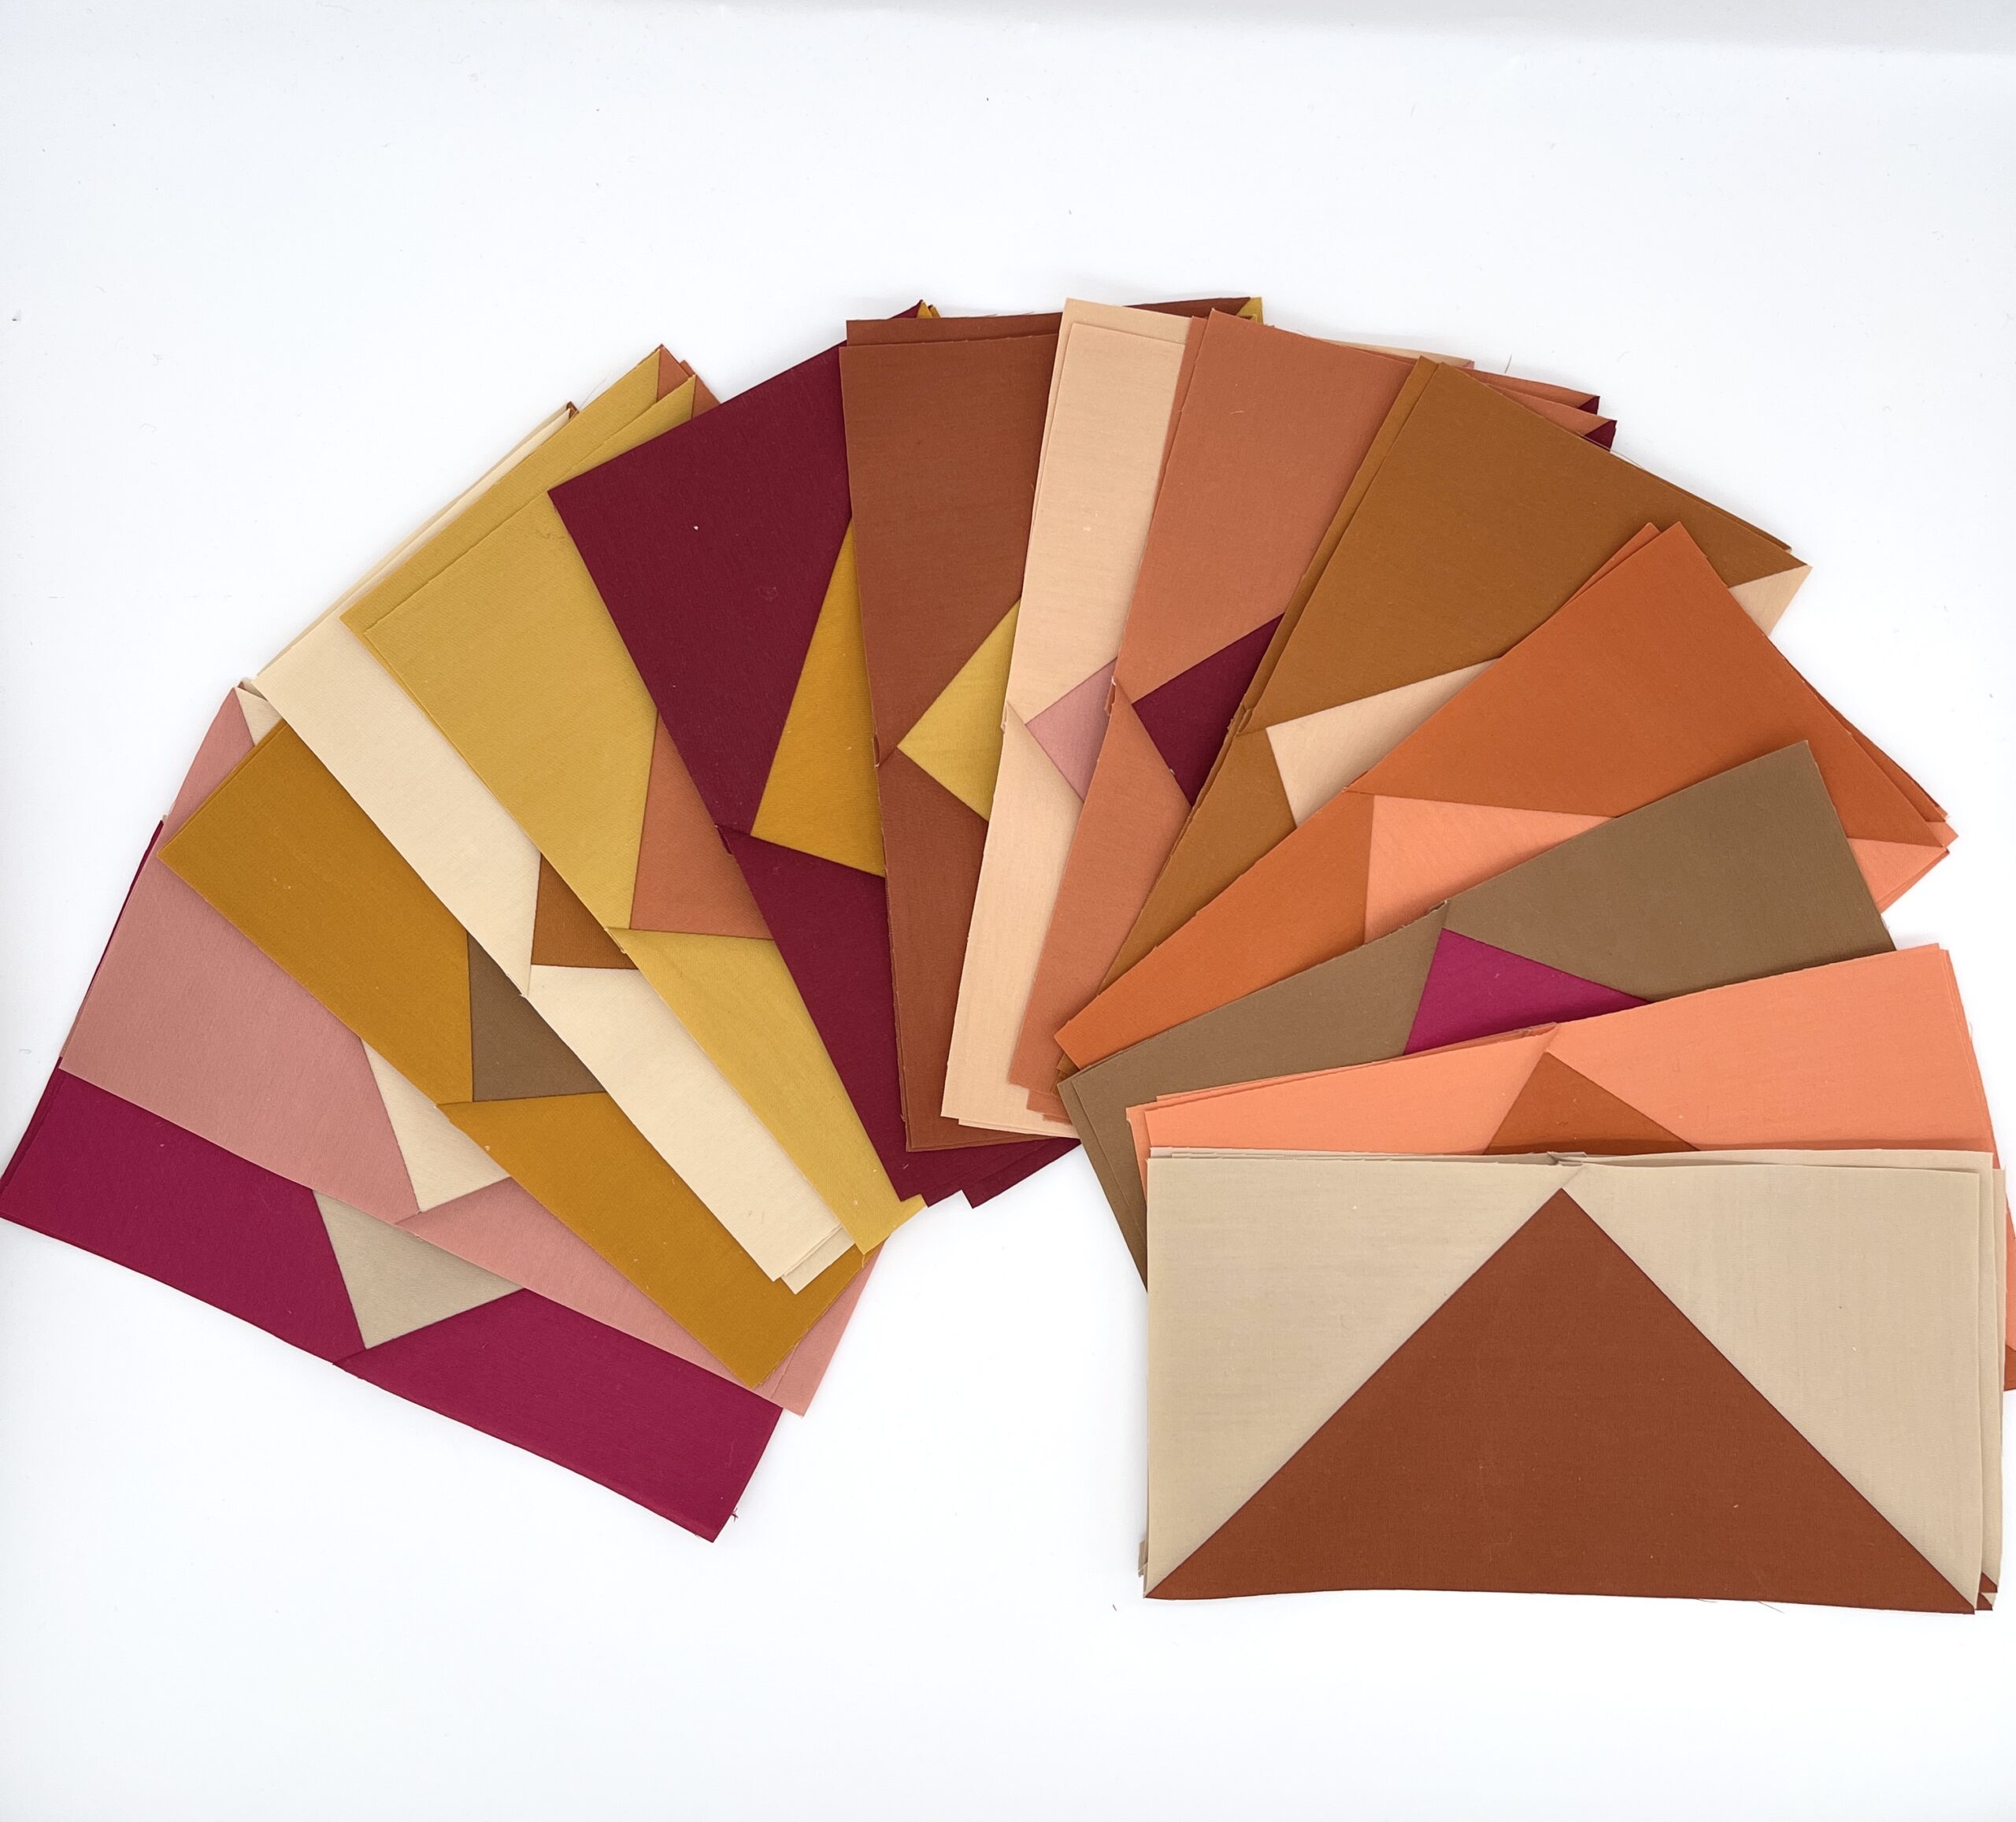
UPDATED 12/5/23 – Hourglass Quilt blocks seem like an intimidating little block, but it’s as easy as making a half square triangle…times two! Let’s walk through these together!
First – what’s the difference between an hour glass quilt block and a quarter square triangle block? Well, it’s essentially the same thing! The block is made up of 4 quarters, these are 4 triangles that make your quilt block. These blocks can be made in a few ways, with 2 fabric options or even 4 options! The hourglass block is typically made with 2 fabrics, to give the hourglass look in the middle of the block.
So let’s get started!
Half Square Triangles
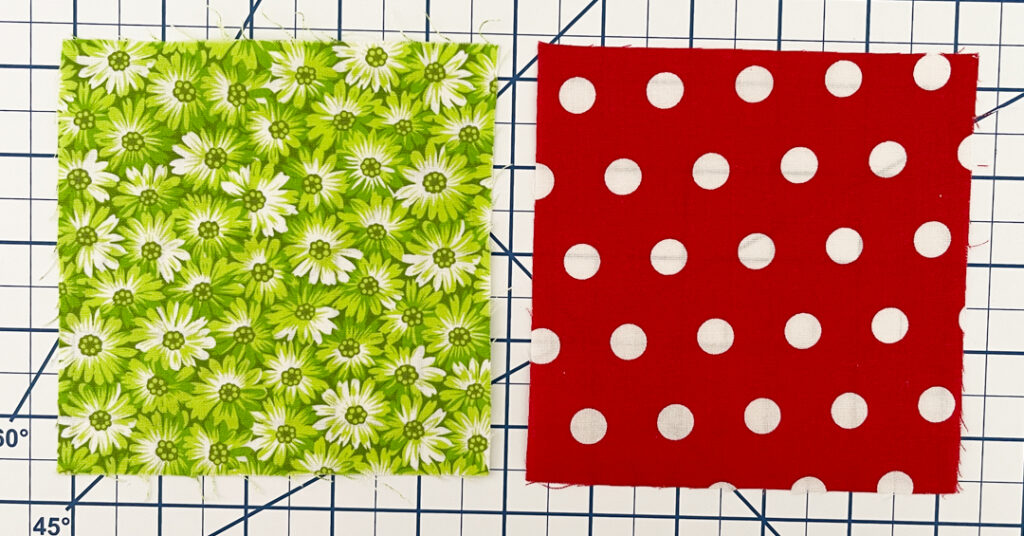
Start with 2 squares the same size. For maximum impact, make sure that your fabrics are contrasting enough, otherwise, depending on the type of project you are making, the “hourglass” shape can get lost.
Want the easy Hourglass Quilt Math?
Starting Squares = Hourglass Block Finished Size + 1 1/4”
If you’d like a little more room for trimming, add 1 1/2” instead.
I am starting with (2) 5″ fabric squares. If you know how to make a 2 at-a-time half square triangles, then you are golden for the first part of this process! If not, bear with me while I explain how to make this valuable little block!
Do you need more help with making half square triangles? Check out my blog article and tutorial. Also, don’t miss my FREE downloadable Ultimate Half Square Triangle guide!
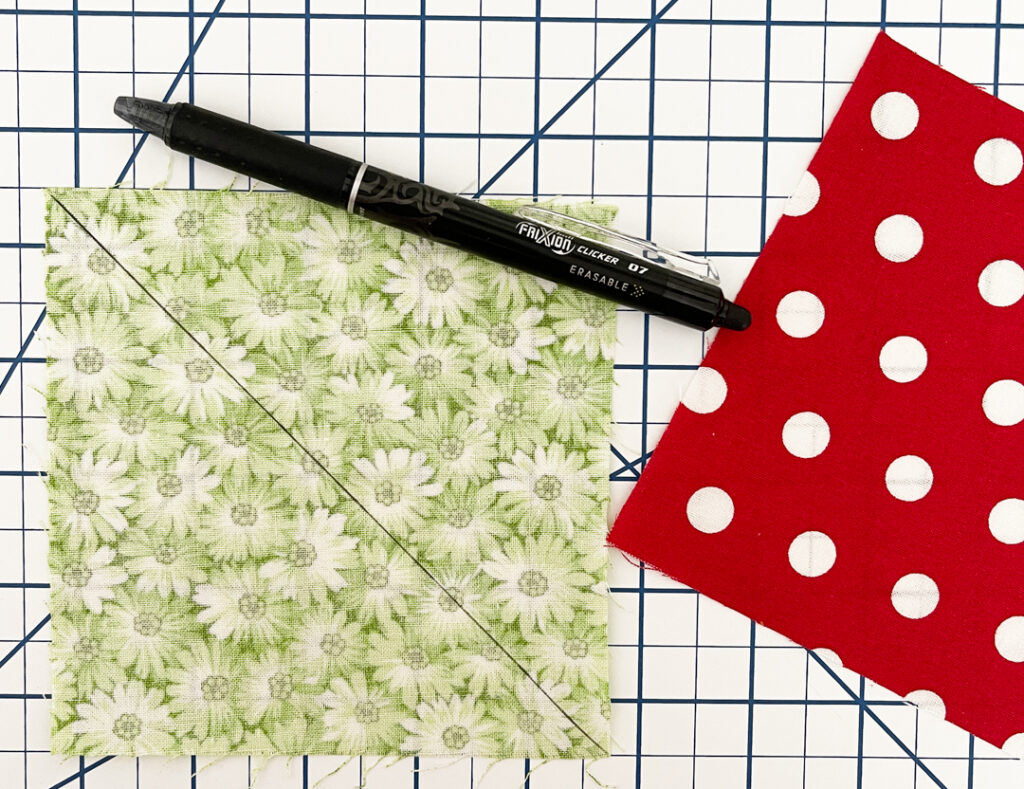
Use a pencil or fabric marking pen (I LOVE Frixon pens which disappear with heat from your iron) to draw a diagonal line across the back of one of your fabric squares. Match with the other fabric square and place right sides together. Pin if you would like.
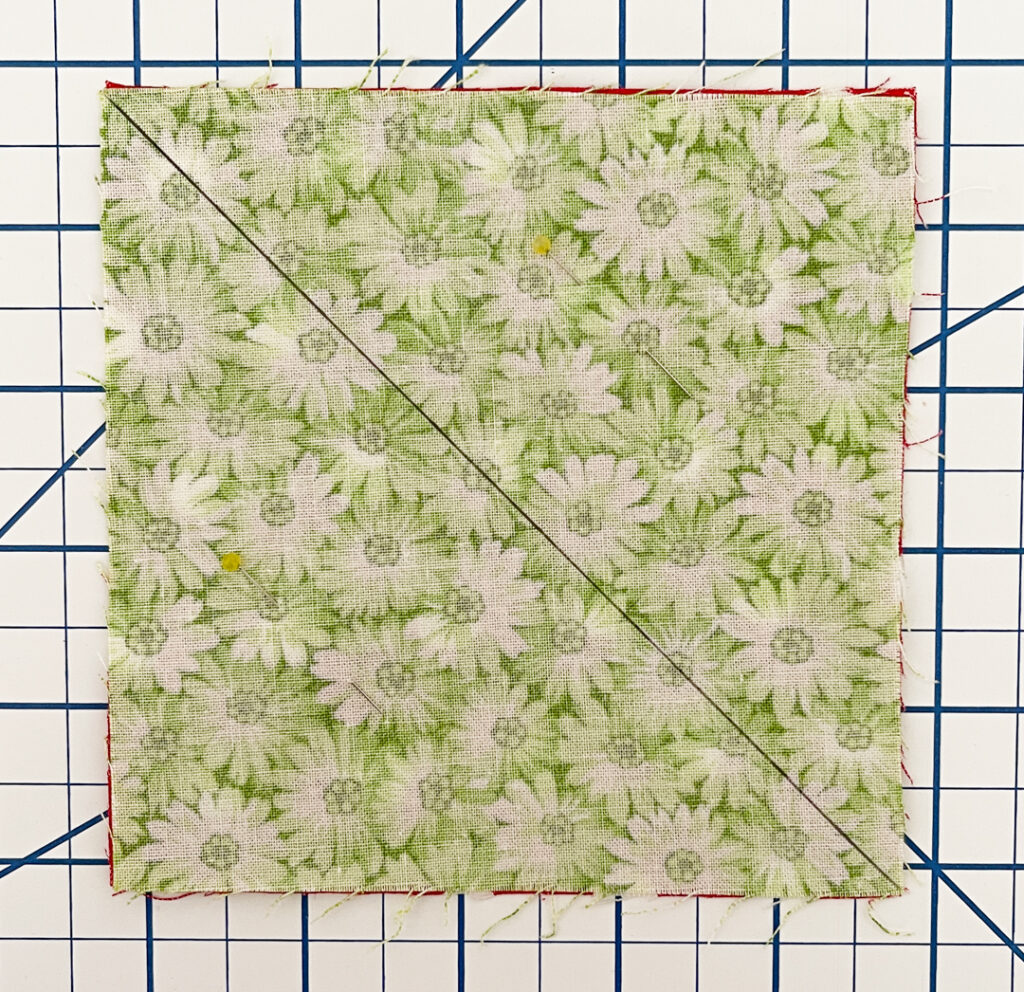
Sew ¼” away from either side of the drawn line. Cut the squares apart along the drawn line. You will have (2) half square triangles. Important step here….Do NOT trim the half square triangles at this point! Press to set your seams and then press to the darker fabric.
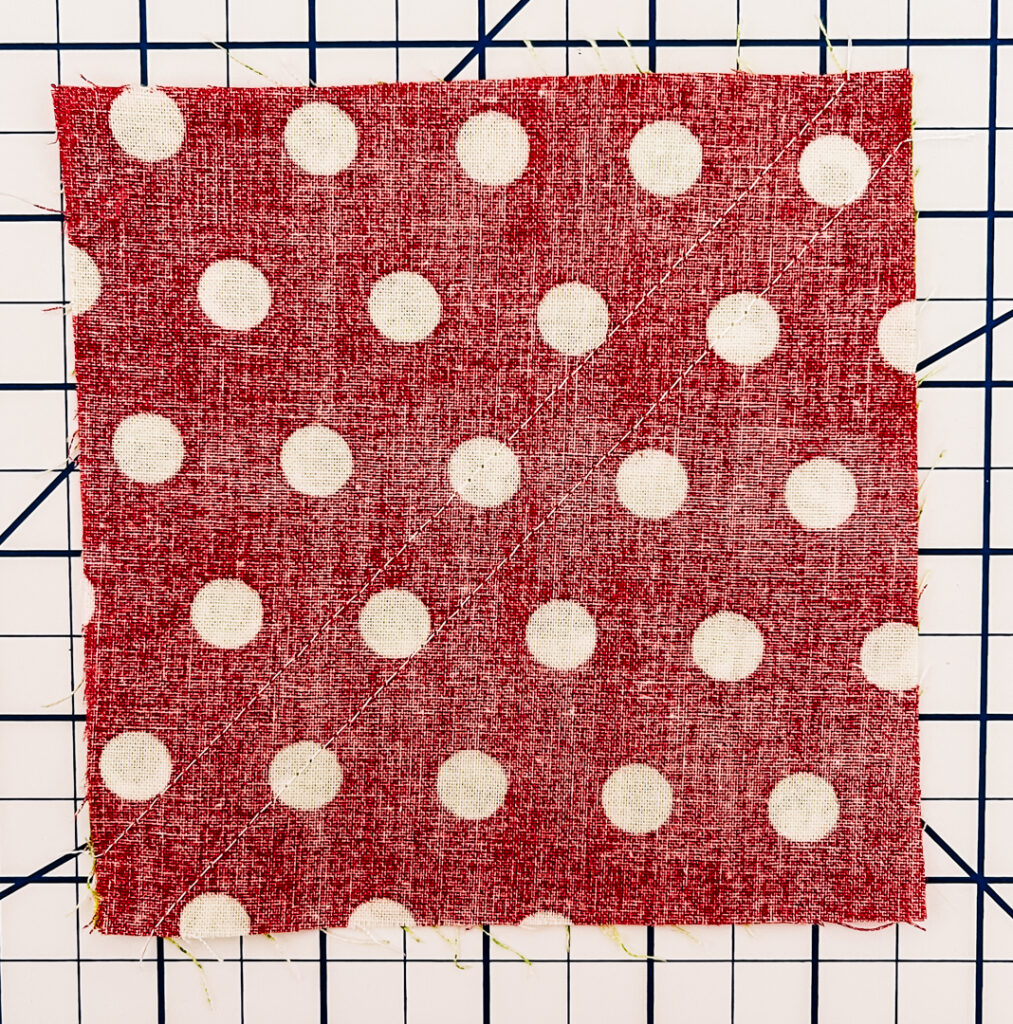
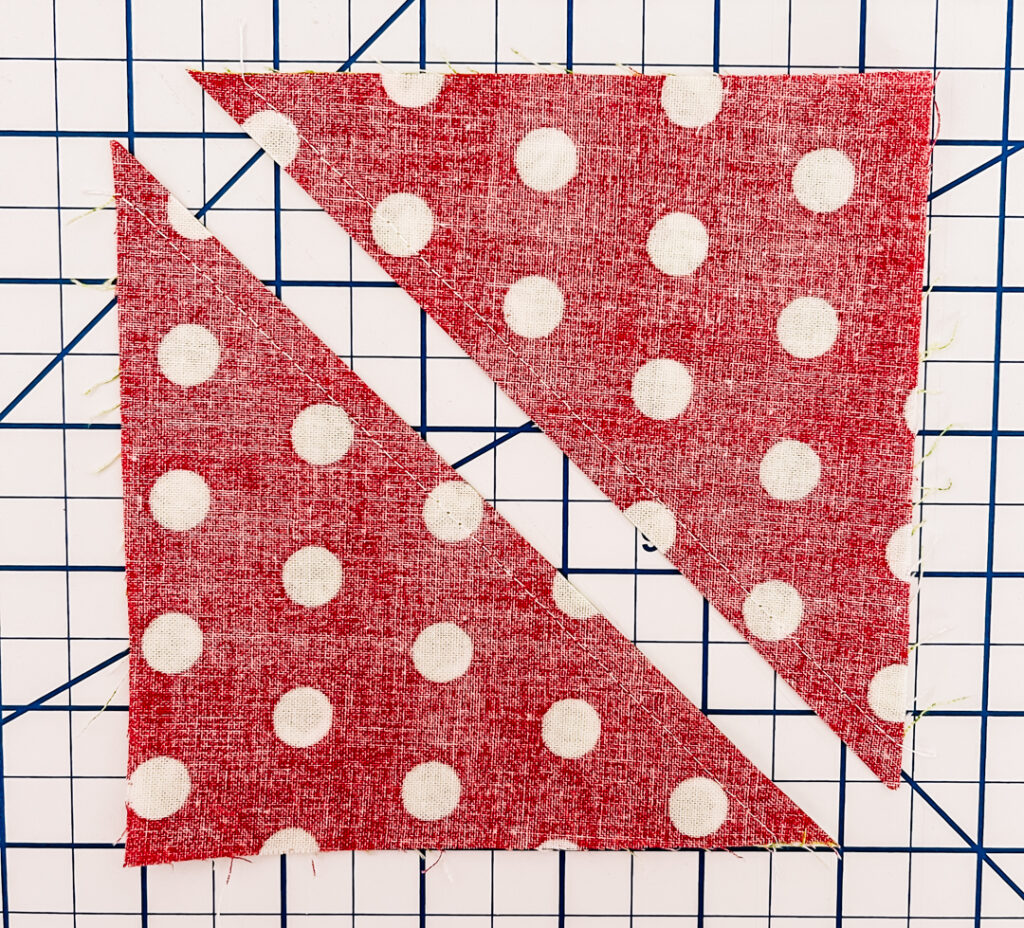
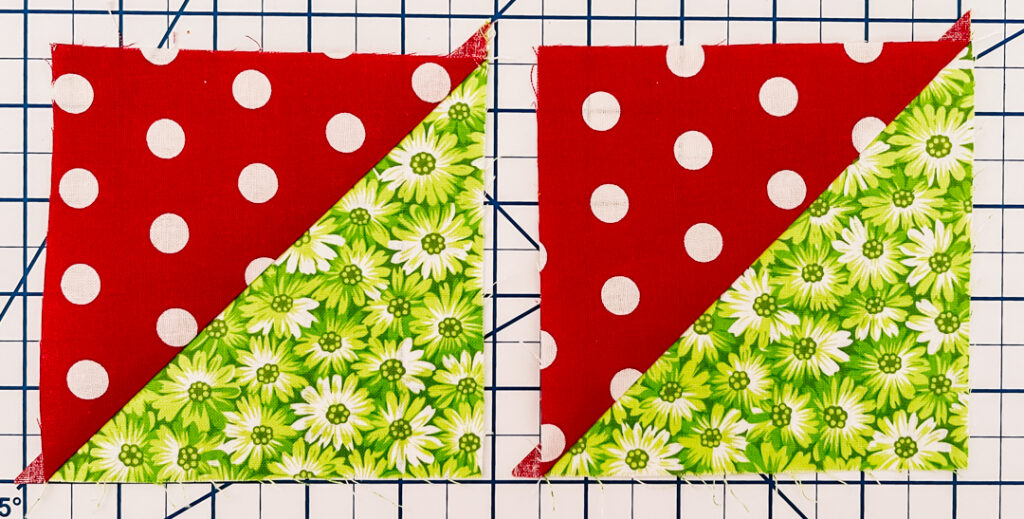
Transforming our Half Square Triangles into Quarter Square Triangles
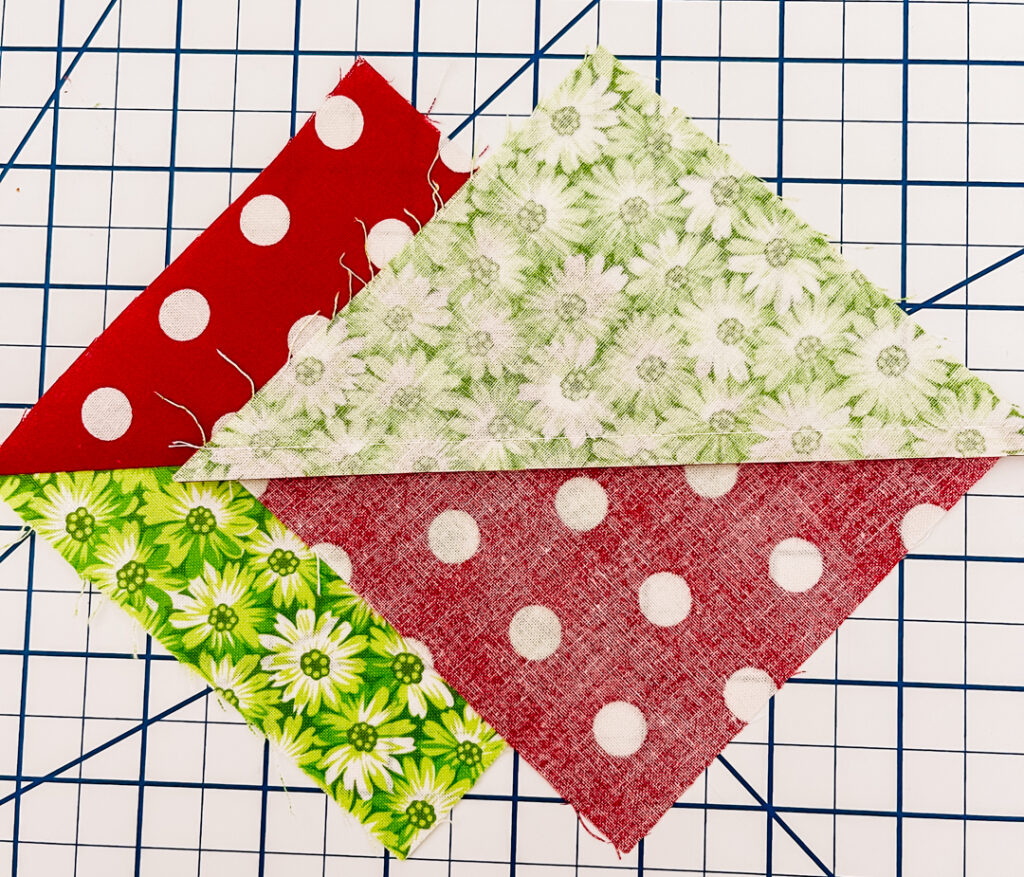
Now for the interesting part! Place the (2) completed half square triangles right side together, making sure the opposite fabrics are facing each other. Carefully line up/nest your seams and pin in place.
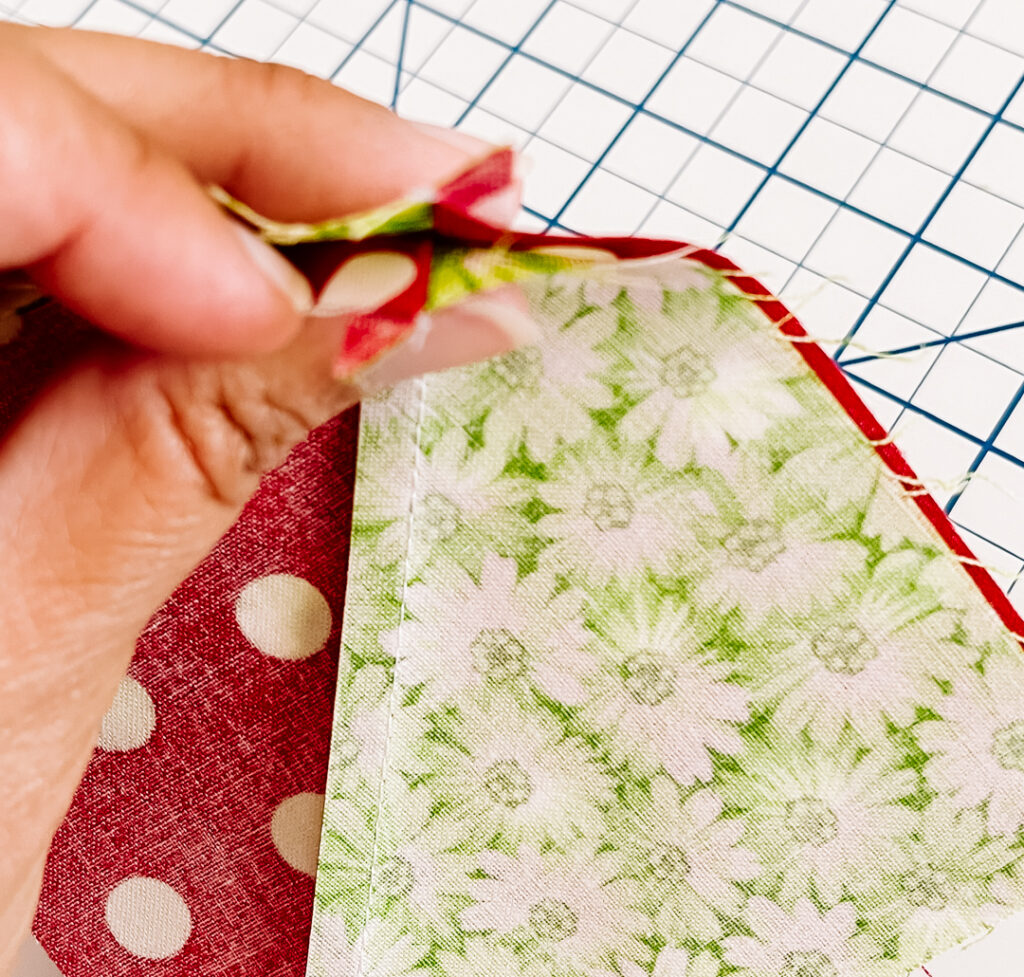
When nesting my seams for a quarter square triangle, I like to start on one end, nest my seams and pin, then peek at the center lines and make sure those are lined up and pin, then match your last corner and pin. Peek-a-boo…take a look at that center and make sure the seams are nested and lined up as well!
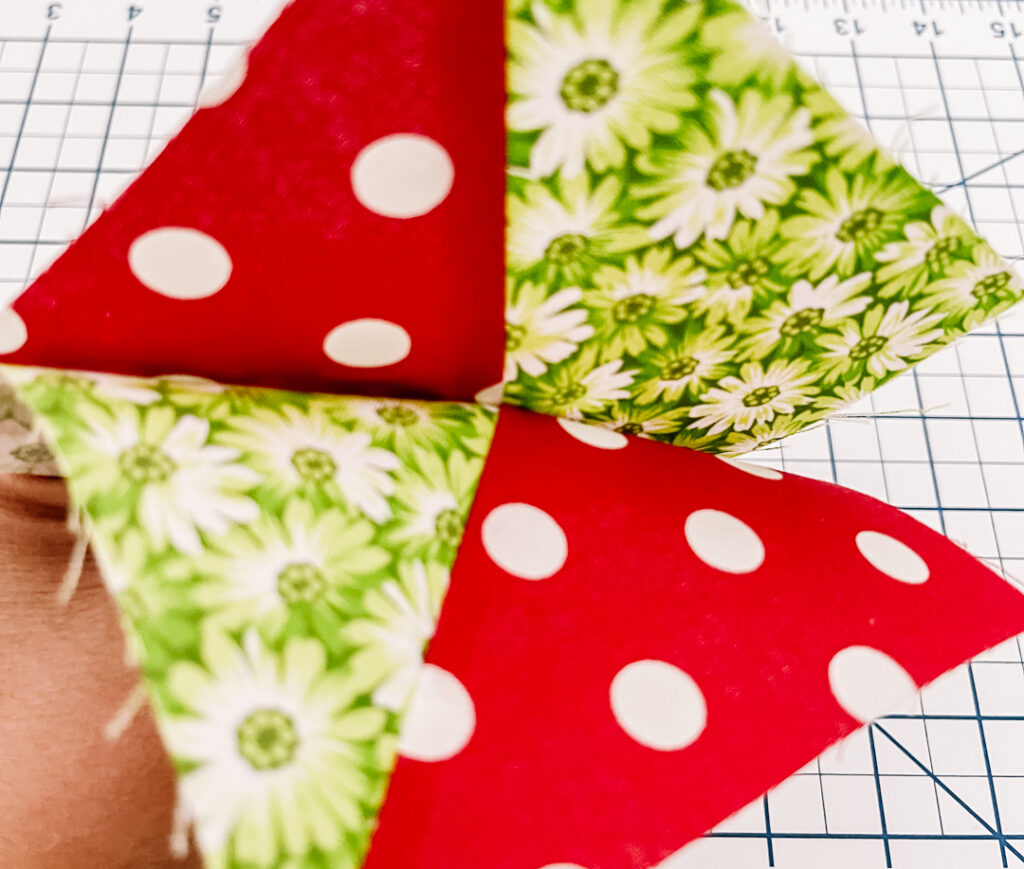
Use a pencil or fabric marking pen to draw a diagonal line across the back of one block. This line will cross the original seam of your half square triangle. *You can also do this step before lining the blocks up if you prefer. And now sew 1/4″ on either side of this drawn line!
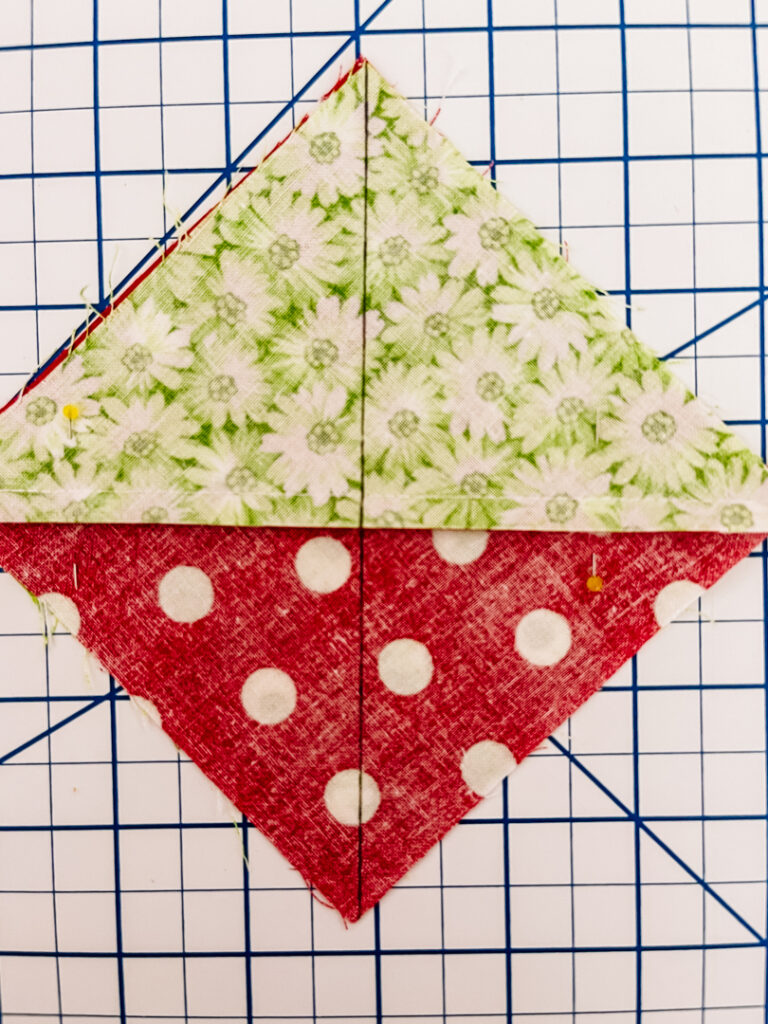
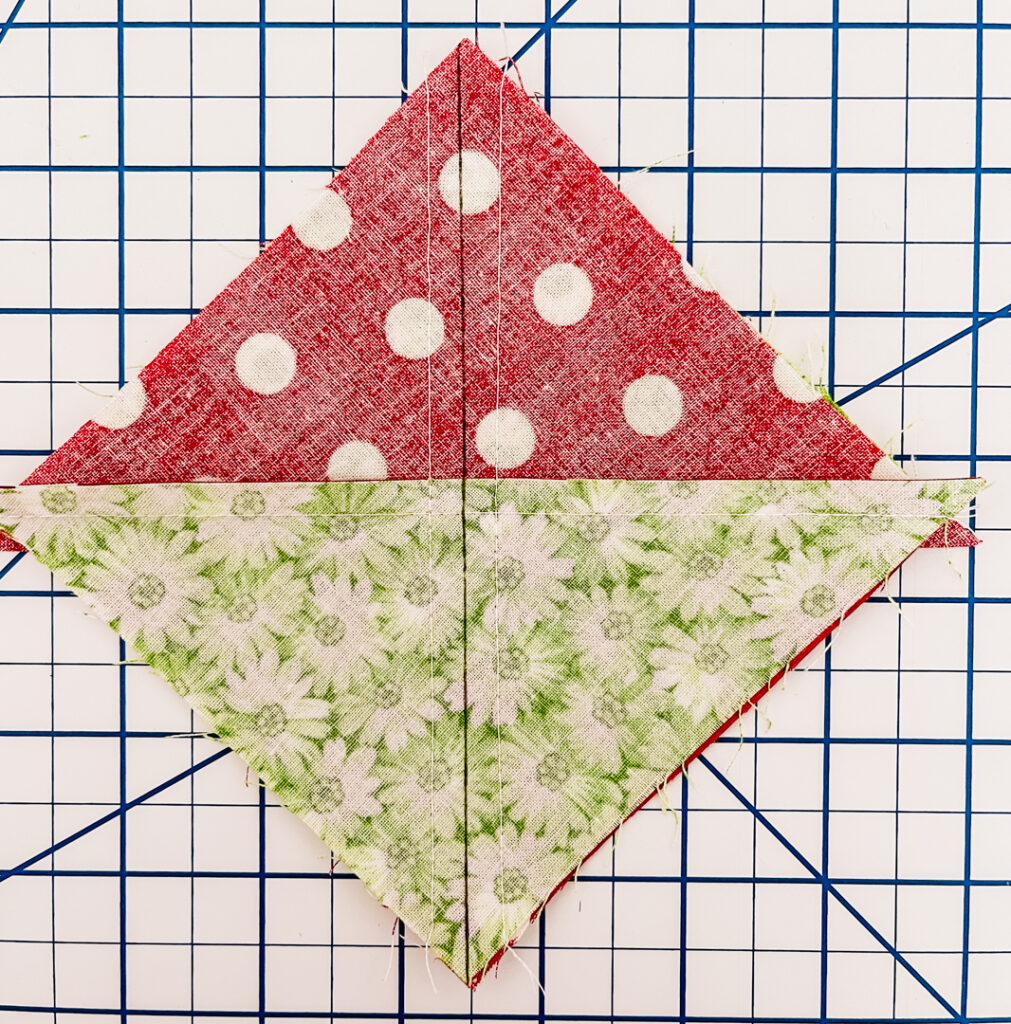
You guessed the next step I bet…cut on the drawn line to reveal your 2 triangles. Now get ready for the magical reveal…but first…
Trimming
There are two methods for trimming your quarter square triangles – pressing before trimming or after. I will show you both methods. I also discussed this in my 2 at a time half square triangle tutorial.
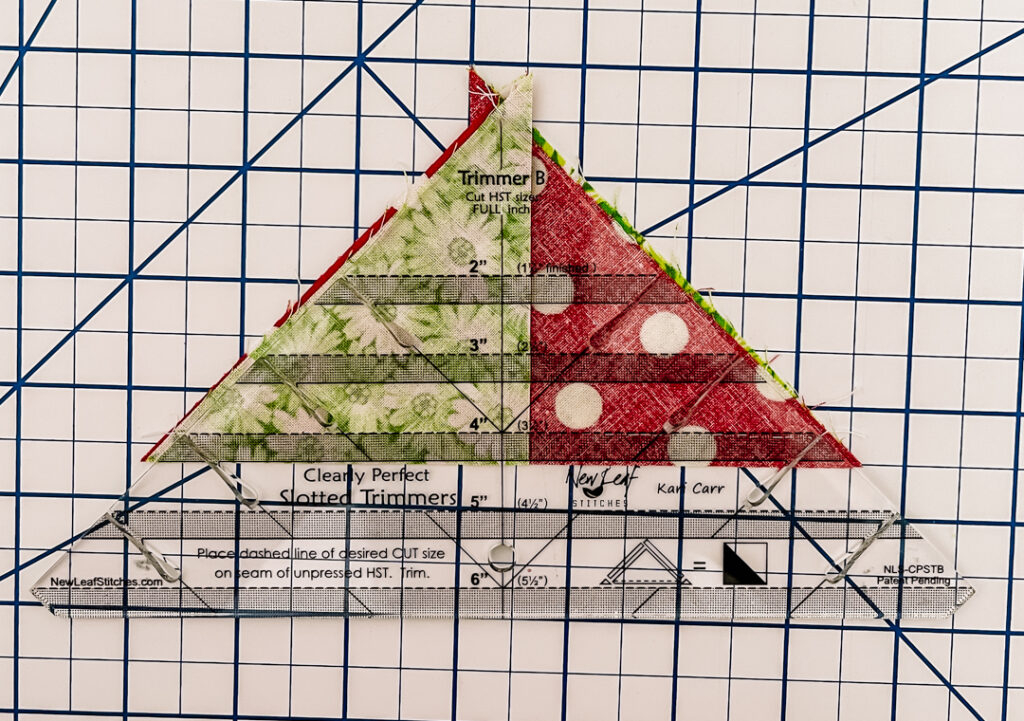
First, you can use the Clearly Perfect Slotted Trimmer and trim your quarter square triangles BEFORE pressing them open. This ruler makes trimming half-square triangles and quarter-square triangles SO easy! Simply line up the dashed line on the ruler with your sewing line and trim on both sides. The ruler also has nifty notches in the bottom that trim your dog ears off for you as well. Remember – if you are using this trimming method, after trimming, open up your creation to reveal a beautiful hourglass block, and then press your seams open or to one side. TIP: Pressing your seams open will reduce the bulk in the quarter square triangle.
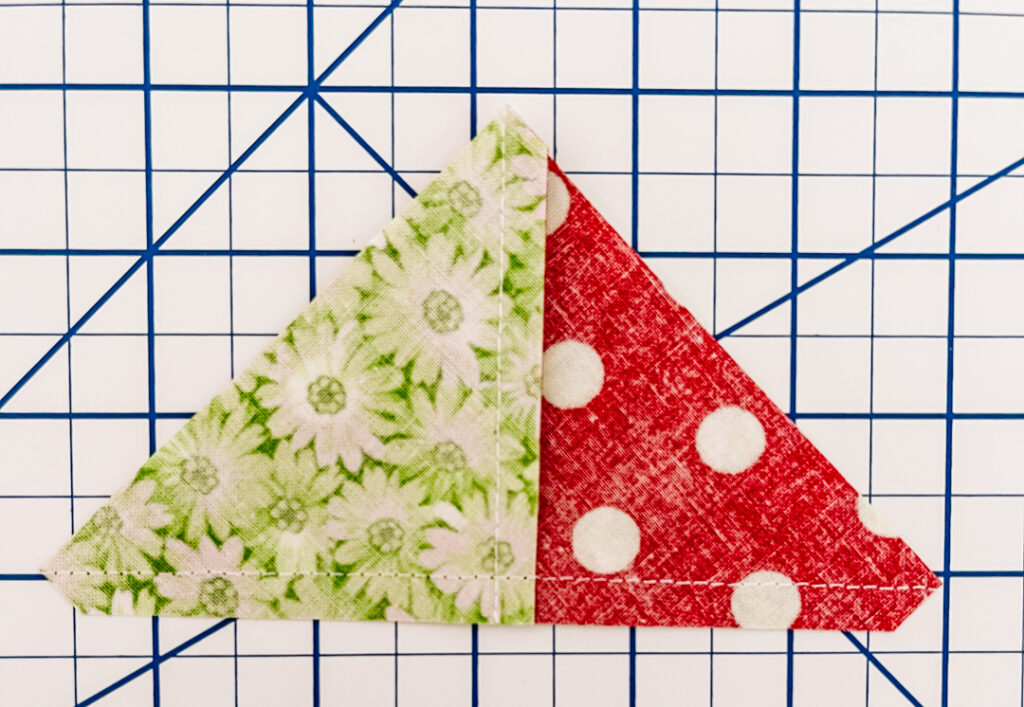
Now for the second trimming method. Open up your quarter square triangle block and press seams open (or to one side). Let’s stop for a moment and appreciate this beautiful center point!
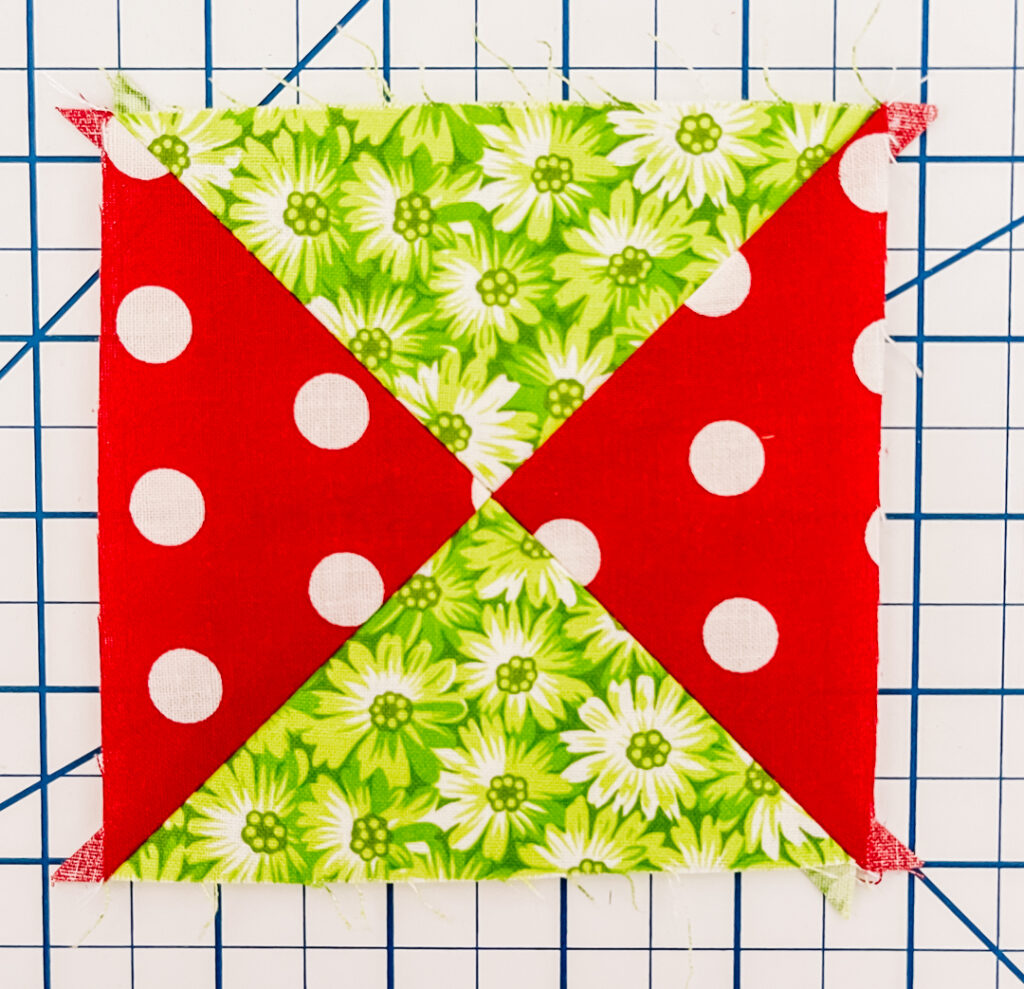
Using any quilting ruler that you may have, find the diagonal line and match it up with the diagonal line on your block. You also need to calculate where the center of your block is and match this up on the ruler. I am trimming my quarter square triangles to 4″ and because we want to clean up all 4 sides of the block, I am trimming a little bit off each side.
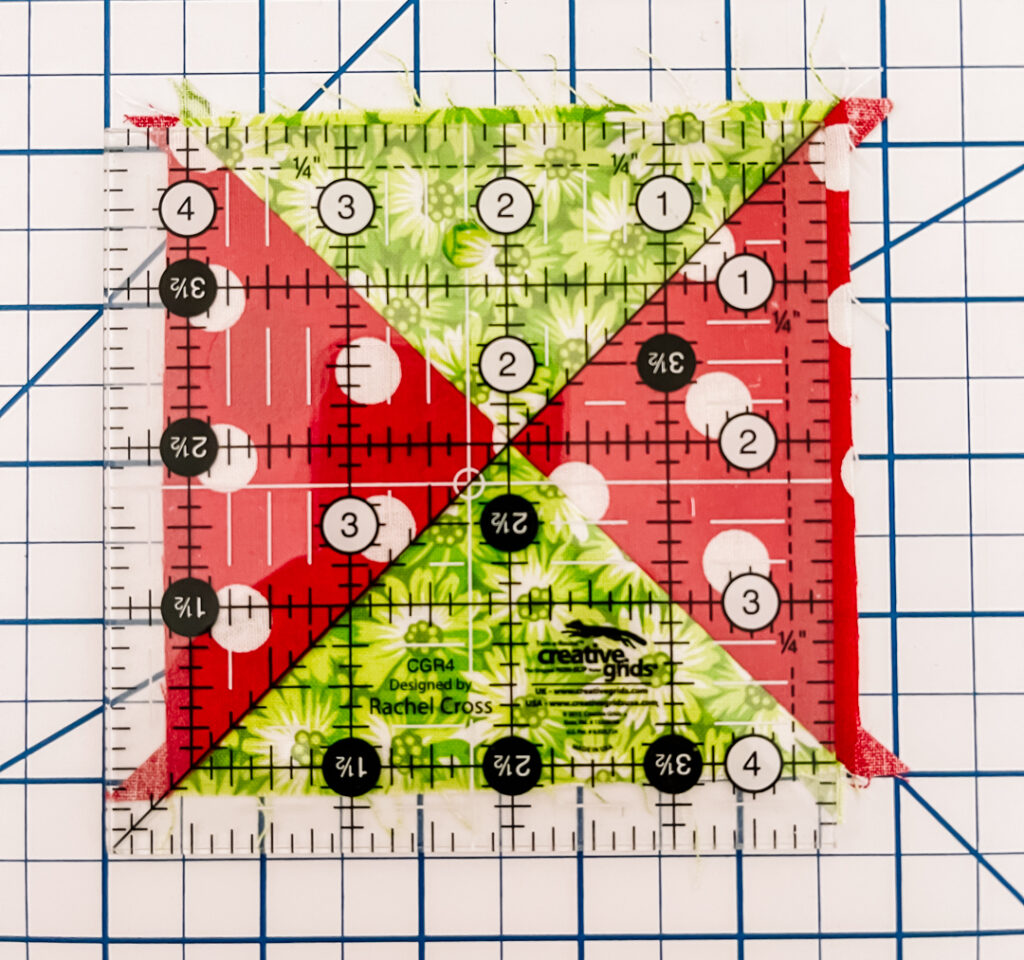
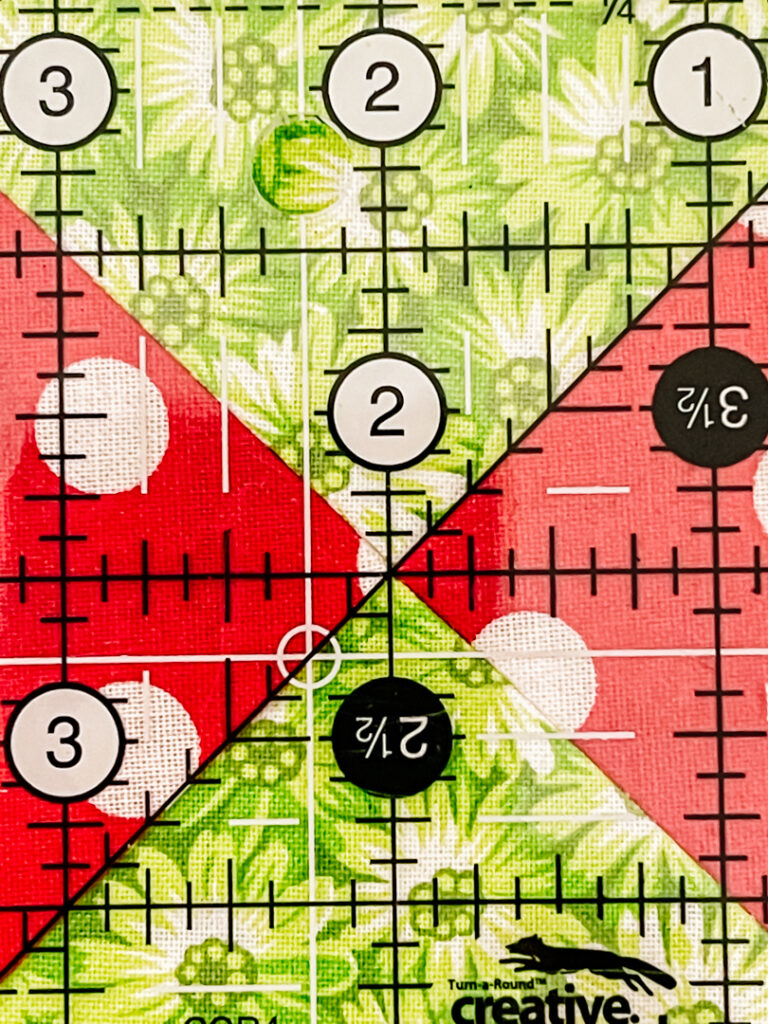
Trim two sides, turn your block, and trim the remaining two sides. Trimming all four sides ensures we have clean edges where any of our fabric may have stretched.
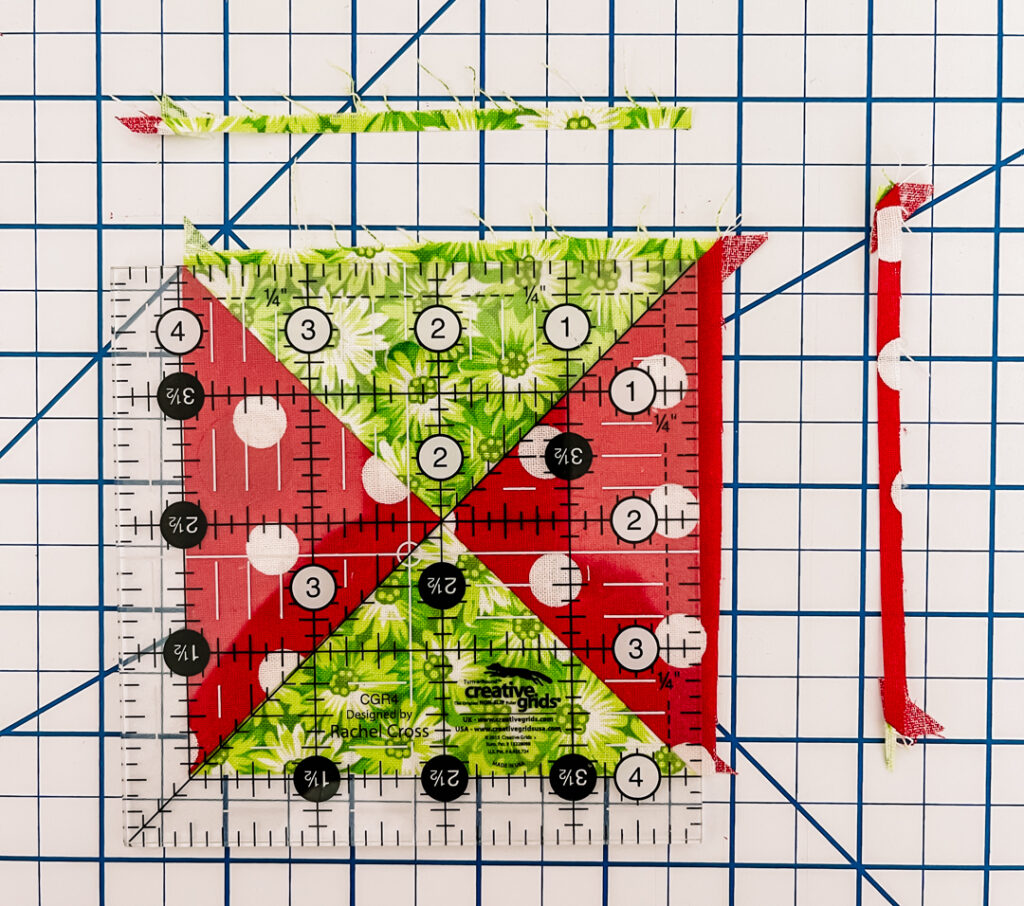

Another look at these beautiful points! Even though I despise pinning sometimes, I really believe that pinning on the edges and near the center keep your fabric from shifting after you line up and nest your seams.
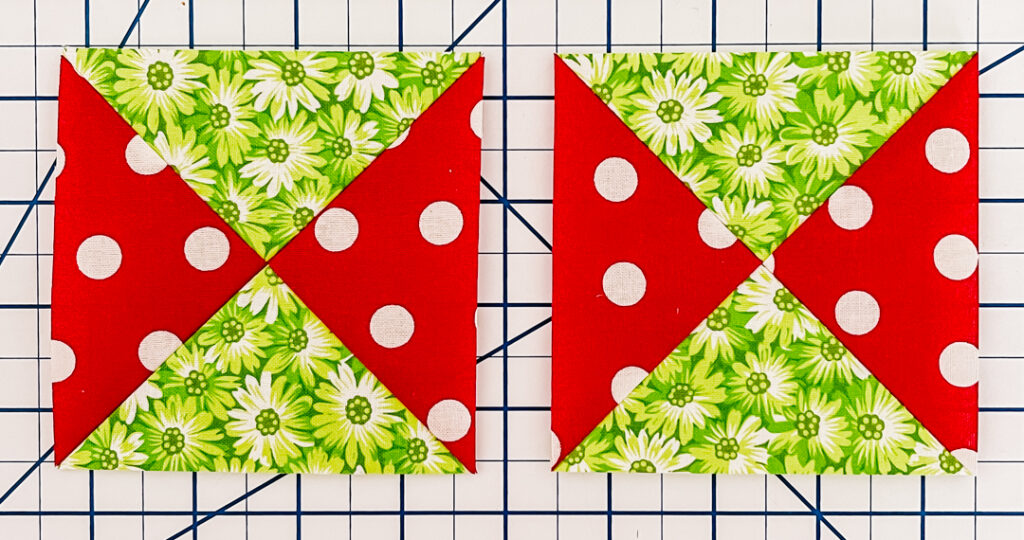
Now we have 2 beautiful hourglass (quarter-square) triangles!
Ready to use your quarter-square triangles? Check out my free Double Cocoa Stars Quilt Pattern!
Want help with making your Half Square Triangles? Grab my Ultimate Half Square Triangle Guide.
Affiliate Disclosure Policy: This website uses affiliate links, and I may earn a small commission if you purchase through these links. Please note that I’ve linked to these products purely because I recommend them and they are from companies I trust. There is no additional cost to you.
