Your sewing machine is a workhorse in your sewing space – but don’t forget to give it some love in the form of routine cleaning and maintenance. Keeping your machine in tip-top shape is the best way to ensure that it will be working for many projects and many years to come.
Today I’m sharing how to keep your sewing machine happy, clean, and stitching away.
Why do you need to clean your sewing machine?
Let’s start with the why. Why is it so important to regularly clean your sewing machine anyway?
Many threads and fabrics shed little fibers as they pass through your machine, leaving tiny bits of lint every time you sew. Sometimes, trimmed thread ends make their way into the bobbin area and hang out there. Over time, dust bunnies start to find all the crevices of your sewing machine.
These fibers, threads, and dust can clog up your sewing machine, making it more difficult for the thread to be pulled through the machine as you sew. Eventually, if the problem gets bad, it can cause all sorts of sewing woes – skipped stitches, upper or lower threads snapping, and looping stitches.
Create a cleaning routine
If you don’t have a routine for when and how to clean your machine, it often becomes something that you put off… and off… and off. By creating a routine (and sticking to it!), it becomes easy to remember to clean your sewing machine, keeping it functioning smoothly.
I recommend cleaning your machine after each project. It’s easy to remember and you’ll never let your machine get so dirty that it starts causing issues. Plus, it’s a nice way to mentally mark the end of one project and start getting excited about your next sewing and quilting adventure!
How to clean your sewing machine
Cleaning your sewing machine is actually quite simple and quick.
Before we get into specifics on cleaning, the number one piece of advice I can give you is this: make sure to check the manual that came with your sewing machine and follow any guidelines they provide on cleaning and care for your machine.
Here are the basics on how to clean a sewing machine!
Open up your sewing machine
Start by opening up your sewing machine to access as many of the interior components of the machine as possible. What areas can be easily accessed will depend on the specific machine, but at a minimum, unscrew and remove the throat plate to access the bobbin area. If you have a removable bobbin case, take it out of the machine.
Brush it out
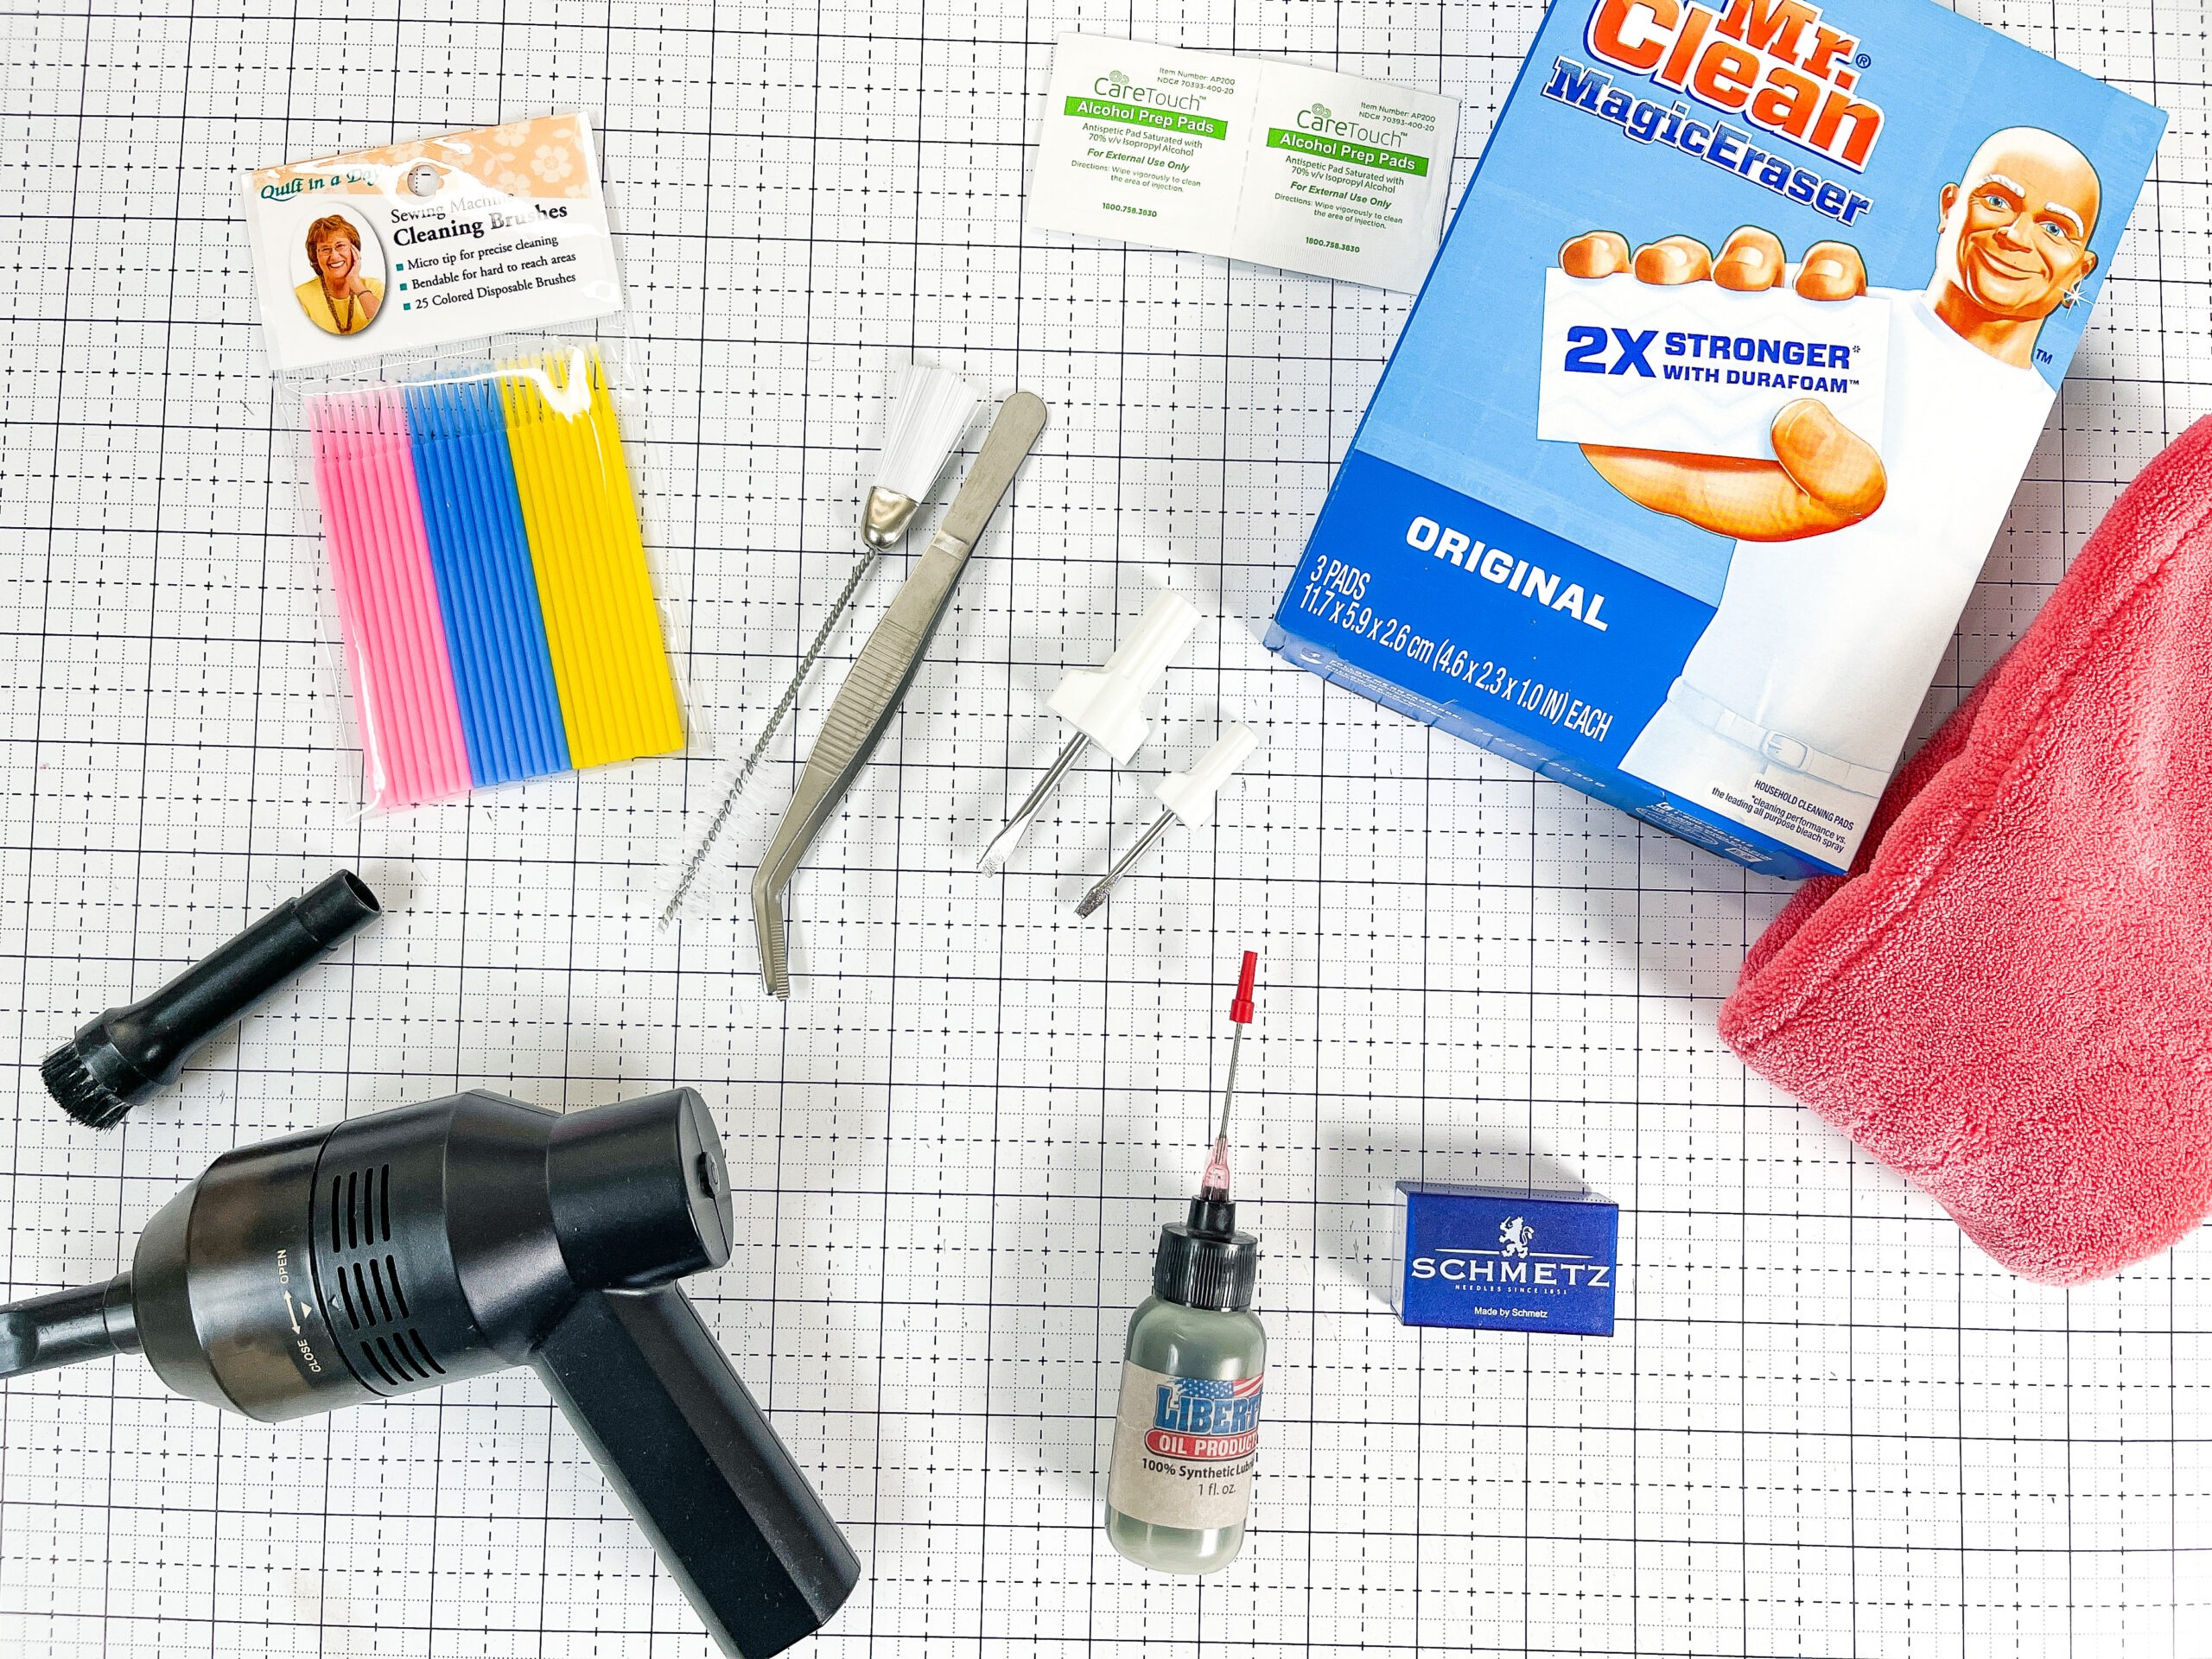
Next, use small, lint-free brushes to brush dust and debris out of the bobbin case, the bobbin area, around the needle, and through all the thread guide openings for the upper thread. Many sewing machines come with tiny brushes for this purpose, but you can also purchase these separately if needed.
I don’t recommend using Q-tips for brushing out your sewing machine as they can leave additional fibers or lint, further clogging up your machine.
I found these dual head cleaning brushes that I really find helpful! They also come in a handy 8 pack! Remove the lint and dust and the brush it away!

Vacuum it up
As an alternative to using a brush, or if there are areas that are hard to access with a brush, try using a miniature vacuum to clean lint and thread out of your machine. If a separate mini vacuum isn’t something you want to purchase, you can also get a tiny attachment for your regular vacuum cleaner.
While it may be tempting to “blow out” your machine using canned, compressed air – please, don’t do it! This can blow debris farther into your machine at best, or worse, it can damage your sewing machine.
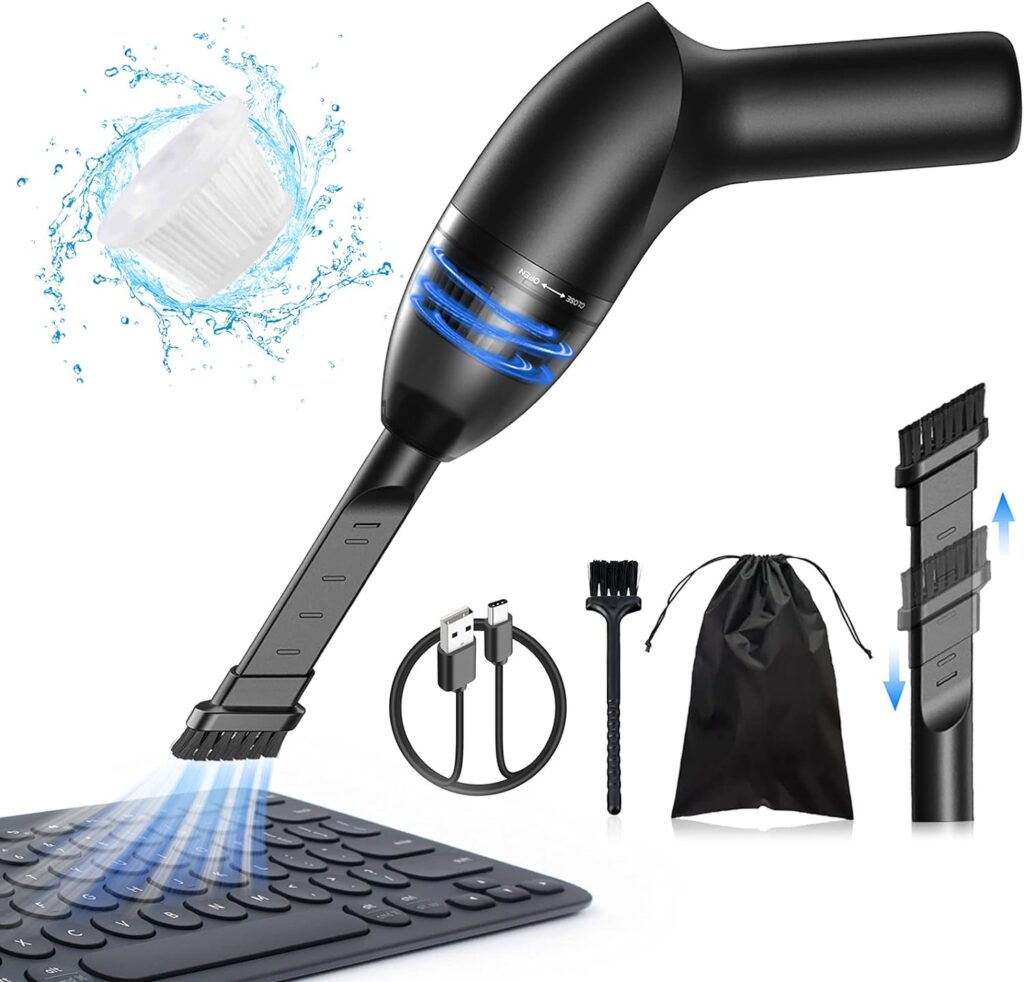
I found this super affordable and handy mini-vacuum on Amazon that does the job perfectly! It has various attachments as well so I can vacuum my bobbin area, feed dogs and other nooks and crannies in my machine!
Wipe it down
Finally, put the bobbin area, and any other areas you disassembled, back together. Give the exterior of your machine a good wipe down with a clean, soft cloth.
Routine sewing machine maintenance
While cleaning is a key sewing machine maintenance item, there are other routine tasks that are important to add into your to-do list to ensure your machine continues working at its best.
Keep your sewing machine covered
I know that many quilters and sewers keep their sewing machines set up and ready to go at all times, especially if the machine gets a lot of use. However, keeping a simple plastic or cloth cover over your machine between uses can help to keep dust out. There are also some beautiful sewing machine cover patterns out there to make your own!
Don’t forget to change your needle
Something that many beginner quilters and sewers may not realize is that sewing machine needles are meant to be changed out regularly, not just when they break. Needles dull quickly and using a dull sewing machine needle can mean all sorts of trouble – skipped stitches, for one.
Try to remember to change your needle at least after each project, more often if you start experiencing skipped stitches or inconsistent stitching. There are several brands of needles on the market, of course, refer to your sewing machine manufacturer’s instructions on the brand and size for your project. I love to buy the Schmetz Needles in bulk. It’s important to know I always have them on hand, because I change mine frequently!

Oiling your sewing machine
Some sewing machines require regular oiling to keep them running smoothly. It’s important to check your sewing machine manual and determine if your machine needs to be oiled.
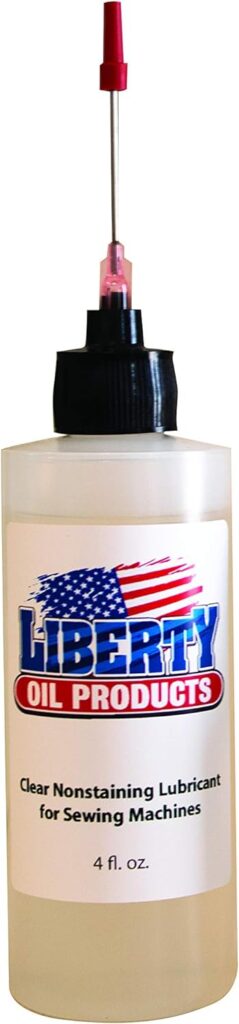
If oiling is required for your specific sewing machine, follow the manufacturer’s instructions on when and how to oil the machine. This step often fits in well into your regular sewing machine cleaning routine. I suggest checking your sewing machine manufactures instructions for the type of oil to be used. I use Liberty Oil on my Juki. I love the long, thin nozzle for dispensing the oil in just the right spot. My Baby Lock Ballad and Jazz do not require regular oiling.
Getting your machine serviced
Finally, while not necessarily essential, getting your sewing machine professionally serviced on an annual or biennial basis can help keep your machine running smoothly. Having regular service appointments for your sewing machine means you can (hopefully) avoid making a panicked, rushed service appointment when the machine stops working correctly.
BONUS CLEANING TIPS
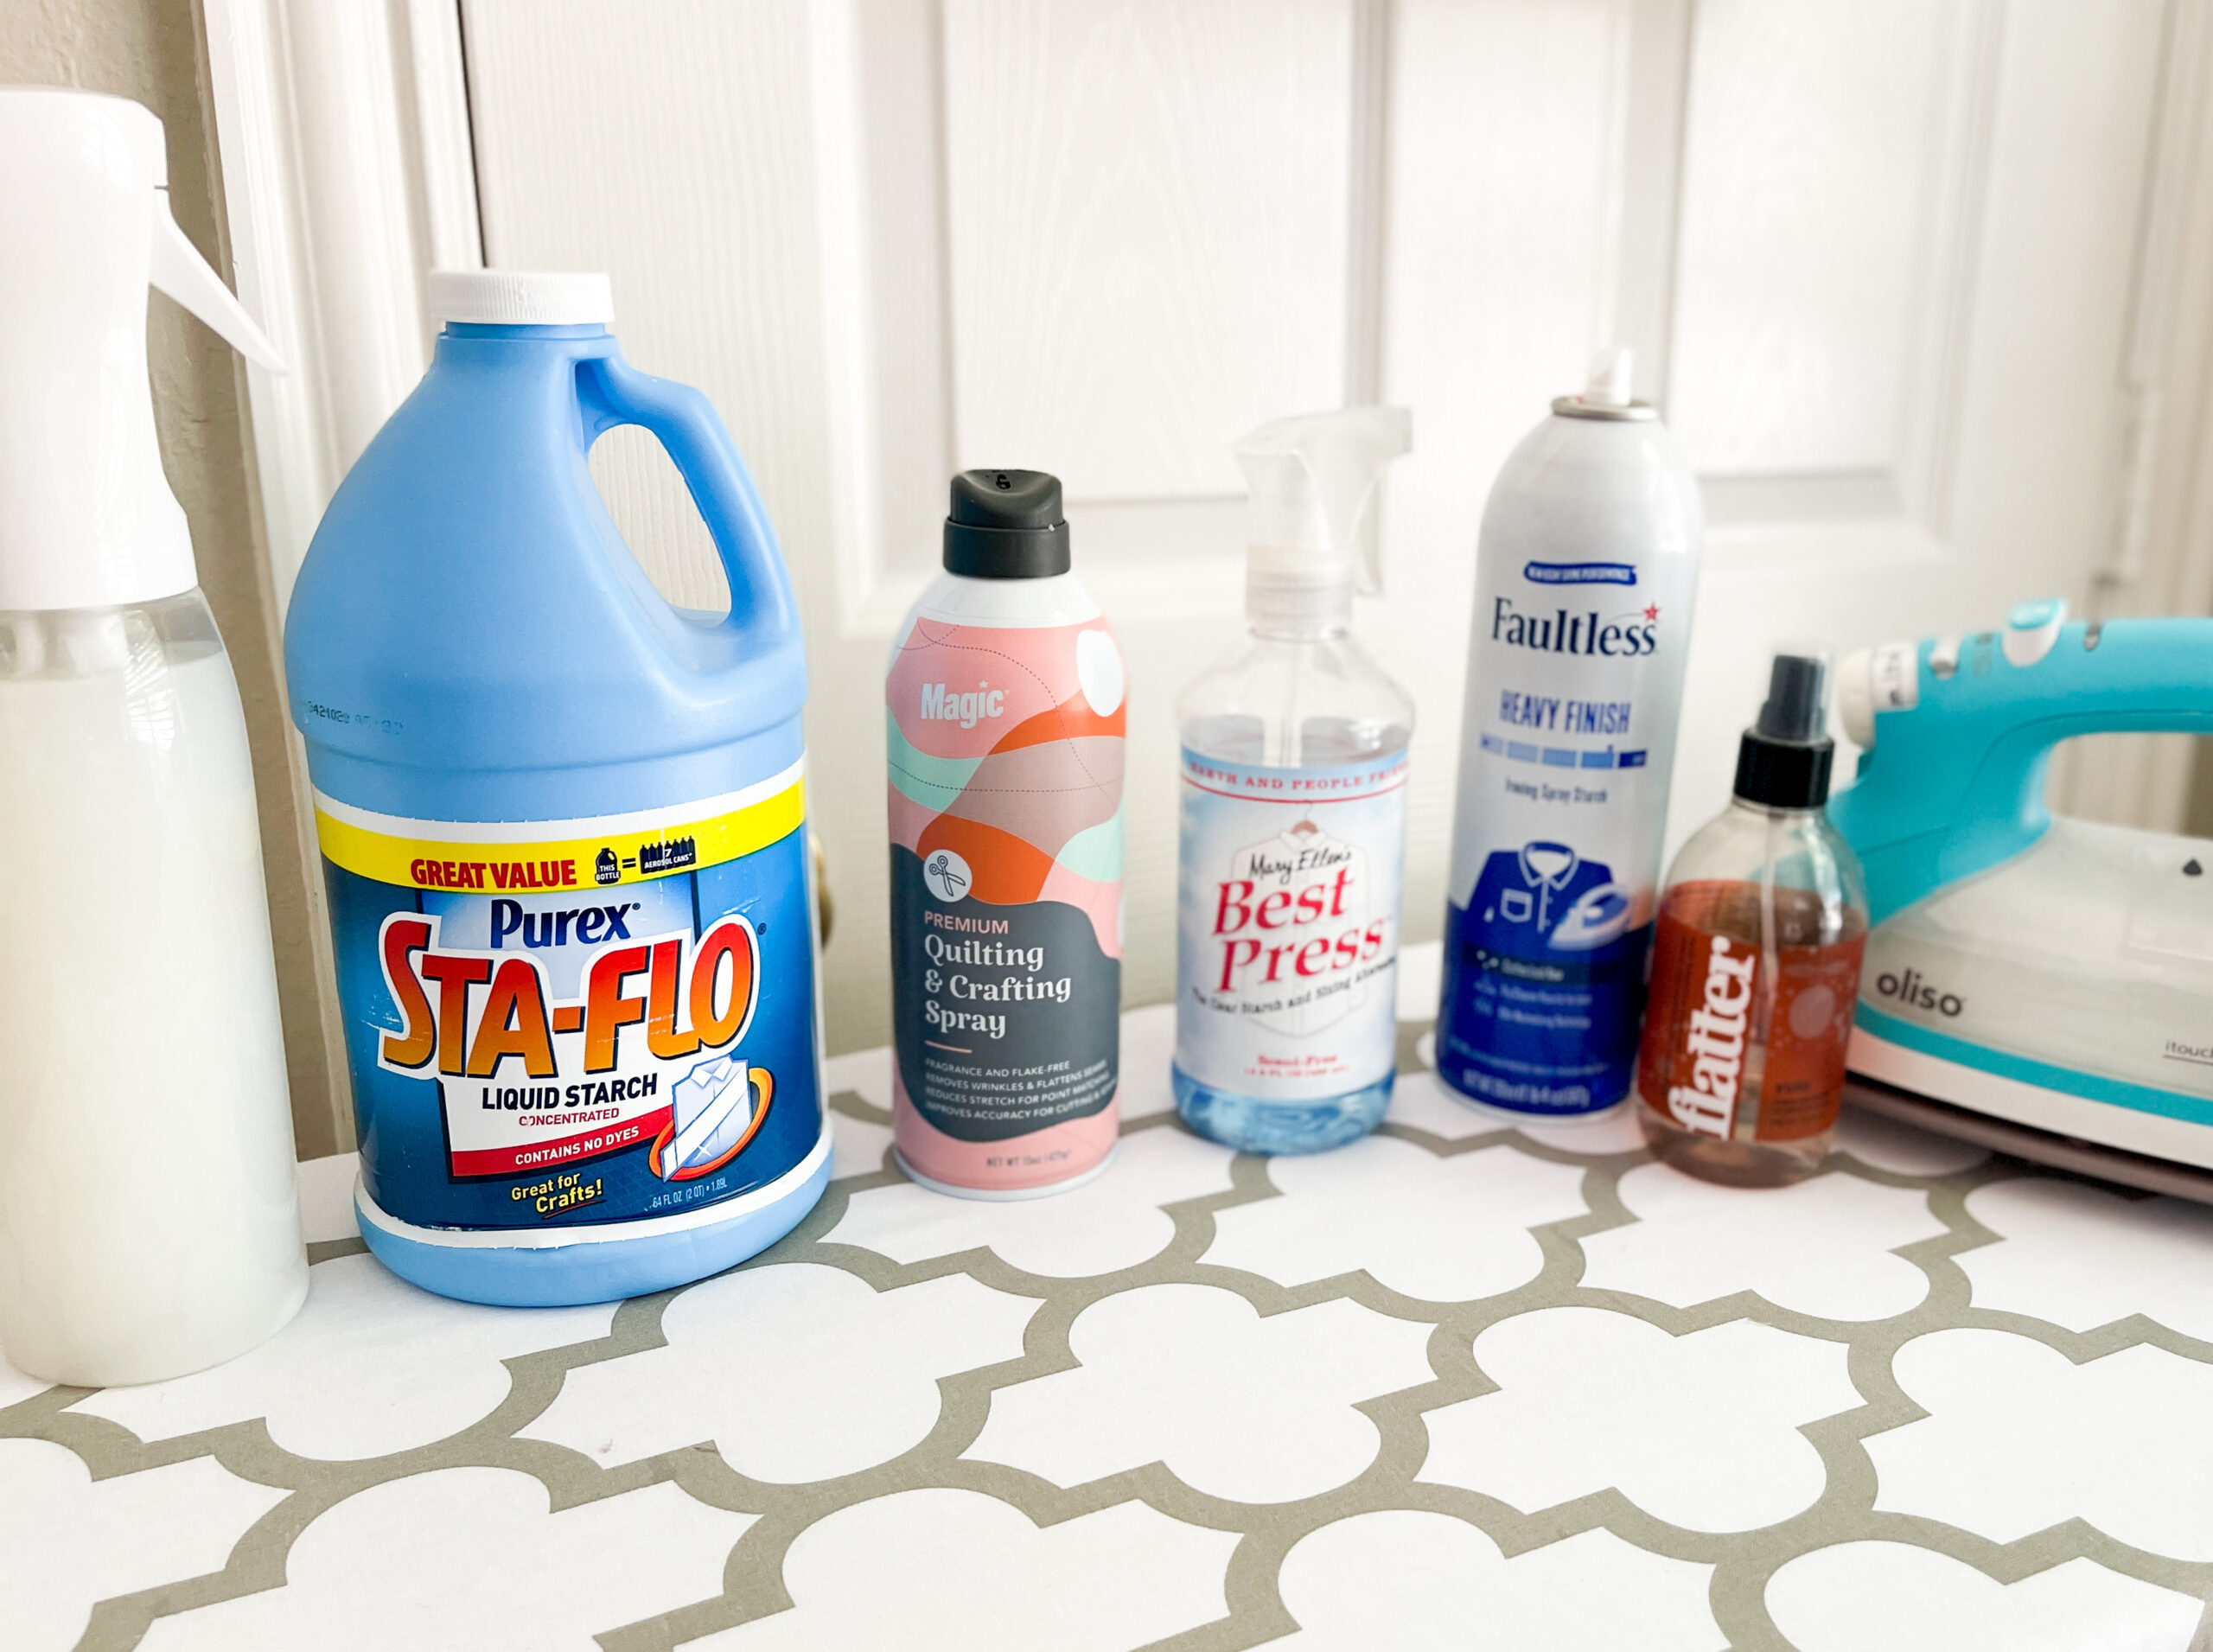
- While you have all of you cleaning supplies out, I like to clean a few places where lint and dust build up quickly and you don’t realize…iron, pin cushion, task lamps, etc.
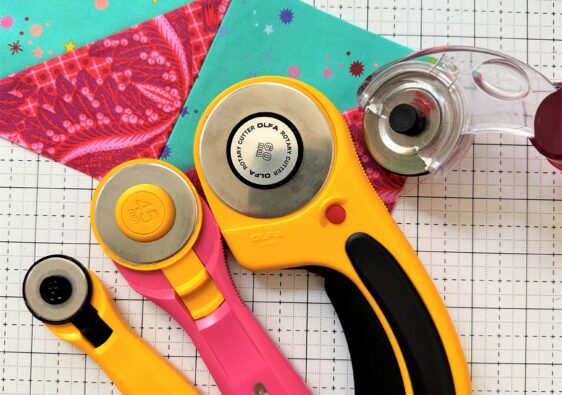
- Combine other regular tasks in your sewing room. Make it a routine to clean your machine, change your needle, change your rotary blade and other tasks each time you start a new project. Combining the tasks make it easier to remember and be consistent. Don’t wait until there’s a problem to change things.
- Create clean habits – clean out bobbin area each time you change the bobbin or before/after each project or match your cleaning habits to your sewing. Establish a routine based on your projects or after a certain amount of time. For example, I like to do a quick clean and oiling of my bobbin area every time I change my bobbin. It cuts down on how much I need to clean when I do a more in depth cleaning.
My Favorite Sewing Machine Cleaning Tools
Sewing Machine Cleaning Kit with Tools
Gypsy Quilter Sewing Machine Cleaning Tools
Double Ended Sewing Machine Brushes
Mr. Clean Magic Eraser Sponges
Affiliate Disclosure Policy: This website uses affiliate links, and I may earn a small commission if you purchase through these links. Please note that I’ve linked to these products purely because I recommend them and they are from companies I trust. There is no additional cost to you.