Do you have a love/hate relationship with flying geese? Making them 4 at a time saves time and makes the process much easier and more efficient! Let me show you how to make these adorable staple quilt blocks! I’ll give you a few tips on how to get them PERFECT every time!

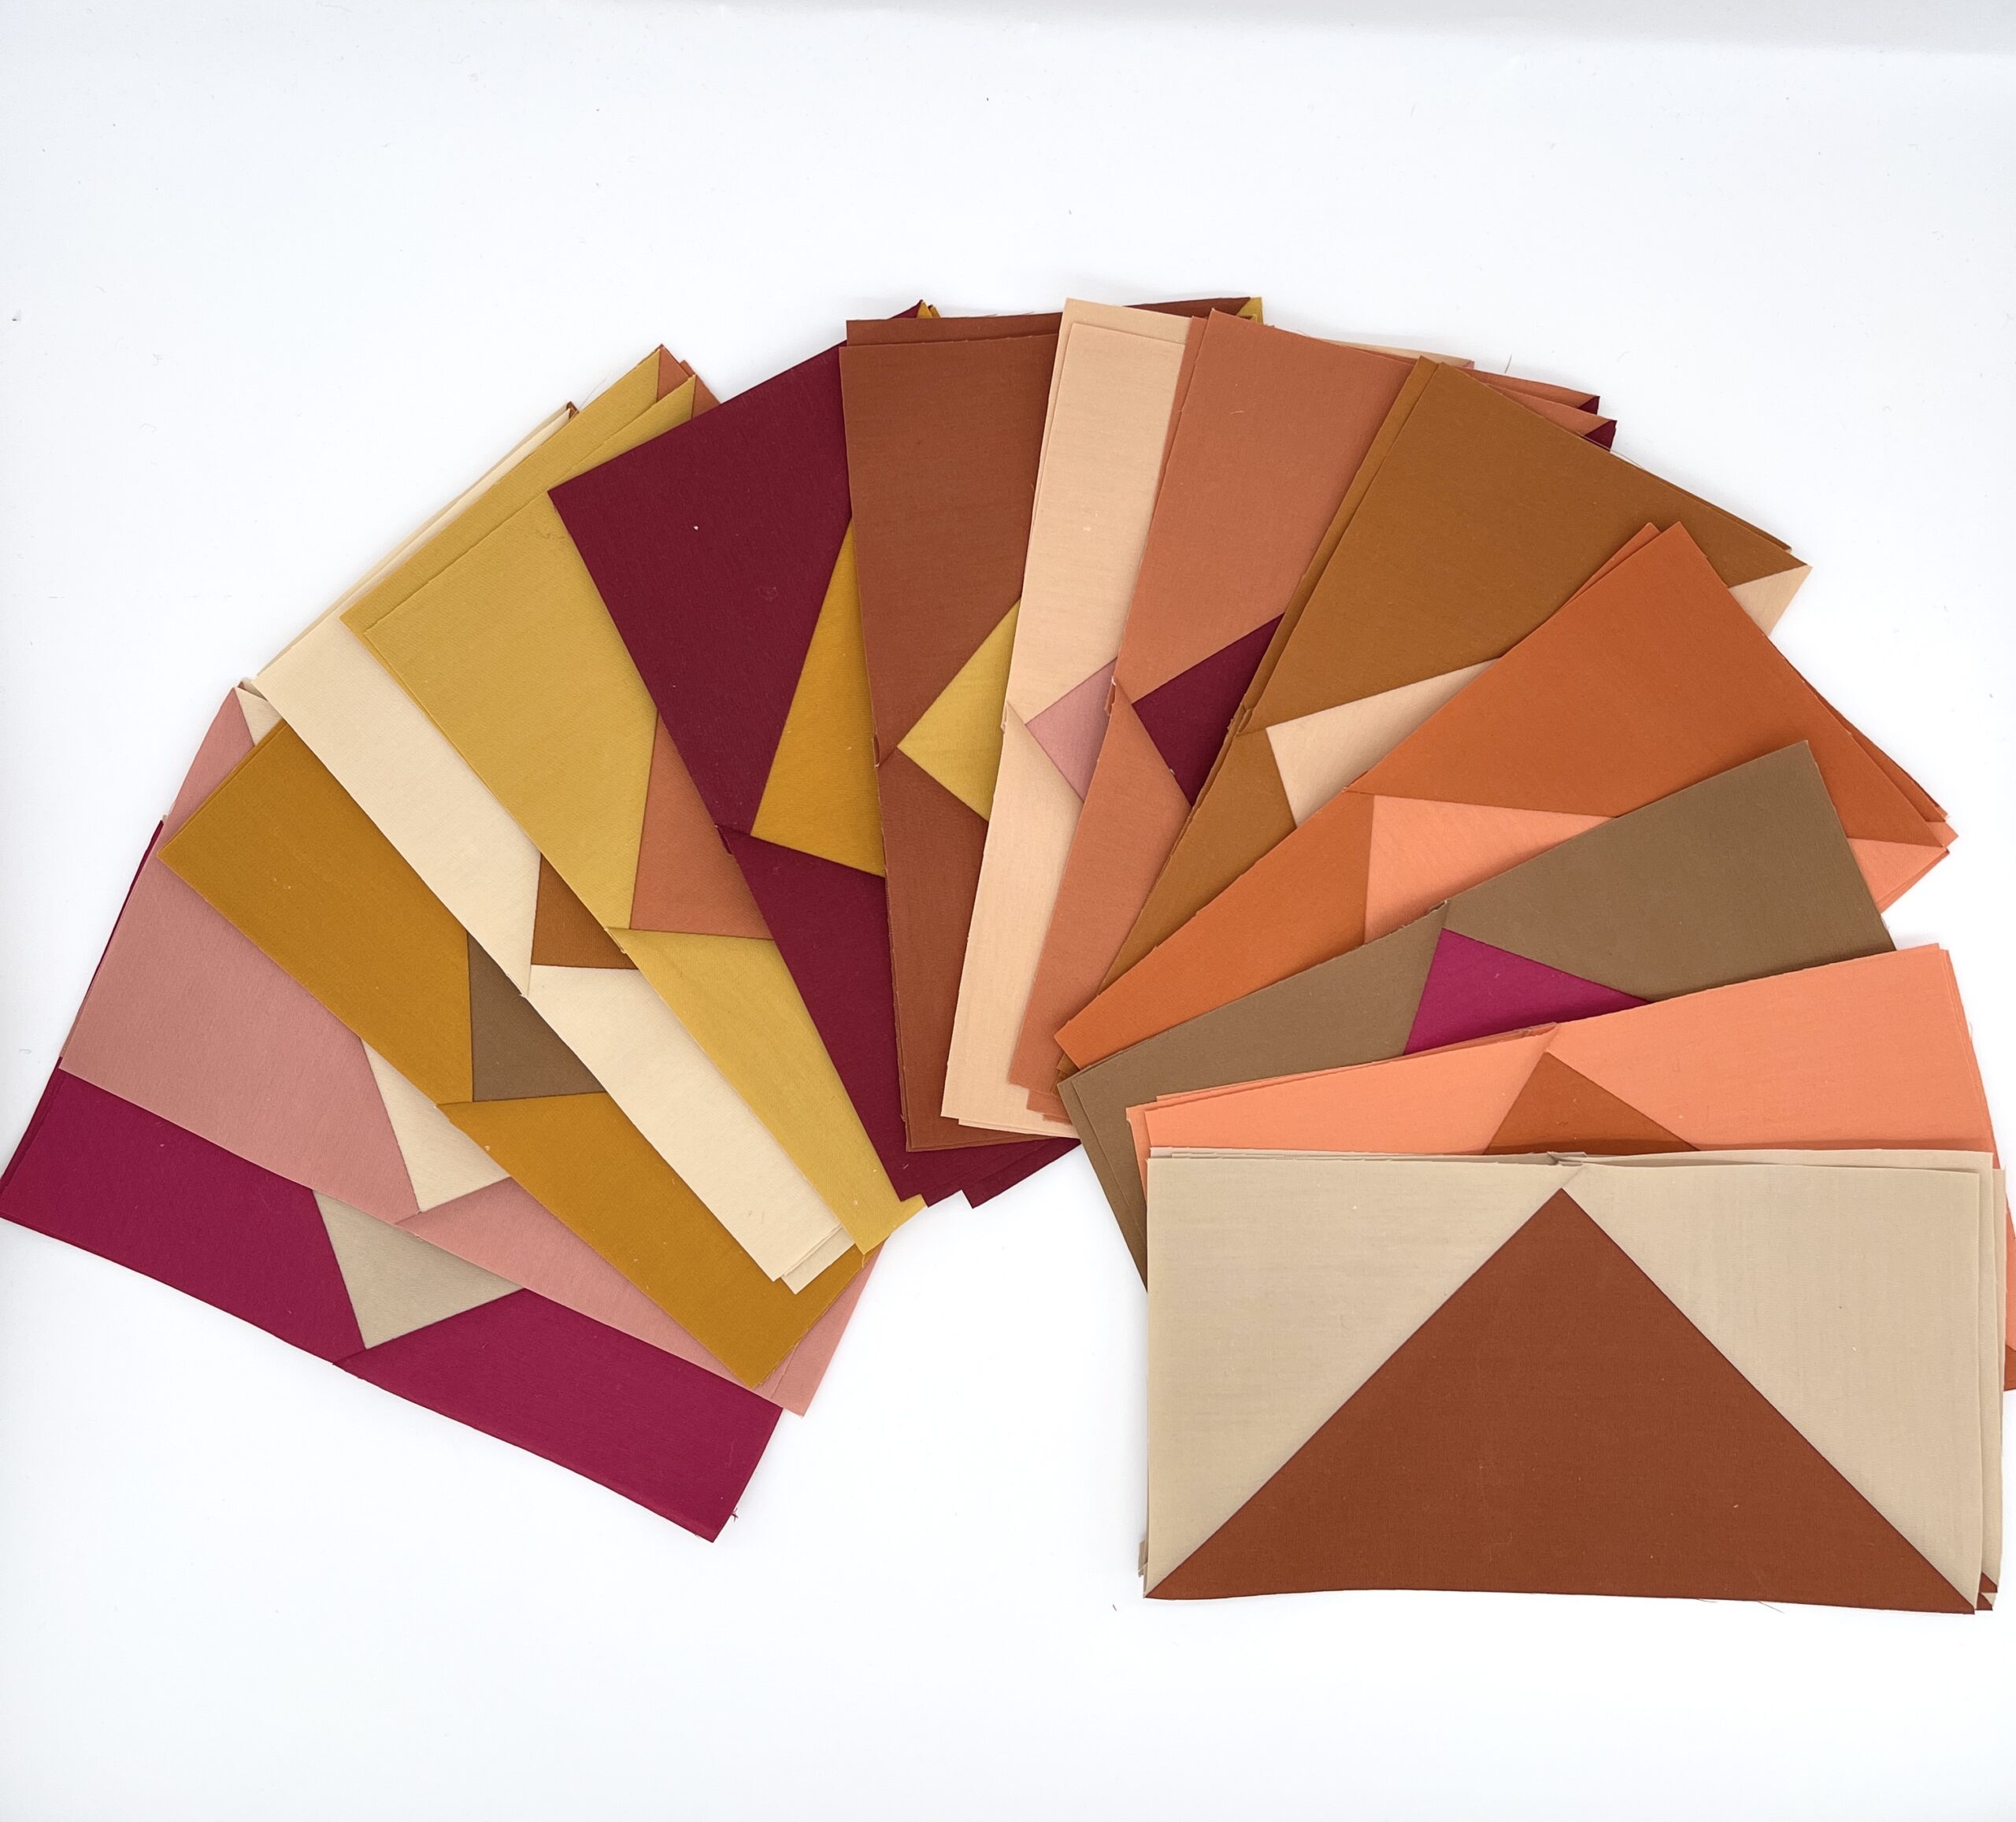
Let’s start with some clarification and a small disclaimer…you will sometimes see the 4 at a time method referred to as the “no waste” method of making flying geese. This is NOT the case with the method and measurements that I’m going to review with you because we will be making our units slightly oversized so that we have room for trimming! You will have less fabric waste than the traditional method of making flying geese, but you will still have some waste from trimming. In my opinion, I don’t mind this because the waste is minimal (see the photo below) and it allows me trimming room to make sure my blocks are the perfect size!

Get your fabrics and supplies together
In addition to your fabric and your sewing machine of course, you’ll also need a few basic sewing supplies:
- Quilting rulers in varying sizes
- Thread (I prefer Aurifil 50wt in White for piecing blocks)
- Iron/ironing board (I love my Oliso Mini Project iron and my wool pressing mat)
- Mechanical pencil/fabric marking pen (I use Frixon brand pens)
- Scissors or rotary cutter (Love my Olfa 45mm Pacific Blue rotary cutter or my Fairy Floss Pink one!)
- Rotary cutting mat
- Seam ripper (you just never know)
Flying Geese Block Calculations
Depending on the final size of your flying geese, you will need (1) larger square and (4) smaller squares. For this tutorial, I am making 4″ x 8″ finished flying geese. Now you are probably wondering what size you need to cut your squares. Well, here’s the scoop…
From my research, the best calculation I have found is:
(1) large square (the center of your block) = Finished width + 1.5″
(4) small squares (the corners or “sky” of your geese) = Finished height + 1″
Using this formula, because I want my finished flying geese at 4″ x 8″, I will use (1) 9.5″ large square and (4) 5″ small squares.
On the back of each of the (4) smaller squares, draw a diagonal line corner to corner, using a pencil or fabric marking tool/pen. I love Frixon pens because the ink disappears when ironed!
Lay (1) smaller square on the bottom left corner and the top right corner of your larger square. There will be overlap in the middle. We want this!! Make sure that your drawn line lines up as well. Another option is to lay your squares down first and then draw your line so make sure that it lines up properly.


I like to pin these squares in place, placing the pins further away from my drawn line so there is no need to remove the pins as you sew!
Here is my first AMAZING tip for you that I recently learned from Designer Alexandra Bordallo. While we have made our squares a bit oversized to allow for trimming, if you have used this method before, you may have noticed that you may have had more fabric on the bottom to trim and not enough room to trim on top. Well THIS tip will help with that problem!
Instead of lining your squares up EXACTLY on the edges, place the squares just a few threads away from the edge. You don’t want to place them too far away, but just enough to give us a bit of room. You’ll see later in the process why this makes so much of a difference.

Sew a “scant” 1/4″ away, on both sides of the drawn line. What is a “scant” you may ask? Essentially it means just slightly inside your 1/4″. This helps account for the thread in your sewn line and gives more accuracy and room for trimming! Want to learn more about a scant 1/4” seam, check out my tutorial on YouTube!

Here’s another view of where the 2 smaller squares overlap in the middle and how you are sewing right over both of them!

Cut along the drawn line to create two units.

Press to set the seams and then press the triangles outward. I love my Oliso mini project iron because it get super hot and the pointed tip really helps as well! I also love using a wooden clapper to really get my blocks nice and flat!


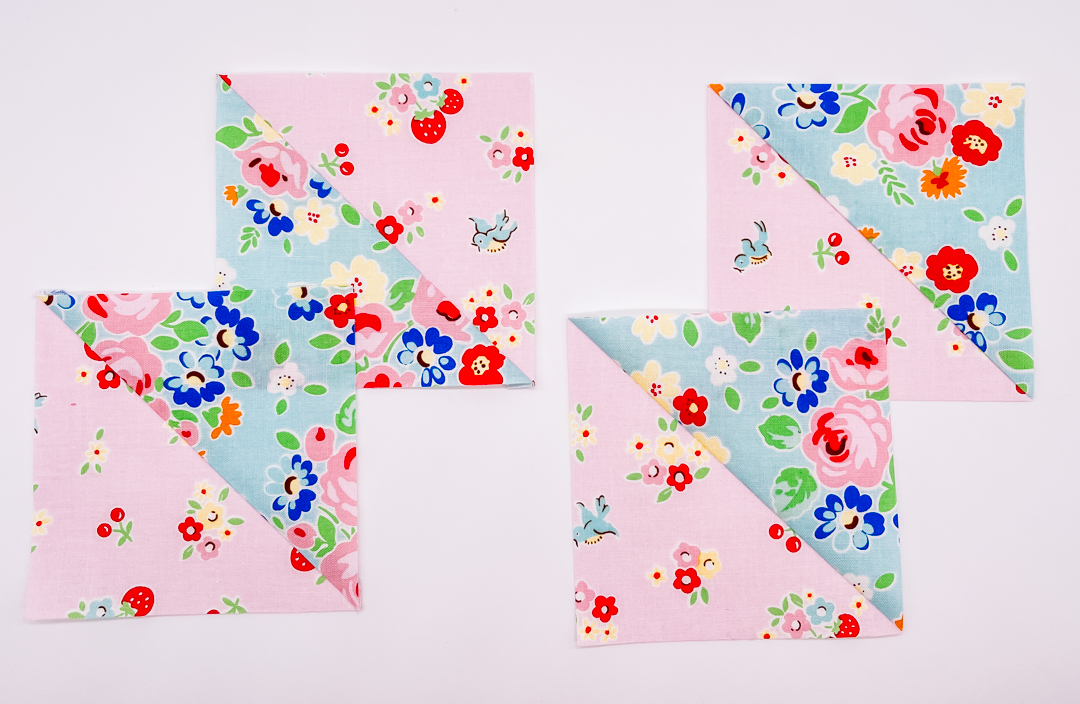
Here is what our units will look like. Don’t see the “goose” yet do you? Let’s keep going!

On both units, align (1) smaller square with the bottom of your larger block. The top of the smaller square will hang slightly off the edge of the unit. Pin in place if needed, staying to the outside edges again so that they don’t have to be removed while we are sewing.


Sew a scant 1/4” away from each side of the diagonal line.

Then cut along the drawn line to create two units.

Press to set the seams and then press outward. You will have 4 completed flying geese. NOW it’s time for my favorite part…trimming!!


There are several ways to trim your flying geese but I love any tool that increases efficiency, speed and accuracy! So I am all about the Bloc Loc Flying Geese rulers. They are made in several common flying geese sizes. Win win!

I am using the 4″ x 8″ Bloc Loc ruler. *NOTE this is the finished size for your blocks, the ruler is actually trimming the unit to 4.5″ x 8.5″. The flying geese block will be 4″ x 8″ finished when it is sewn into your quilt. The Bloc Loc rulers have notches in them, so they fit up against the center seams.
Here’s some magic for you…Remember how I mentioned that we were making our blocks a bit larger to allow for trimming? AND remember how I showed you the trick of not lining the edges of the smaller squares exactly on the edges of your larger squares? AND remember how I encouraged you to sew using a scant 1/4″ seam? WELL….because of those tips, we now have the perfect amount of excess fabric around all 4 sizes to allow for trimming!

You’ll also notice that the Bloc Loc ruler has a dashed line around the edges to show you where your seam allowance is. The ruler is also helping us ensure there is at least a 1/4″ on the top of our flying geese, which is extremely important so we don’t lose our points when we sew the geese with other blocks.

And just like that, we have 4 beautifully trimmed, perfect flying geese! This technique can help you FLY through making flying geese! What did you think of this tutorial? Drop me a comment and let me know!


Want to make flying geese with directional prints? It’s an easy process with a little tweak. I also have a blog tutorial about this 4 at a time method for making flying geese with directional fabrics! Check it out!
Patterns using flying geese
Have you seen my Cinnamon Spice Quilt Pattern? I utilize the 4 at a time flying geese method in the pattern, so now that you are a pro, you should check it out! It’s a quick sew! Visit my pattern shop!

My Berry Trifle Quilt pattern is a fun directional mixture of flying geese!

Affiliate Disclosure Policy: This website uses affiliate links, and I may earn a small commission if you purchase through these links. Please note that I’ve linked to these products purely because I recommend them and they are from companies I trust. There is no additional cost to you.
