Today on the blog we are talking about my all time favorite quilt block – the 4 patch block. Yes it’s simple but I just love how they come together and how you can highlight fabric prints. They can be the focus of a quilt or a supporting block. They are simply perfect. BUT misaligned points or wonky blocks can turn these little quilt blocks into a nightmare. Let me share a few tips with you about how to make these perfect every time!

Making perfect 4 patch quilt blocks
Fabric selection
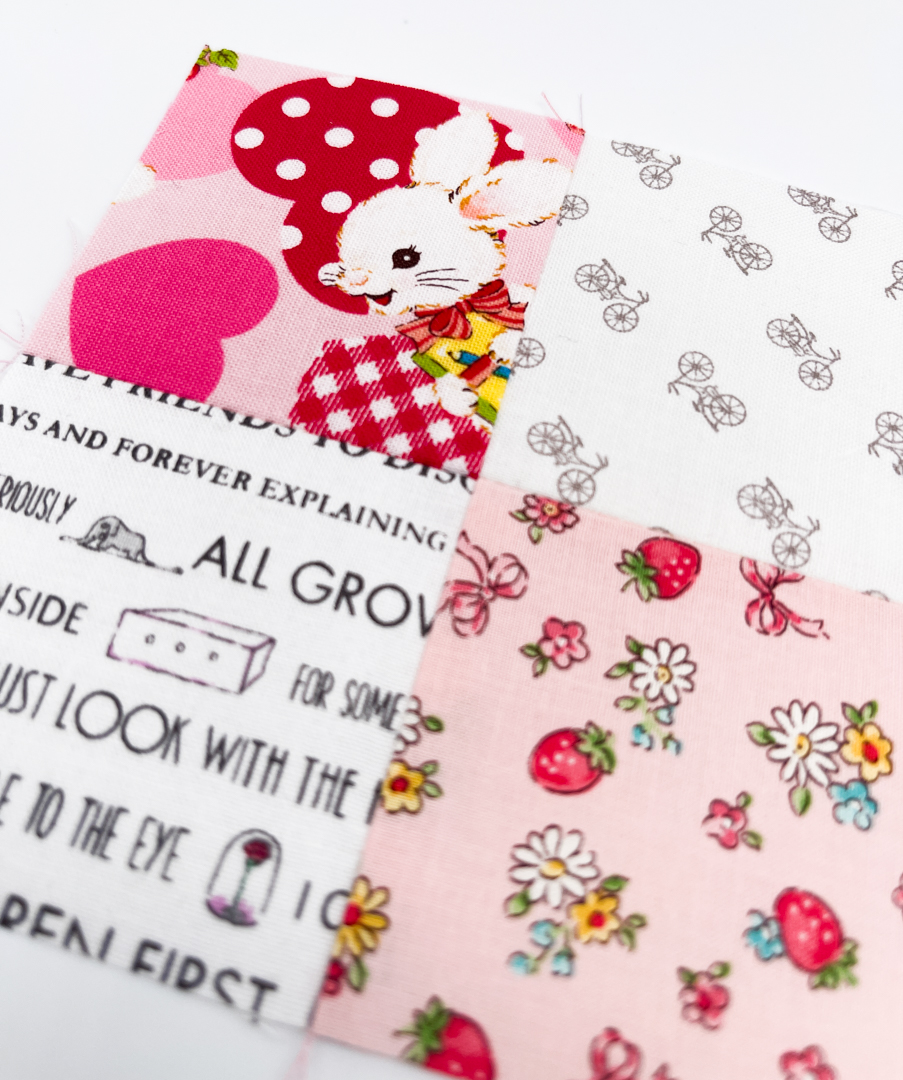
You can make a 4 patch block with any size fabric square, all you need are 4 equal squares! Here I’m using 4 adorable 2.5″ squares from my scrap bin. I’ve chosen 2 low volume prints and 2 red/pink.

I love being efficient while I sew! What about you? What a time saver! In the case with 4 patch blocks, I like to chain piece my squares and then cut them in sections. I will leave the connecting threads between the 2 sections so that I don’t get them mixed up as I’m pressing.
In this photo, you can see the connecting thread between the 2 sections that I haven’t cut yet. Makes life so much easier when you are sewing a ton of these little guys!

Pressing your pieces
I love my Oliso mini project iron! When I am piecing, it is the only iron that I use. I have a small ironing station next to my sewing machine where I keep my mini iron, my wool pressing mat and my tailors clapper. I am a firm believer that pressing blocks as you sew is the key to accurate patchwork!
With our 4 patch blocks, we are going to press our seams in opposite directions to the darker fabric, so that we can nest our seams. This is KEY to getting those perfect points in the middle of the block.


I’ll be posting an article soon about my favorite pressing tools but I’ve mentioned before how much of a believer I am in a good tailors clapper! I bought this beautiful tailors clapper from Modern American Vintage.

Now it’s time to nest our seams and PIN. I know, some of you may be anti-pinning, BUT again, this is one of the keys to success in my opinion. Sure you can hold the seam together while you sew, but things happen, fabric shifts, and then you don’t have a pretty seam….so take your pick.
Side note….Are you a quilting snob with a particular tool/notion? Well, I am a self-proclaimed pin snob!! I never really understood the difference or had a preference until I found the Clover Fine Quilting Pins. I feel so strongly about these that I may devote an entire blog post to them!
Before you get upset with me, let me tell you that I use all sorts of brands and types of pins, but when it comes to accurate patchwork piecing, the Clover pins are my go to, hands down! They are so much finer (thinner) than other pins and I really believe it makes a difference when they go into the fabric. There is no shifting or moving of the fabric, it stays in place!

Pins to the rescue
Here is where I share a secret with you. The placement of your pins is just as important as the type of pins you are using.
Place your 2 sections right sides together and nest your seams. You will then pin in the second half of the intersection of the seams that you nested. Trust me, I’ll tell you why! Before that, let’s make sure that we have this pinning business down pat. Take a look at how I nest my seams, pin in the second half of the intersection of the seams and not too close to the edge.


So I mentioned that I would tell you why the placement of your pins are so important. Here we go! When sewing the 1/4″ seam (or scant if you prefer), I STOP with my needle down once the needle has gone into the first section of the intersection of seams. This ensures that you have secured the seam BEFORE you remove the pin. Once you have sewn into that first section, then remove your pin and continue sewing into the second portion of the intersection.

Once you’ve sewn your seam, open up your beautiful block and press your seams to one side or open. I like to press mine open to reduce bulk (don’t hate me if you don’t like open seams!)

And here is my finished 4 patch block! What do you think? Love it? I love mixing low-volume prints with color families! And look at that perfect center point! Let me know what you think and if you love 4 patch quilt blocks like me!


Affiliate Disclosure Policy: This website uses affiliate links, and I may earn a small commission if you purchase through these links. Please note that I’ve linked to these products purely because I recommend them and they are from companies I trust. There is no additional cost to you.


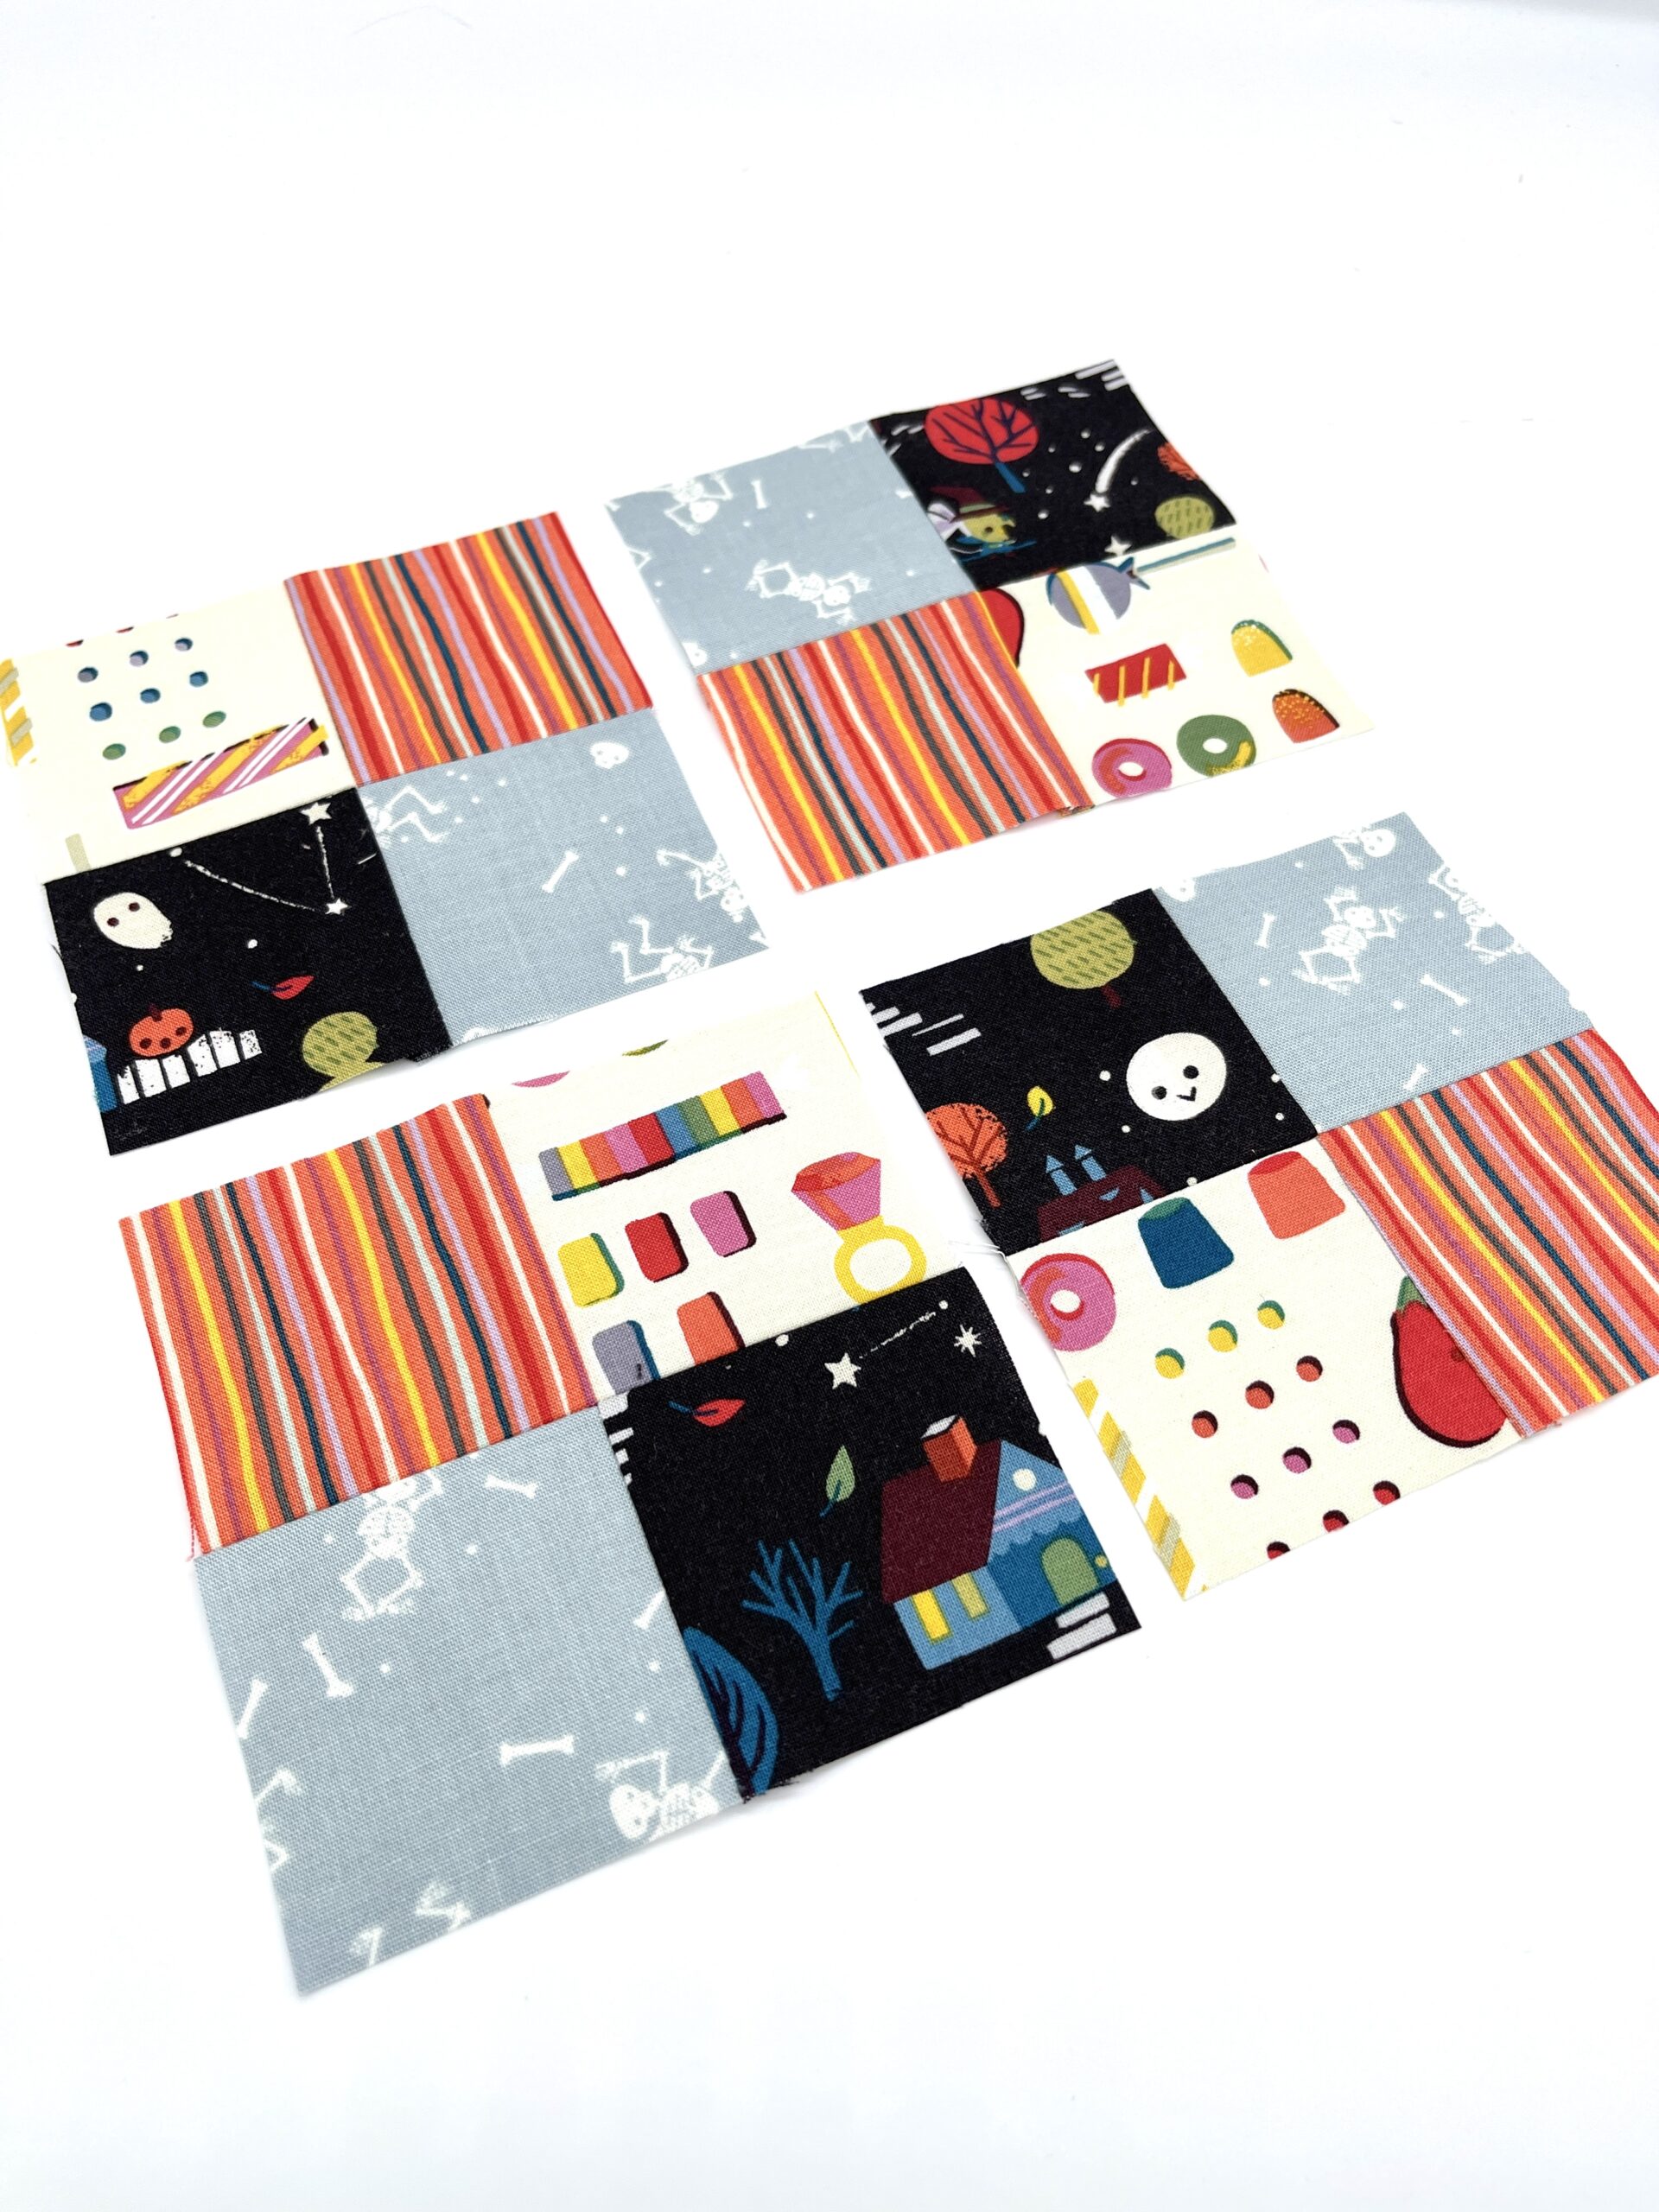
[…] I LOVE 4 patches. But even I have to admit that sometimes cutting all of these little 2.5-3″ squares just to sew them back together again seems maddening! That’s why I love this sewing hack to make 40 beautiful 4 patch blocks using 1 charm pack (5″ squares). If you don’t have a charm pack handy, check out my tutorial on how to make perfect 4 patch blocks! […]