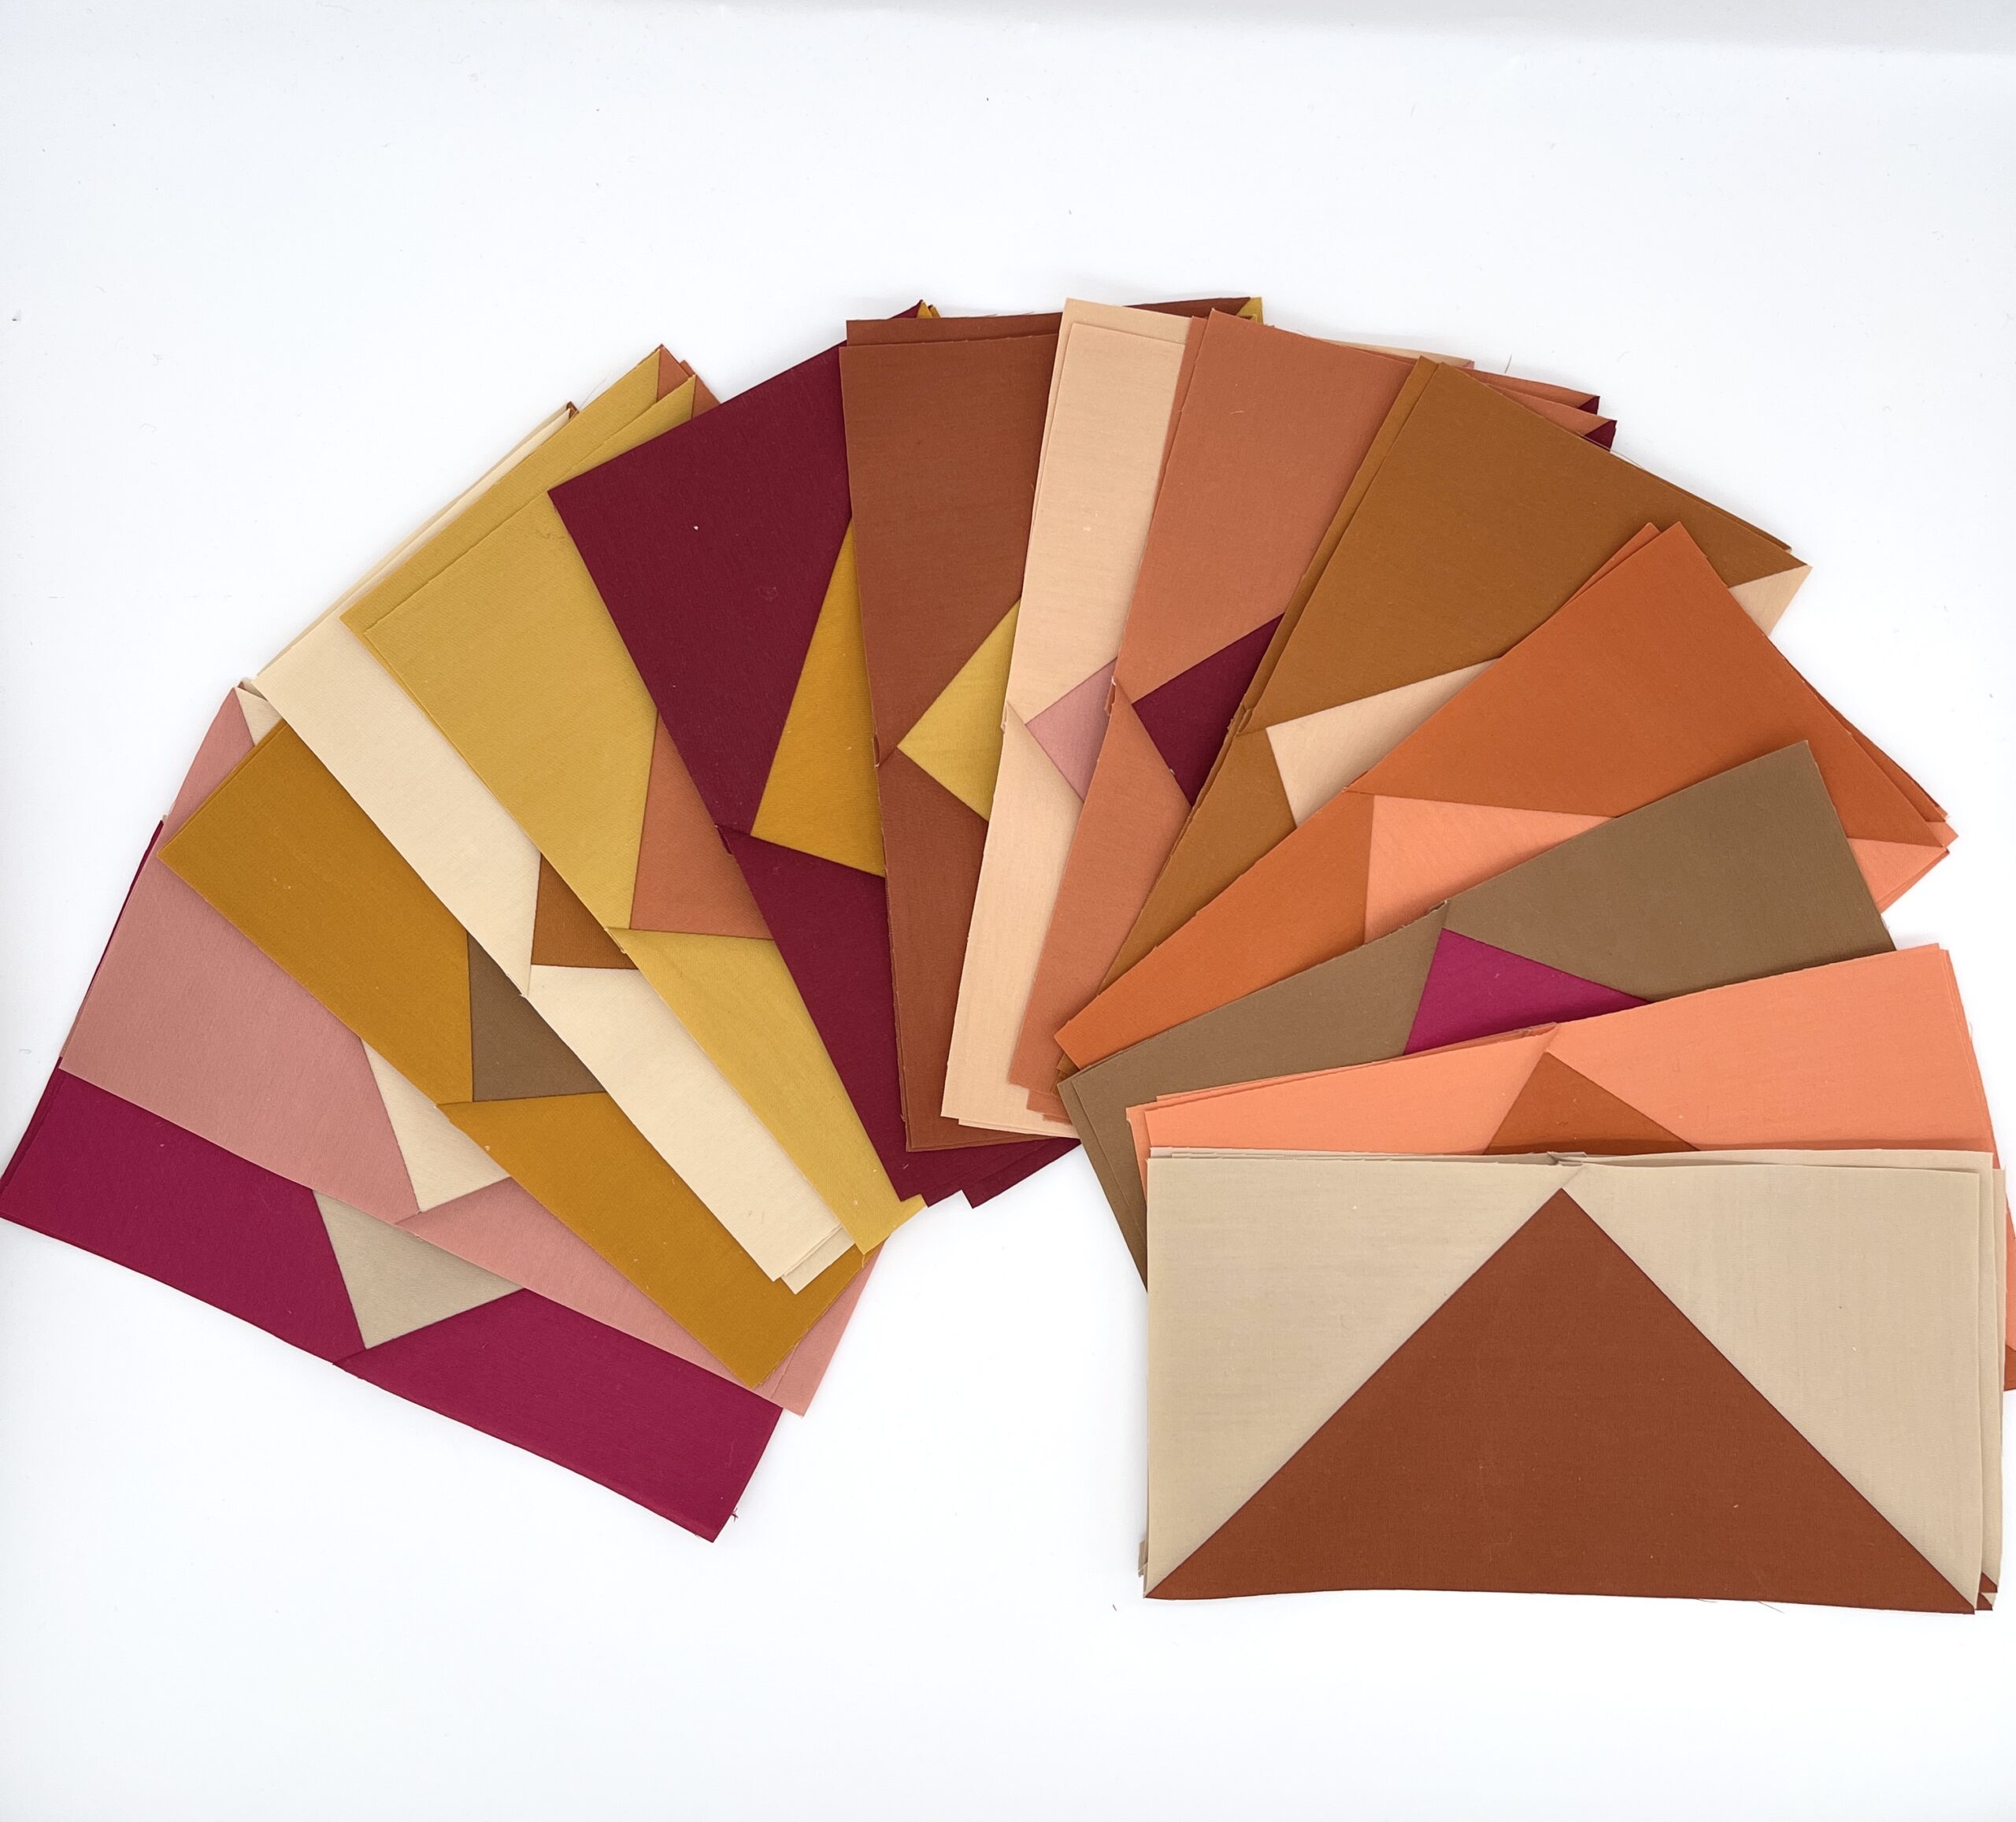
Ready for a more efficient method for making half square triangles (commonly referred to as HSTs)? Let me introduce you to my favorite method for making these simple blocks – the 4 at a time method! I love this method because there is NO marking or extra prep work needed. The method is so quick, easy, very forgiving and beginner friendly! There are a few tips that I have for you to make sure these come out perfect every time!
Get your quilting tools and fabric ready!
What you’ll need:
In addition to your fabric and your sewing machine of course, you’ll also need a few basic sewing supplies:
Quilting rulers in varying sizes
Thread (I prefer Aurifil 50wt in White for piecing blocks)
Iron/ironing board (I love my Oliso Mini Project iron and my wool pressing mat)
Mechanical pencil/fabric marking pen (I use Frixon brand pens)
Scissors or rotary cutter (Love my Olfa 45mm Pacific Blue rotary cutter or my Fairy Floss Pink one!)
Seam ripper (you just never know)
There is one word of caution when making four at a time half square triangles…you’ll be working on the bias of your fabric, which can cause stretching. But with a few extra tips and tricks, you can avoid problems and make dozens of half square triangles in no time. Want to know my biggest recommendation for dealing with fabric bias? Proper fabric preparation! Read my blog article about how I prepare my fabric to set myself up for HST success!
Before we dive in, have you seen my Ultimate Half Square Triangle Guide which includes measurements for all three methods for making half square triangles? If not, check out that article for the download and print it out for future reference!
4 at a time Half Square Triangle Method
First we will take two fabric squares. I am making 5 1/2 inch trimmed half square triangles, so my beginning squares will measure 9″ inches. Not sure how big to start your squares with? The Ultimate Half Square Triangle Guide gives you all the measurements you need. On another note, how beautiful is this Rifle Paper Co. fabric!!

Sewing your Half Square Triangles
As I mentioned before, this is my favorite method because there is no marking or special measuring involved. Lay your fabric squares right sides together and make sure that your edges are lined up. You can pin to avoid your fabric shifting. Next step is to simply sew!
Sew a 1/4″ seam around all four sides of your fabric squares. I actually sew straight off the edge of my fabric and then re-position to sew down the next side of my square instead of stopping and starting 1/4″ away from the edge each time. However you can stop and pivot at each corner if you would like. The look of your corners won’t matter as much because we will be trimming these later in the process! Also, as I mentioned, in this method, we will be working on the bias of the fabric. Sew carefully to avoid stretching your fabric. No perfection needed with this method though! More on this in just a bit when I prove that point!

You can see how I sew off the edge of my fabric squares, again, it won’t matter because this section will be trimmed off.
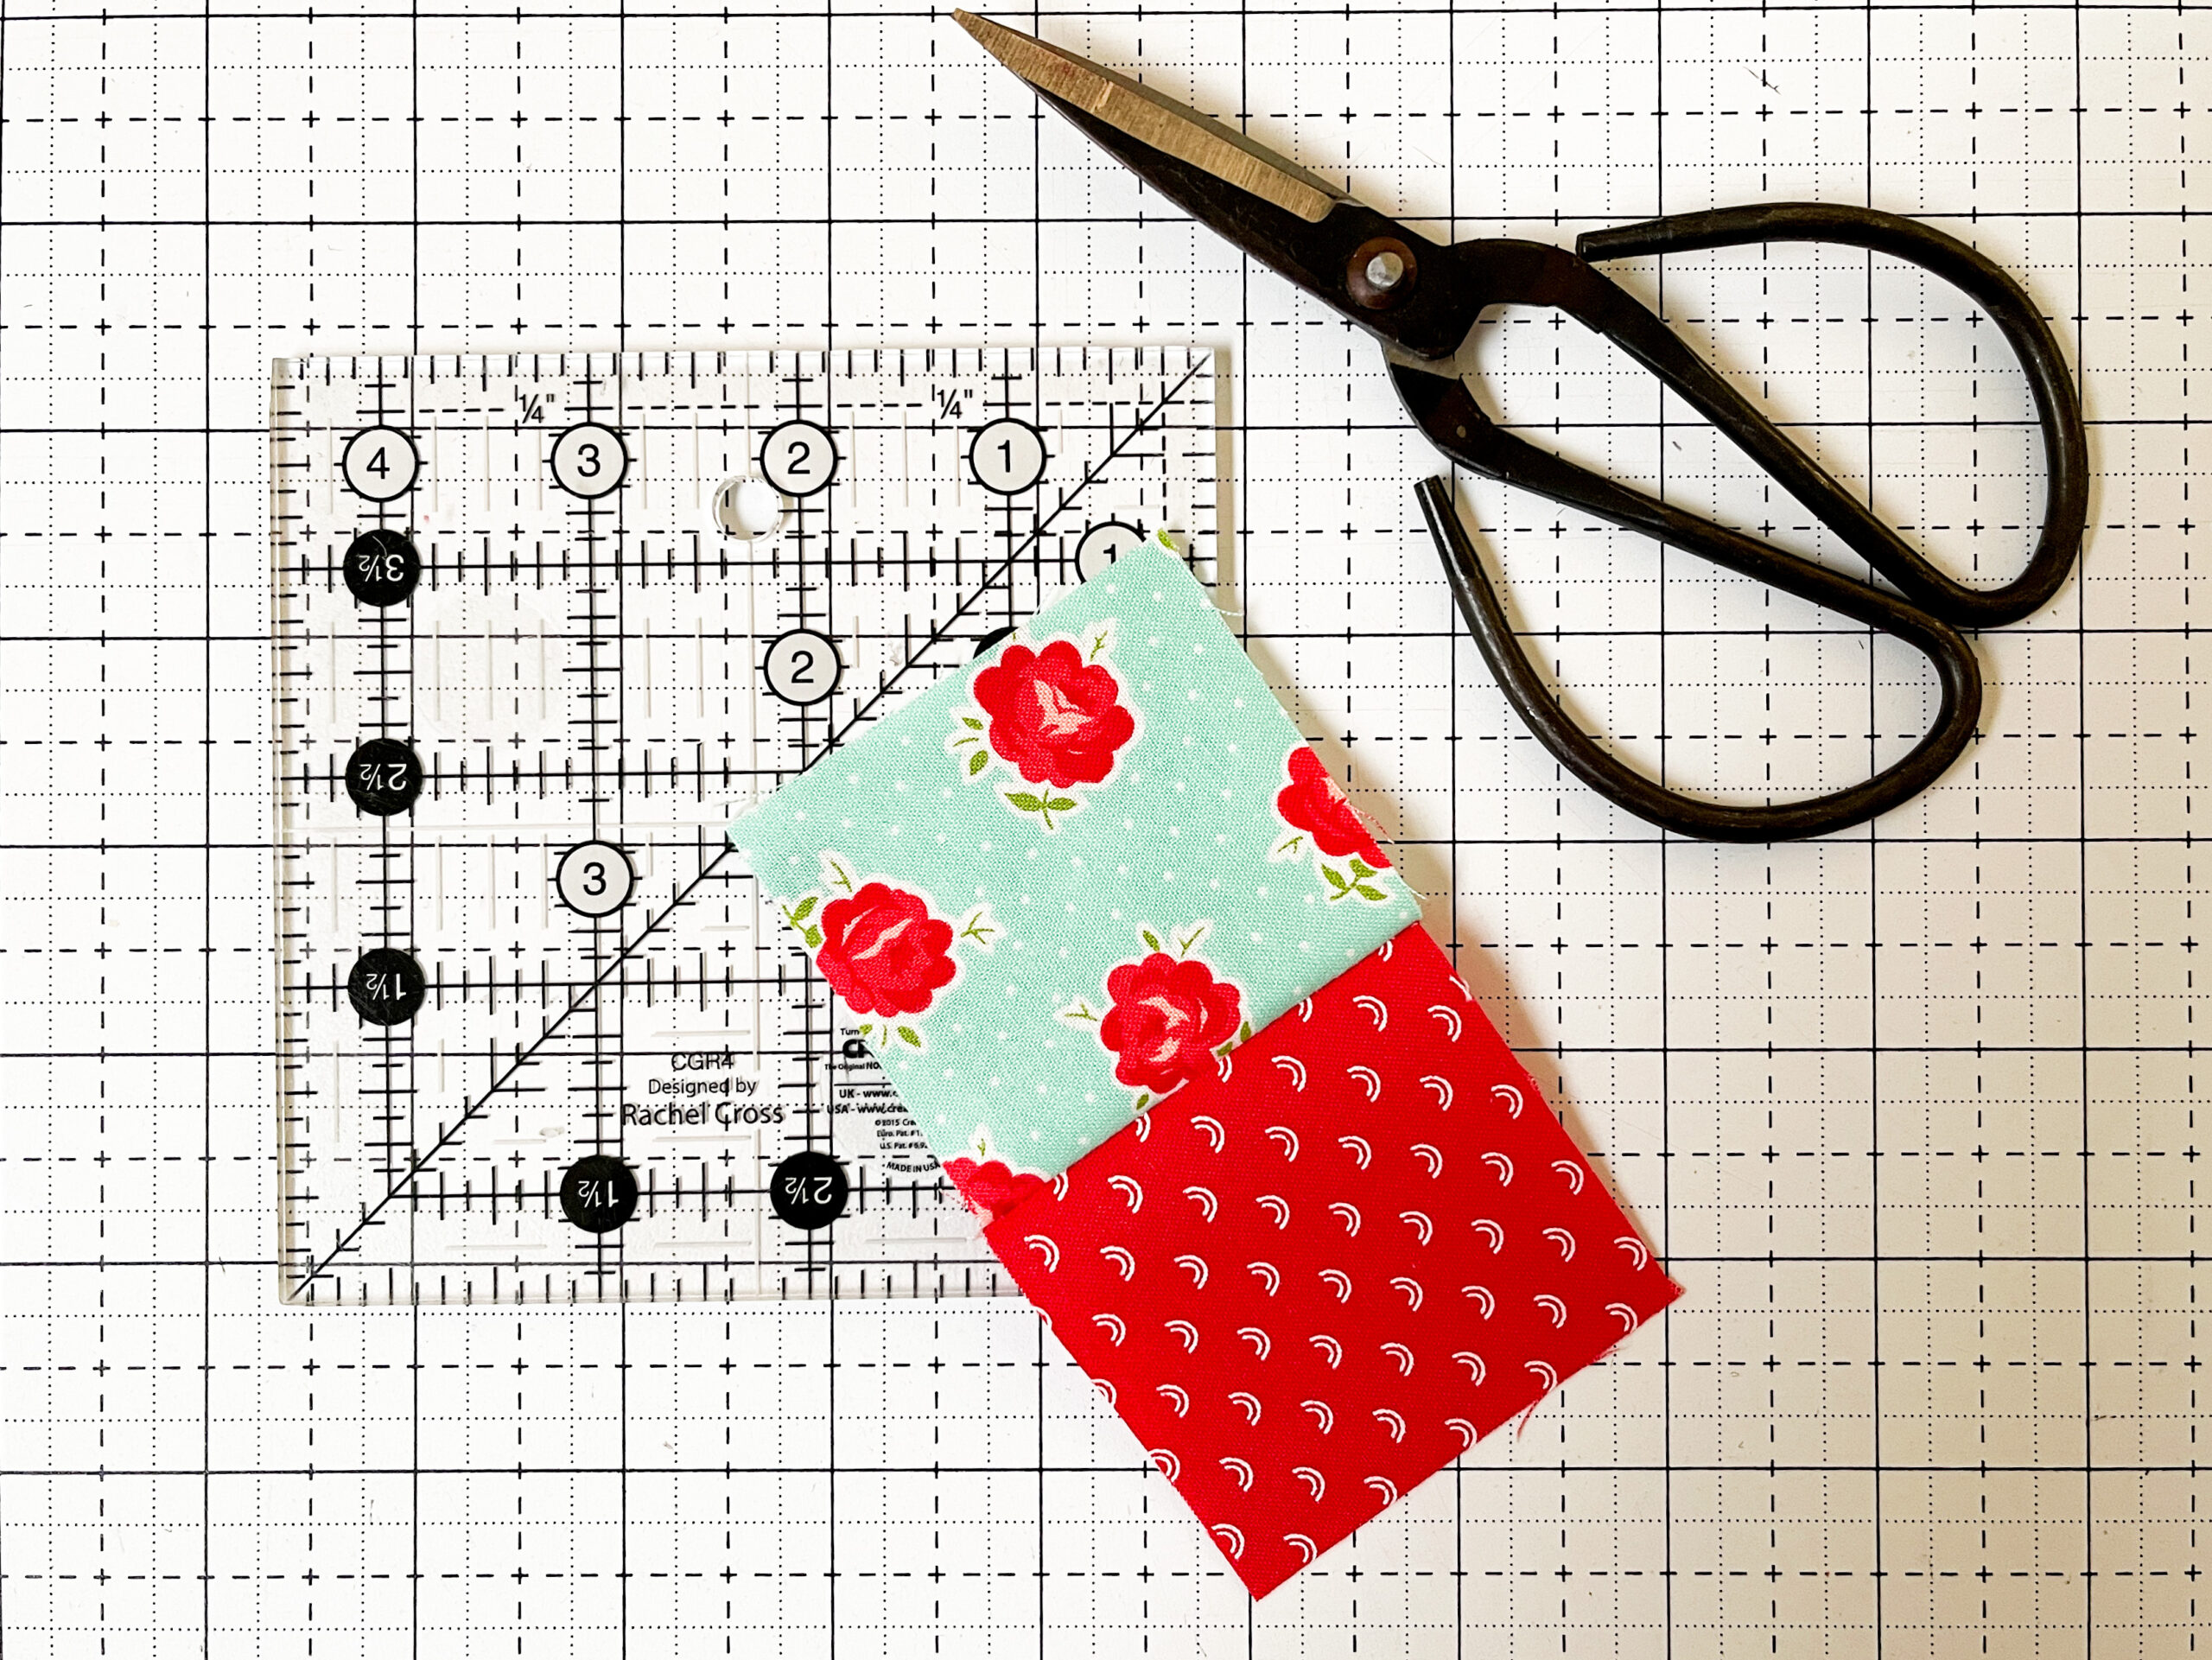
After your 1/4″ seam is sewn around all four sides of your square, lay your quilting ruler on the diagonal to intersect each sewn corner.

Also, I have a whoopsie…notice how my fabric shifted a bit when I was sewing (my bad, I didn’t pin)? Well, the stitches in the corners and the mis-matched fabric edges won’t matter because we will be trimming it away when we trim our half-square triangles! Remember–there are no quilt police!

The measurements in my Ultimate Half Square Triangle Guide allow for extra room to trim the blocks to perfection! You may use a bit more fabric, but this ensures perfectly trimmed half square triangles.
Now, let’s finish our half square triangles! Cut from one corner down the diagonal to the next corner. This is where a rotating mat really comes in handy because instead of moving your fabric, you can simply rotate your mat to avoid the fabric shifting. If your fabric does shift as you were rotating, simply move it back to line up your squares again.
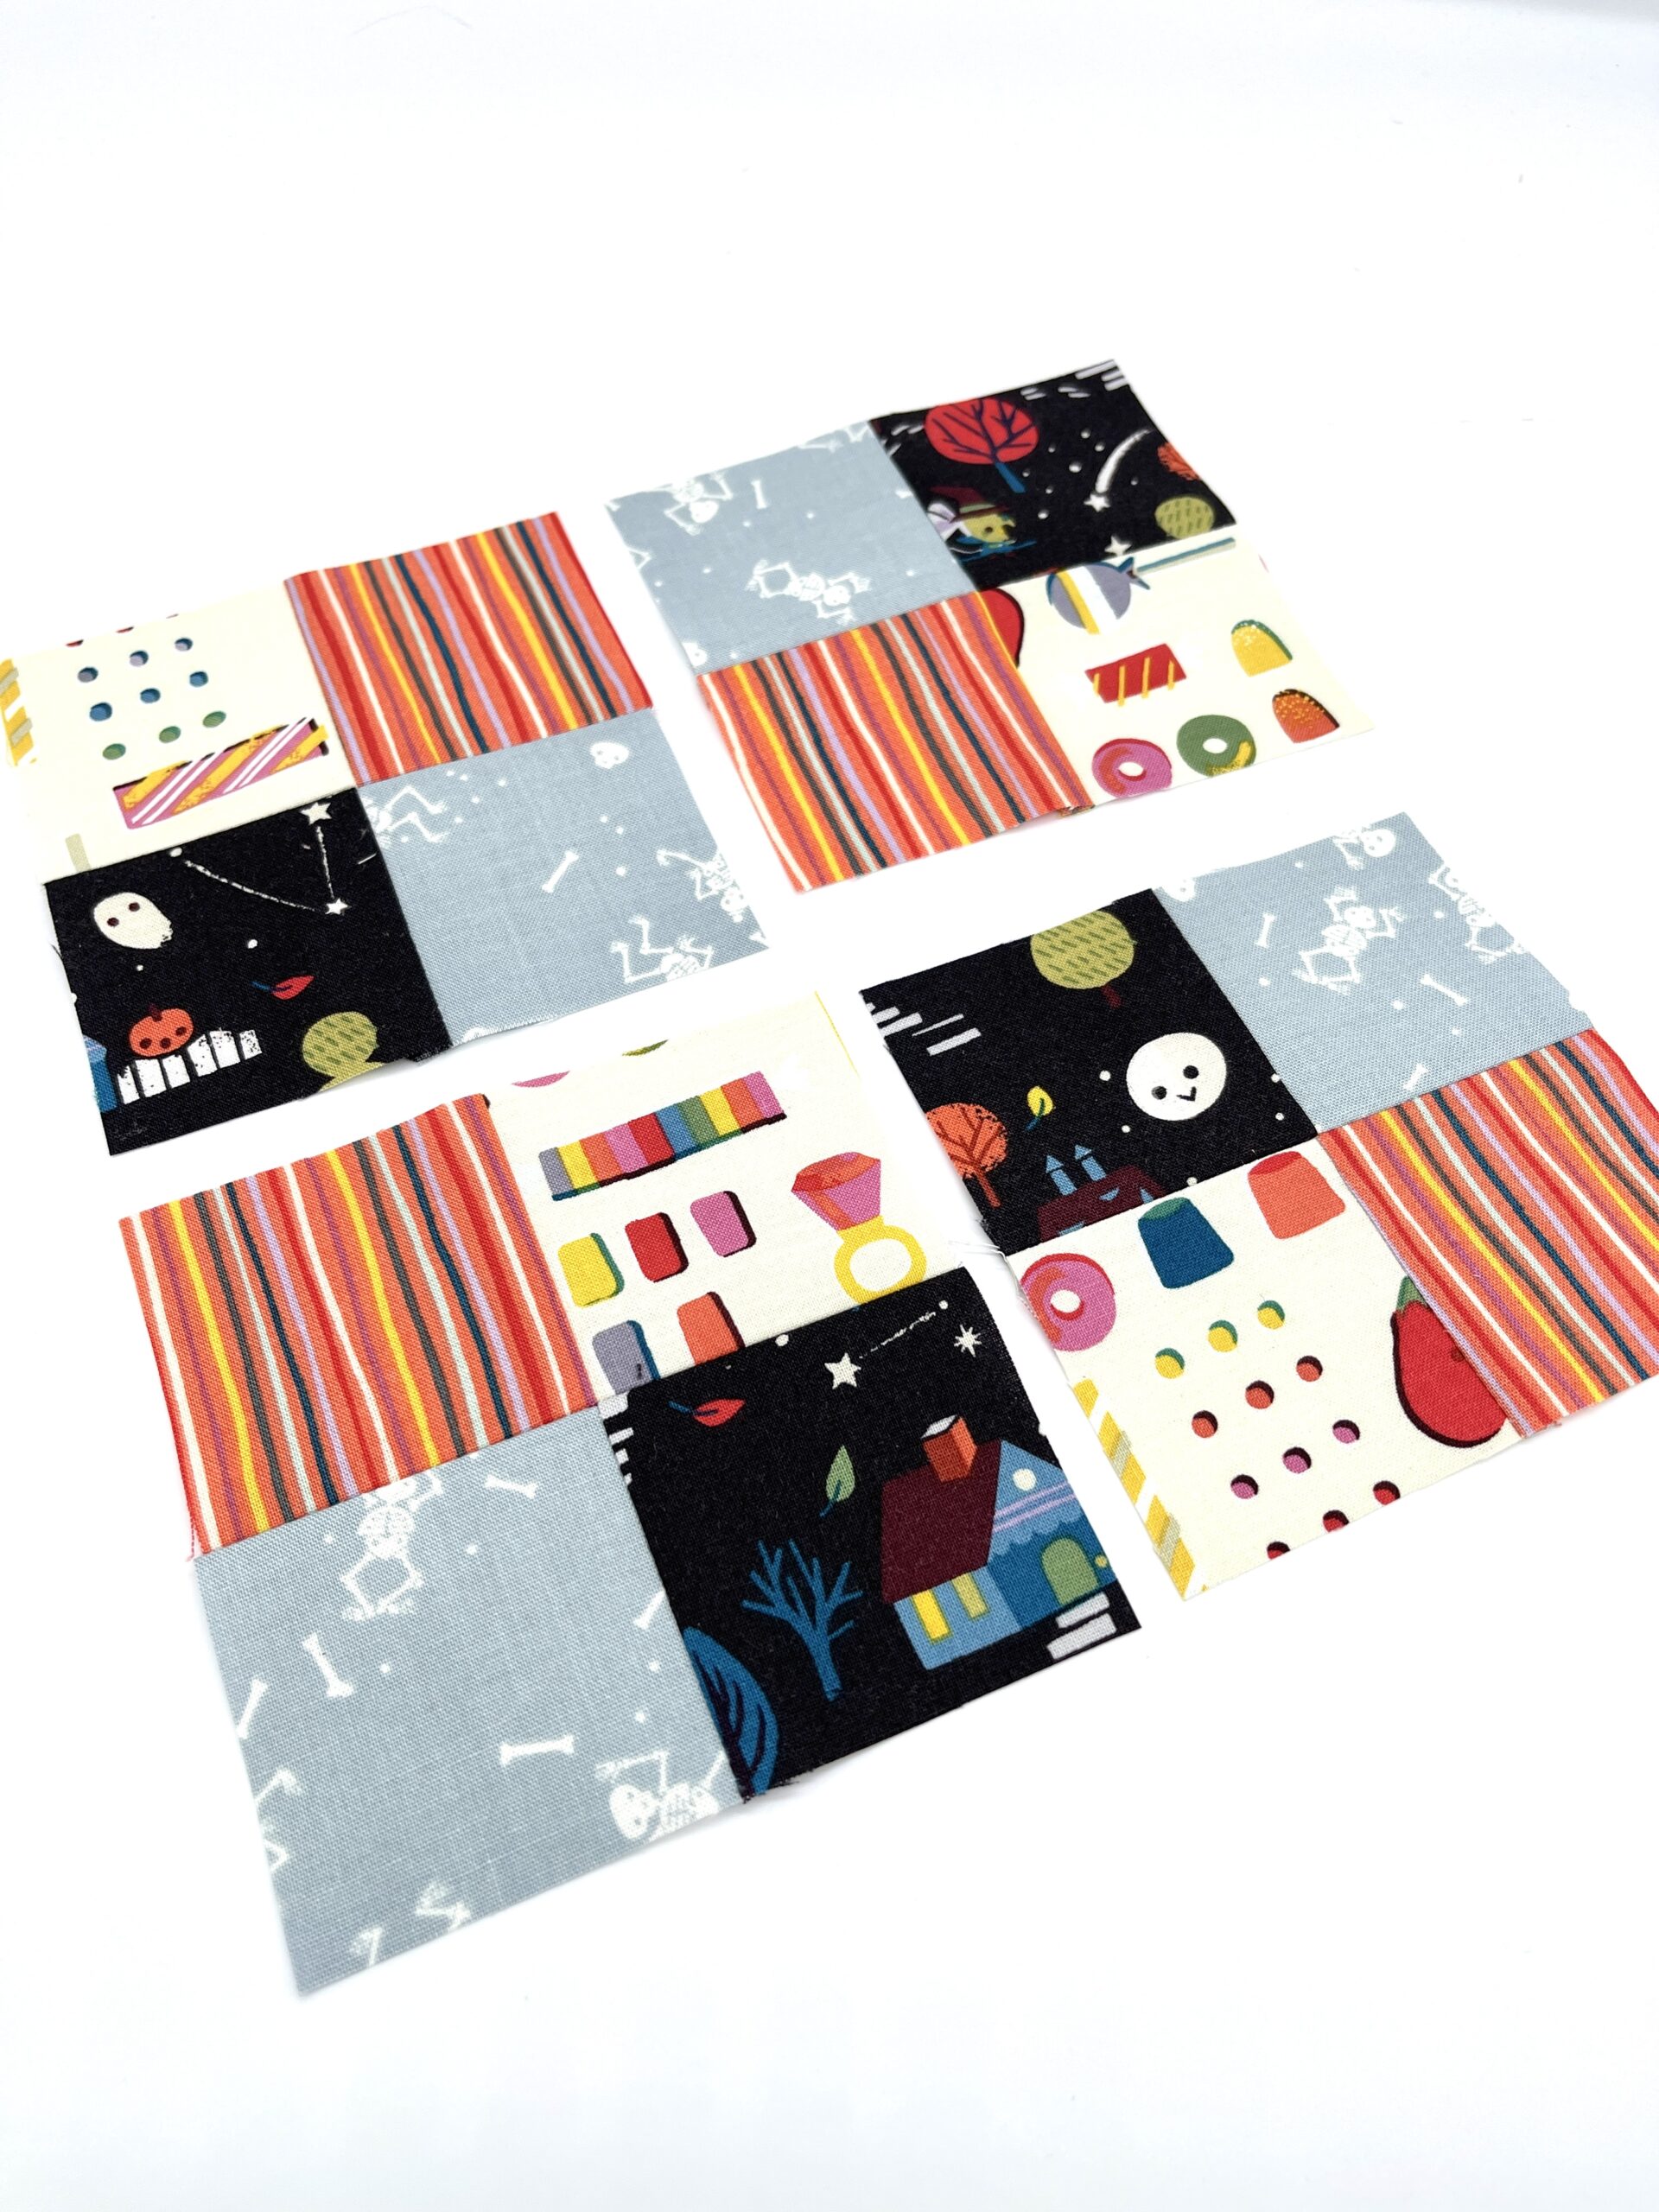
Now trim on the opposite diagonal from corner to corner. Open them up and you have four beautiful half square triangles ready for trimming! Use your favorite method for trimming your blocks! I discuss this in more detail when I discussed the 2 at a time method.
An additional word for you about working on the bias. When pressing your blocks open, make sure you are “pressing” your fabric by lifting and lowering your iron straight up and down…not ‘ironing” or moving your iron back and forth on the fabric (like you would a pair of pants!). This will reduce the chances that you stretch or distort your block.

Mastering Half Square Triangles
Once you’ve mastered your half square triangles, you’ll be ready to make them for a quilt! Here is my finished block, which is a block from my pattern Churn Butter Cookie Quilt. See how versatile these little quilt gems are?

My Churn Butter Cookie Quilt utilizes the 4-at-a-time method for making half-square triangles, so it comes together so quickly!

Affiliate Disclosure Policy: This website uses affiliate links, and I may earn a small commission if you purchase through these links. Please note that I’ve linked to these products purely because I recommend them and they are from companies I trust. There is no additional cost to you.
*This article is not sponsored by any of these makers/manufacturers, they are truly my favorite quilting tools and I want to recommend them to you! Do you have favorites that you swear by? Tell me all about them, I love to try new products out!
Don’t forget to download your copy of the Ultimate Half Square Triangle Guide!
Save or print it for future use!


[…] 4-at-a-time method for making half square triangles is also used in making your center blocks. I have a great blog article that covers this popular […]