Looking for a way to make your flying geese blocks stand out? In this tutorial, I’ll show you how to make 4-at-a-time flying geese using directional fabric prints. It can be tricky to keep those patterns aligned, but with this method, you’ll create perfectly positioned geese every time! Whether you’re a beginner or experienced quilter, using directional fabric adds a fun, creative touch to your quilt projects. Let’s dive into this easy technique and make your next quilt design shine!
I’ve posted a tutorial and tips on how to make 4 at a time flying geese. If you missed the tutorial, you can find it HERE. A common complaint I have heard is that you can’t use directional prints when using the 4 at a time flying geese method. Well, that’s not true! You CAN use directional prints AND use the 4 at a time method for making your flying geese! And of course, I’m going to show you how!
**NOTE** It is important to think about the pattern you will be using. If the flying geese are all facing the same direction, then some of your prints may not be facing the right way. But if you are using a pattern like my Cinnamon Spice Quilt pattern, where the geese are facing different directions, then you are golden!
Get your fabrics and supplies together
In addition to your fabric and your sewing machine of course, you’ll also need a few basic sewing supplies:
- Quilting rulers in varying sizes
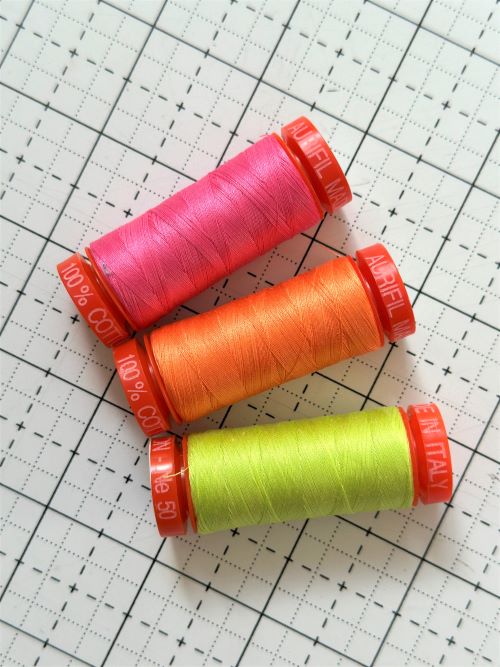
- Thread (I prefer Aurifil 50wt in White for piecing blocks)
- Iron/ironing board (I love my Oliso Mini Project iron and my wool pressing mat)
- Mechanical pencil/fabric marking pen (I use Frixon brand pens)
- Scissors or rotary cutter (Love my Olfa 45mm Pacific Blue rotary cutter or my Fairy Floss Pink one!)
- Rotary cutting mat
- Seam ripper (you just never know)
My fabric choice
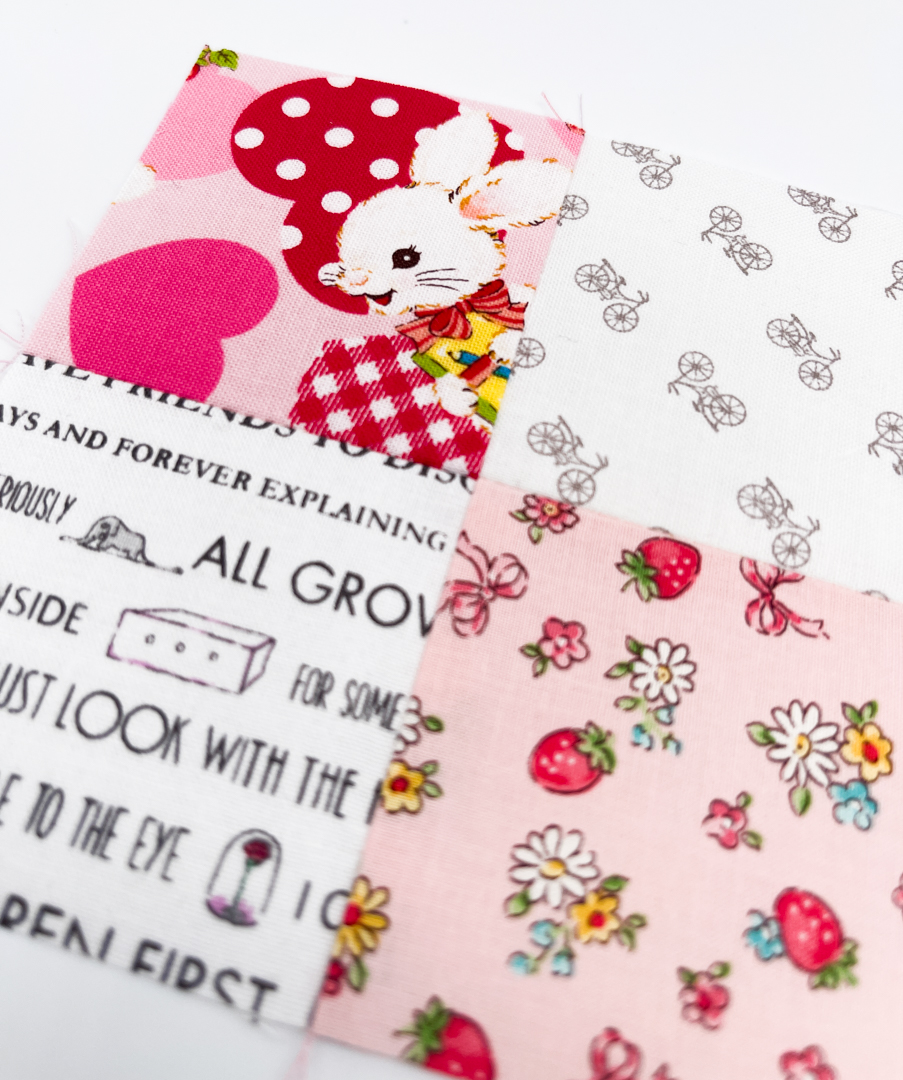
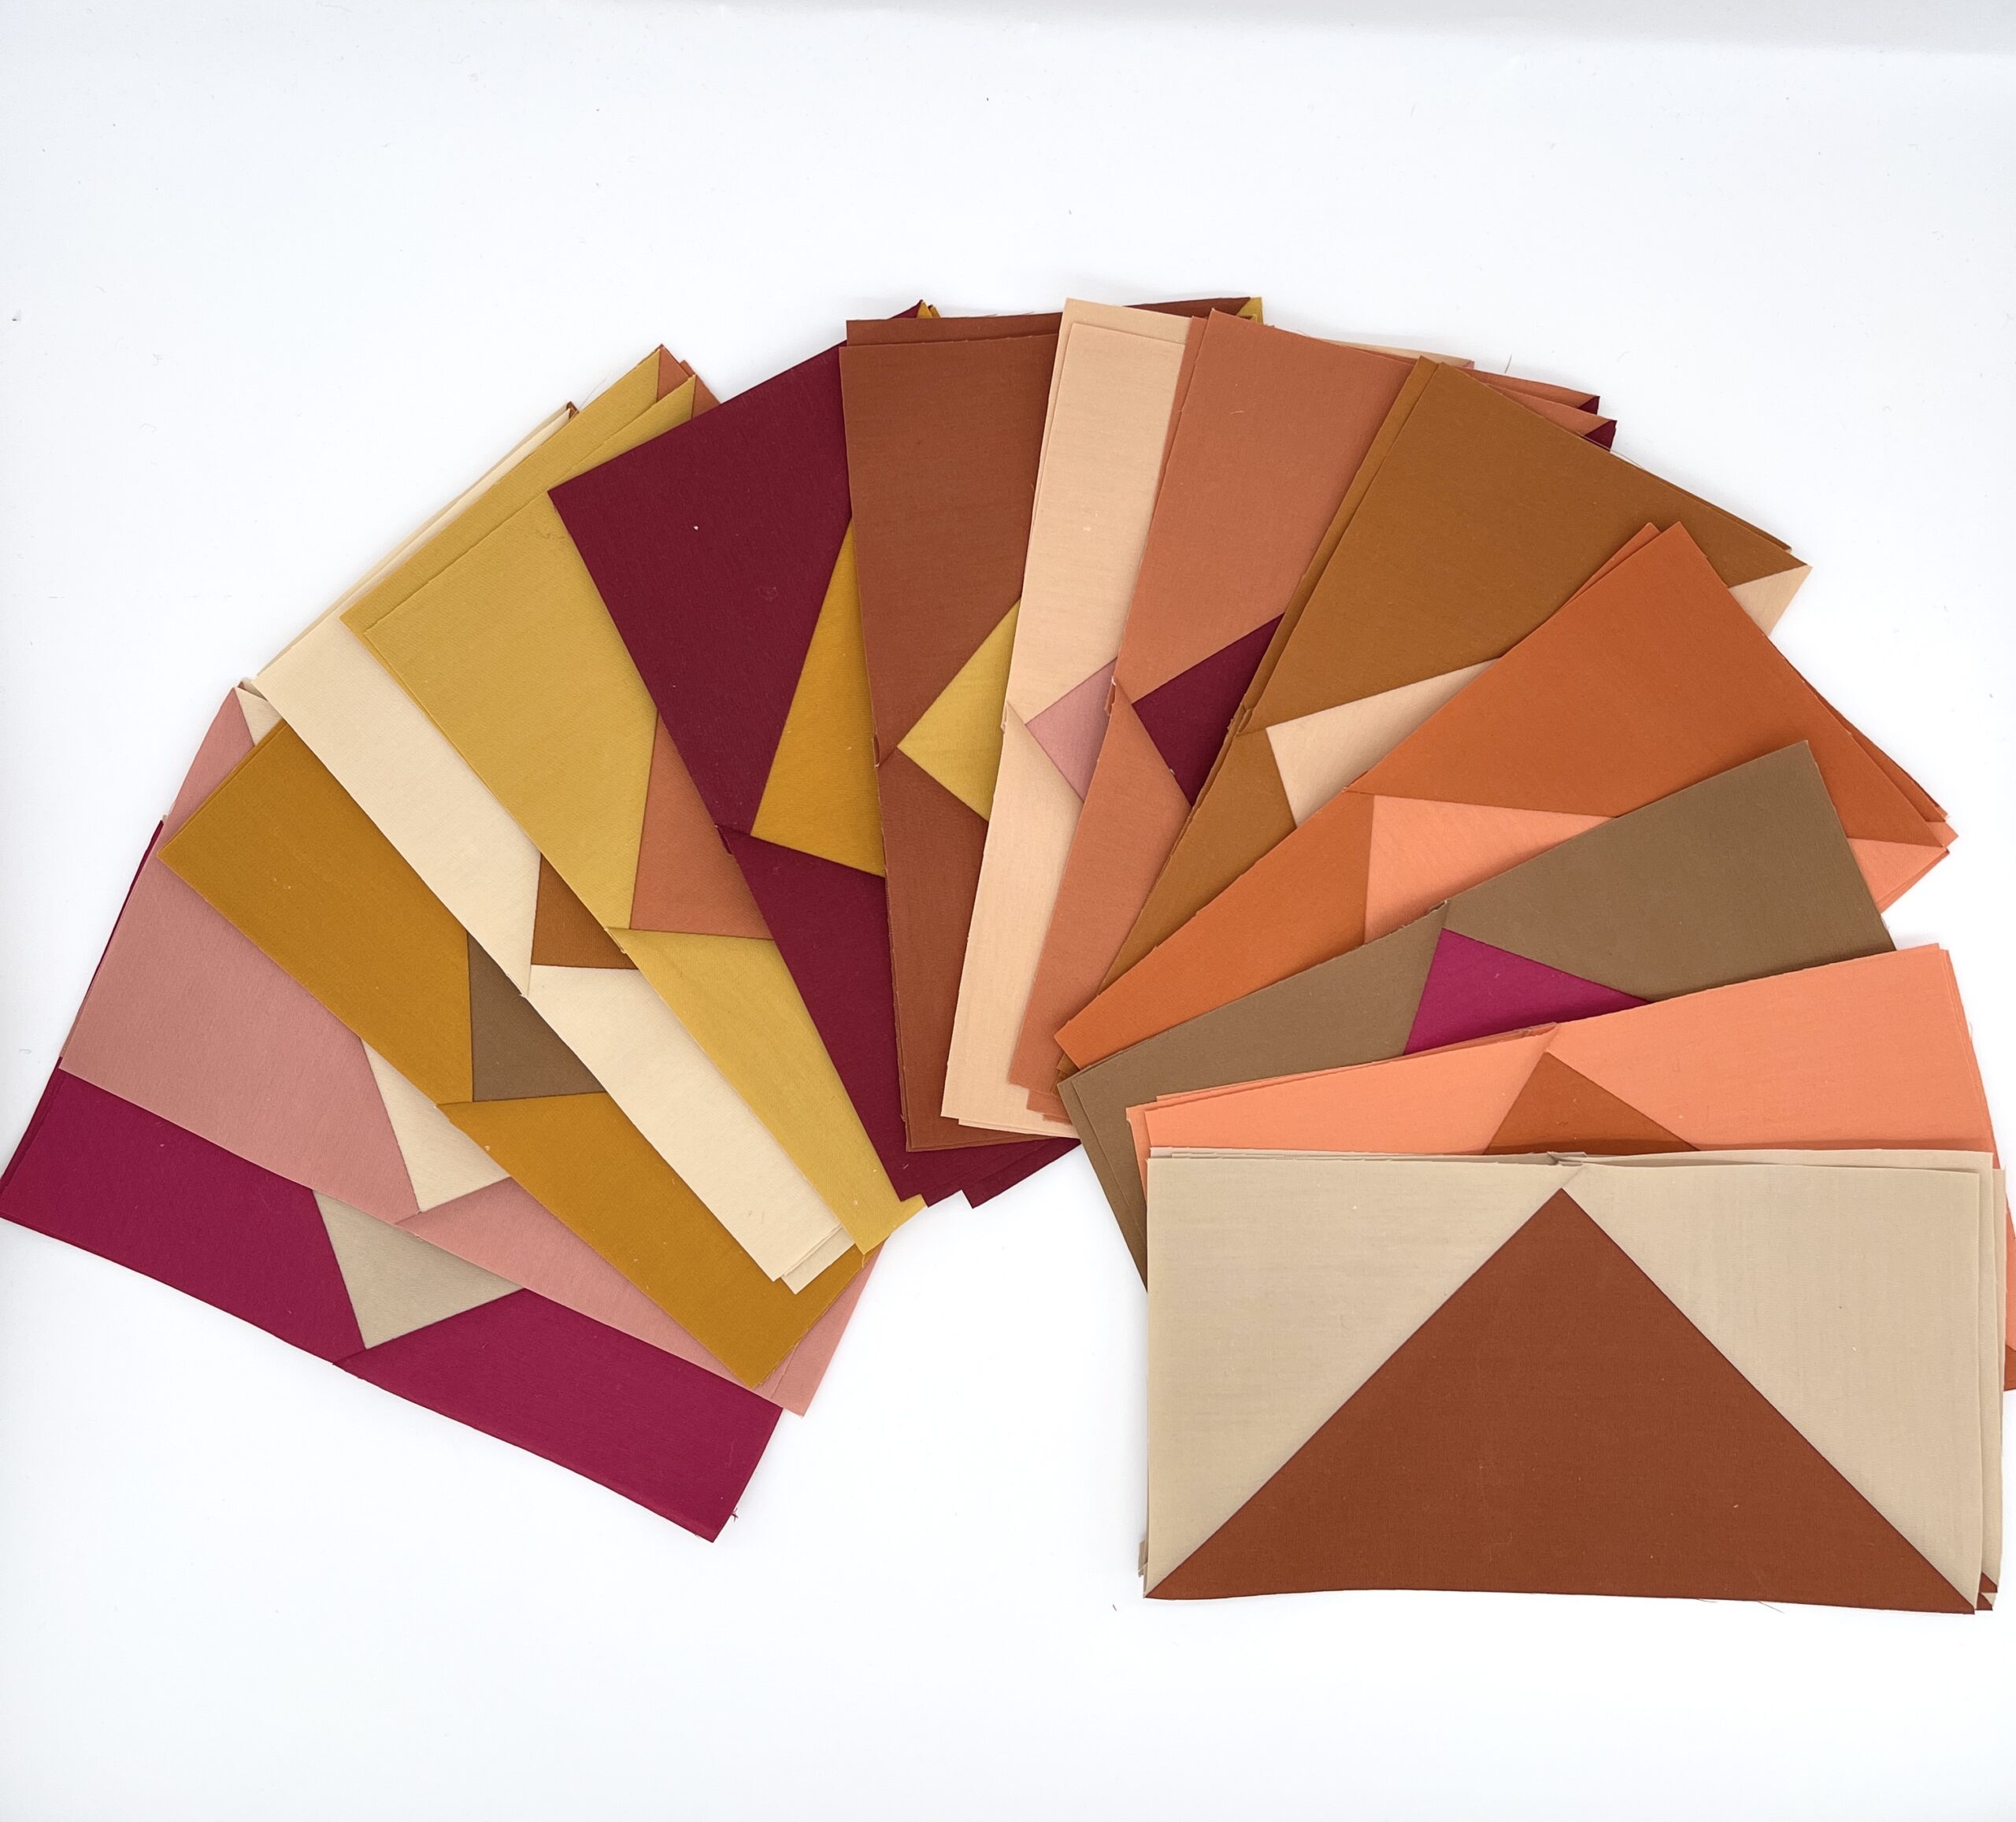
First, let’s look at this adorable fabric that I chose for this project. I present to you, “Food Face” by Corinne Lent for PBS Fabrics. The group comes in a flat stack, which basically means that each fat quarter is printed on one piece of fabric, as opposed to having each fat quarter cut from yardage. It was super easy to cut the panel and start on my project! I paired these with a few Art Gallery Fabrics Pure Solids for my project!


Look at this adorable selvedge!
Let’s get started making our directional 4 at a time flying geese
I have a full 4 at a time flying geese tutorial, but I’m just going to cover the basics here and move on to the exciting part – using directional fabrics!
When making 4 at a time flying geese, we start off with (1) large square and (4) smaller squares to make our blocks.

On the back of each of the (4) smaller squares, draw a diagonal line from corner to corner, using a pencil or fabric marking tool/pen. First important tip: Make sure that your smaller squares are facing the same direction BEFORE drawing your line. You can lay your fabrics out first and then draw your line to make sure they are facing the right direction. You can see with mine that the small squares with the little rainbows are facing the same direction.


Lay (1) smaller square on the bottom left corner and the top right corner of your larger square. There will be overlap in the middle. We want this!! Make sure that your drawn line lines up as well. Another option is to lay your squares down first and then draw your line so make sure that it lines up properly.
I like to pin these squares in place, placing the pins further away from my drawn line so there is no need to remove the pins as you sew! Also, instead of lining your squares up EXACTLY on the edges, place the squares just a few threads away from the edge. You don’t want to place them too far away, but just enough to give us a bit of room.
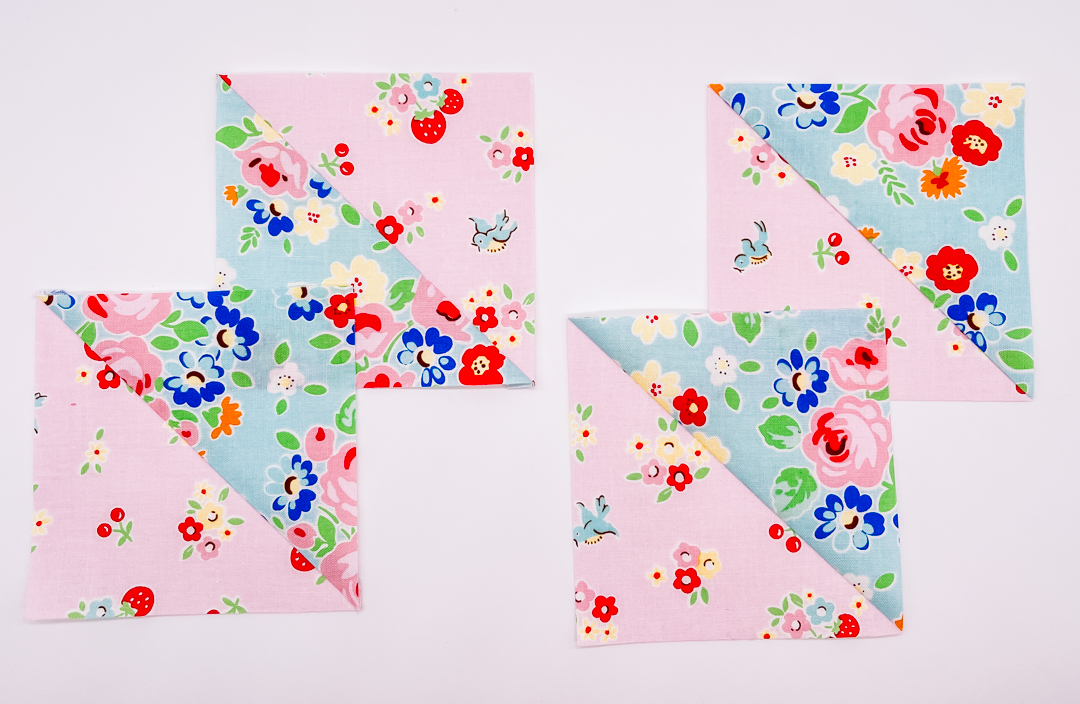
Sew a “scant” 1/4″ away, on both sides of the drawn line. Press to set the seams and then press the triangles outward. Your units will look like this! Looking cute, aren’t they?


Now here is the magical part about using the directional prints. Make sure that your prints are facing the correct direction BEFORE you mark and sew them. What I like to do is lay them out on my unit (as if I were going to sew them) but I flip them outward to see if they are facing the right direction.
WRONG! You can see the rainbows would be facing the wrong direction if I sewed them like this.

YES!! I rotated the small square and now the rainbows are facing the same direction as the ones on the right side!

Now we want to make sure that the direction works with the other side of our unit. So I just flip it over to check and it’s perfect!

YES! This looks good too!
Now you can draw the line on your smaller blocks. Repeat the same process for the other unit.
On both units, align (1) smaller square with the bottom of your larger block. The top of the smaller square will hang slightly off the edge of the unit. Pin in place if needed, staying to the outside edges again so that they don’t have to be removed while we are sewing.
Sew a scant 1/4” away from each side of the diagonal line.


Then cut along the drawn line to create two units. Since you are doing this twice, you will have four units total. Press to set the seams and then press outward.
Trimming
As I mentioned in my 4 at a time flying geese tutorial, there are several ways to trim your flying geese but I love any tool that increases efficiency, speed and accuracy! So I am all about the Bloc Loc Flying Geese rulers.

You will have 4 completed flying geese. Look how adorable! And we confidently have our fabrics facing the same direction on each block!

Now our blocks are ready to be used in our quilt! As I mentioned at the beginning of the tutorial, the “direction” that your flying geese will be used in your pattern matters. Because I’m using these in my Cinnamon Spice Quilt pattern, I will lay out the flying geese so that the prints are facing the right direction in my quilt. If you were using a different pattern where the flying geese are all pointing in the same direction, then this method may not work for your prints.
Here’s my final quilt top using this fabric collection. I am in love with these colors and the prints are just adorable!

Affiliate Disclosure Policy: This website uses affiliate links, and I may earn a small commission if you purchase through these links. Please note that I’ve linked to these products purely because I recommend them and they are from companies I trust. There is no additional cost to you.
