Half Square Triangles
These fundamental, classic blocks are used in so many patterns! Do you need a large number of half square triangles (HSTs) and don’t want to make them individually? Have you ever seen the 32 at a time HST method? If you need a lot of half square triangles of the same fabric, then this method may be right up your alley!
Half Square Triangle Tools & Notions
First, gather your supplies. In addition to your sewing machine, you’ll need a few extra supplies. Some of these that I recommend are not required to make your HSTs, but they are certainly helpful. We’ll discuss this more as we move through the tutorial.
What you’ll need:
-
Quilting rulers in varying sizes
-
Thread (I prefer Aurifil 50wt in White for piecing blocks)
-
Iron/ironing board (I love my Oliso Mini Project iron and my wool pressing mat)
-
Mechanical pencil/fabric marking pen (I use Frixon brand pens)
-
Scissors or rotary cutter
-
Seam ripper (you just never know)
Quilt Math
I bet you are wondering…what size square should I start with to use in this method? Well, I’m glad you asked! The math is rather simple…
Take the unfinished size of your HST and multiple by 2, then + 1”, then take this number and double it. This gives you the size of the beginning square.
(Unfinished HST x 2) + 1”= X, then 2X = the size of your (2) fabric squares
Don’t want to do the quilty math? Check our my FREE Ultimate Half Square Triangle Guide where I give you common size calculations and tips on making half square triangles in this method, along with other half square triangle making methods!
Note: One of the challenges with using this method is that you will require a larger starting size to yield so many half square triangles, but just think, you could use two fat quarters and get 32 4” half square triangles from this method! Imagine what you could do with a fat quarter bundle!
Let’s get started with the tutorial!
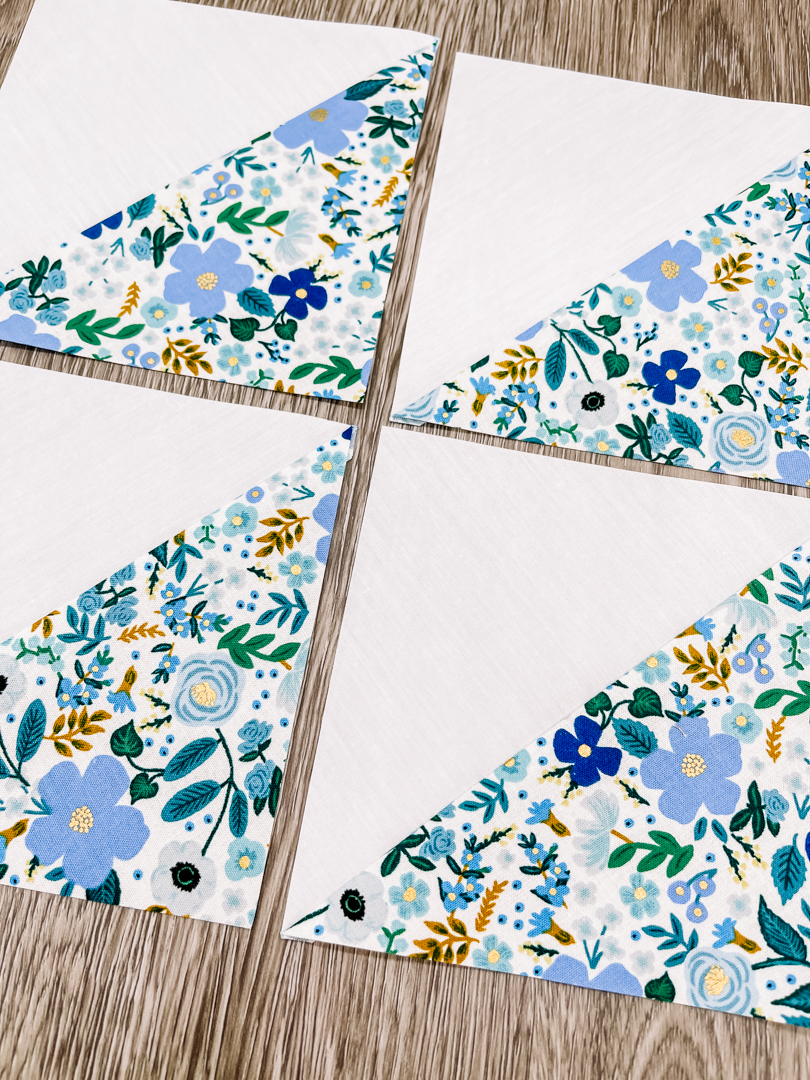
I am starting with (2) 13” squares of contrasting fabric.

With a pencil or fabric marking pen, on the wrong side of (1) square, draw a straight line down the horizontal and vertical centers. Then draw a line from corner to corner on each diagonal (making a large X across the square).


Picturing that you have now have 4 smaller square quadrants within your large square, draw additional diagonal lines quadrant to form a smaller X with each quadrant.

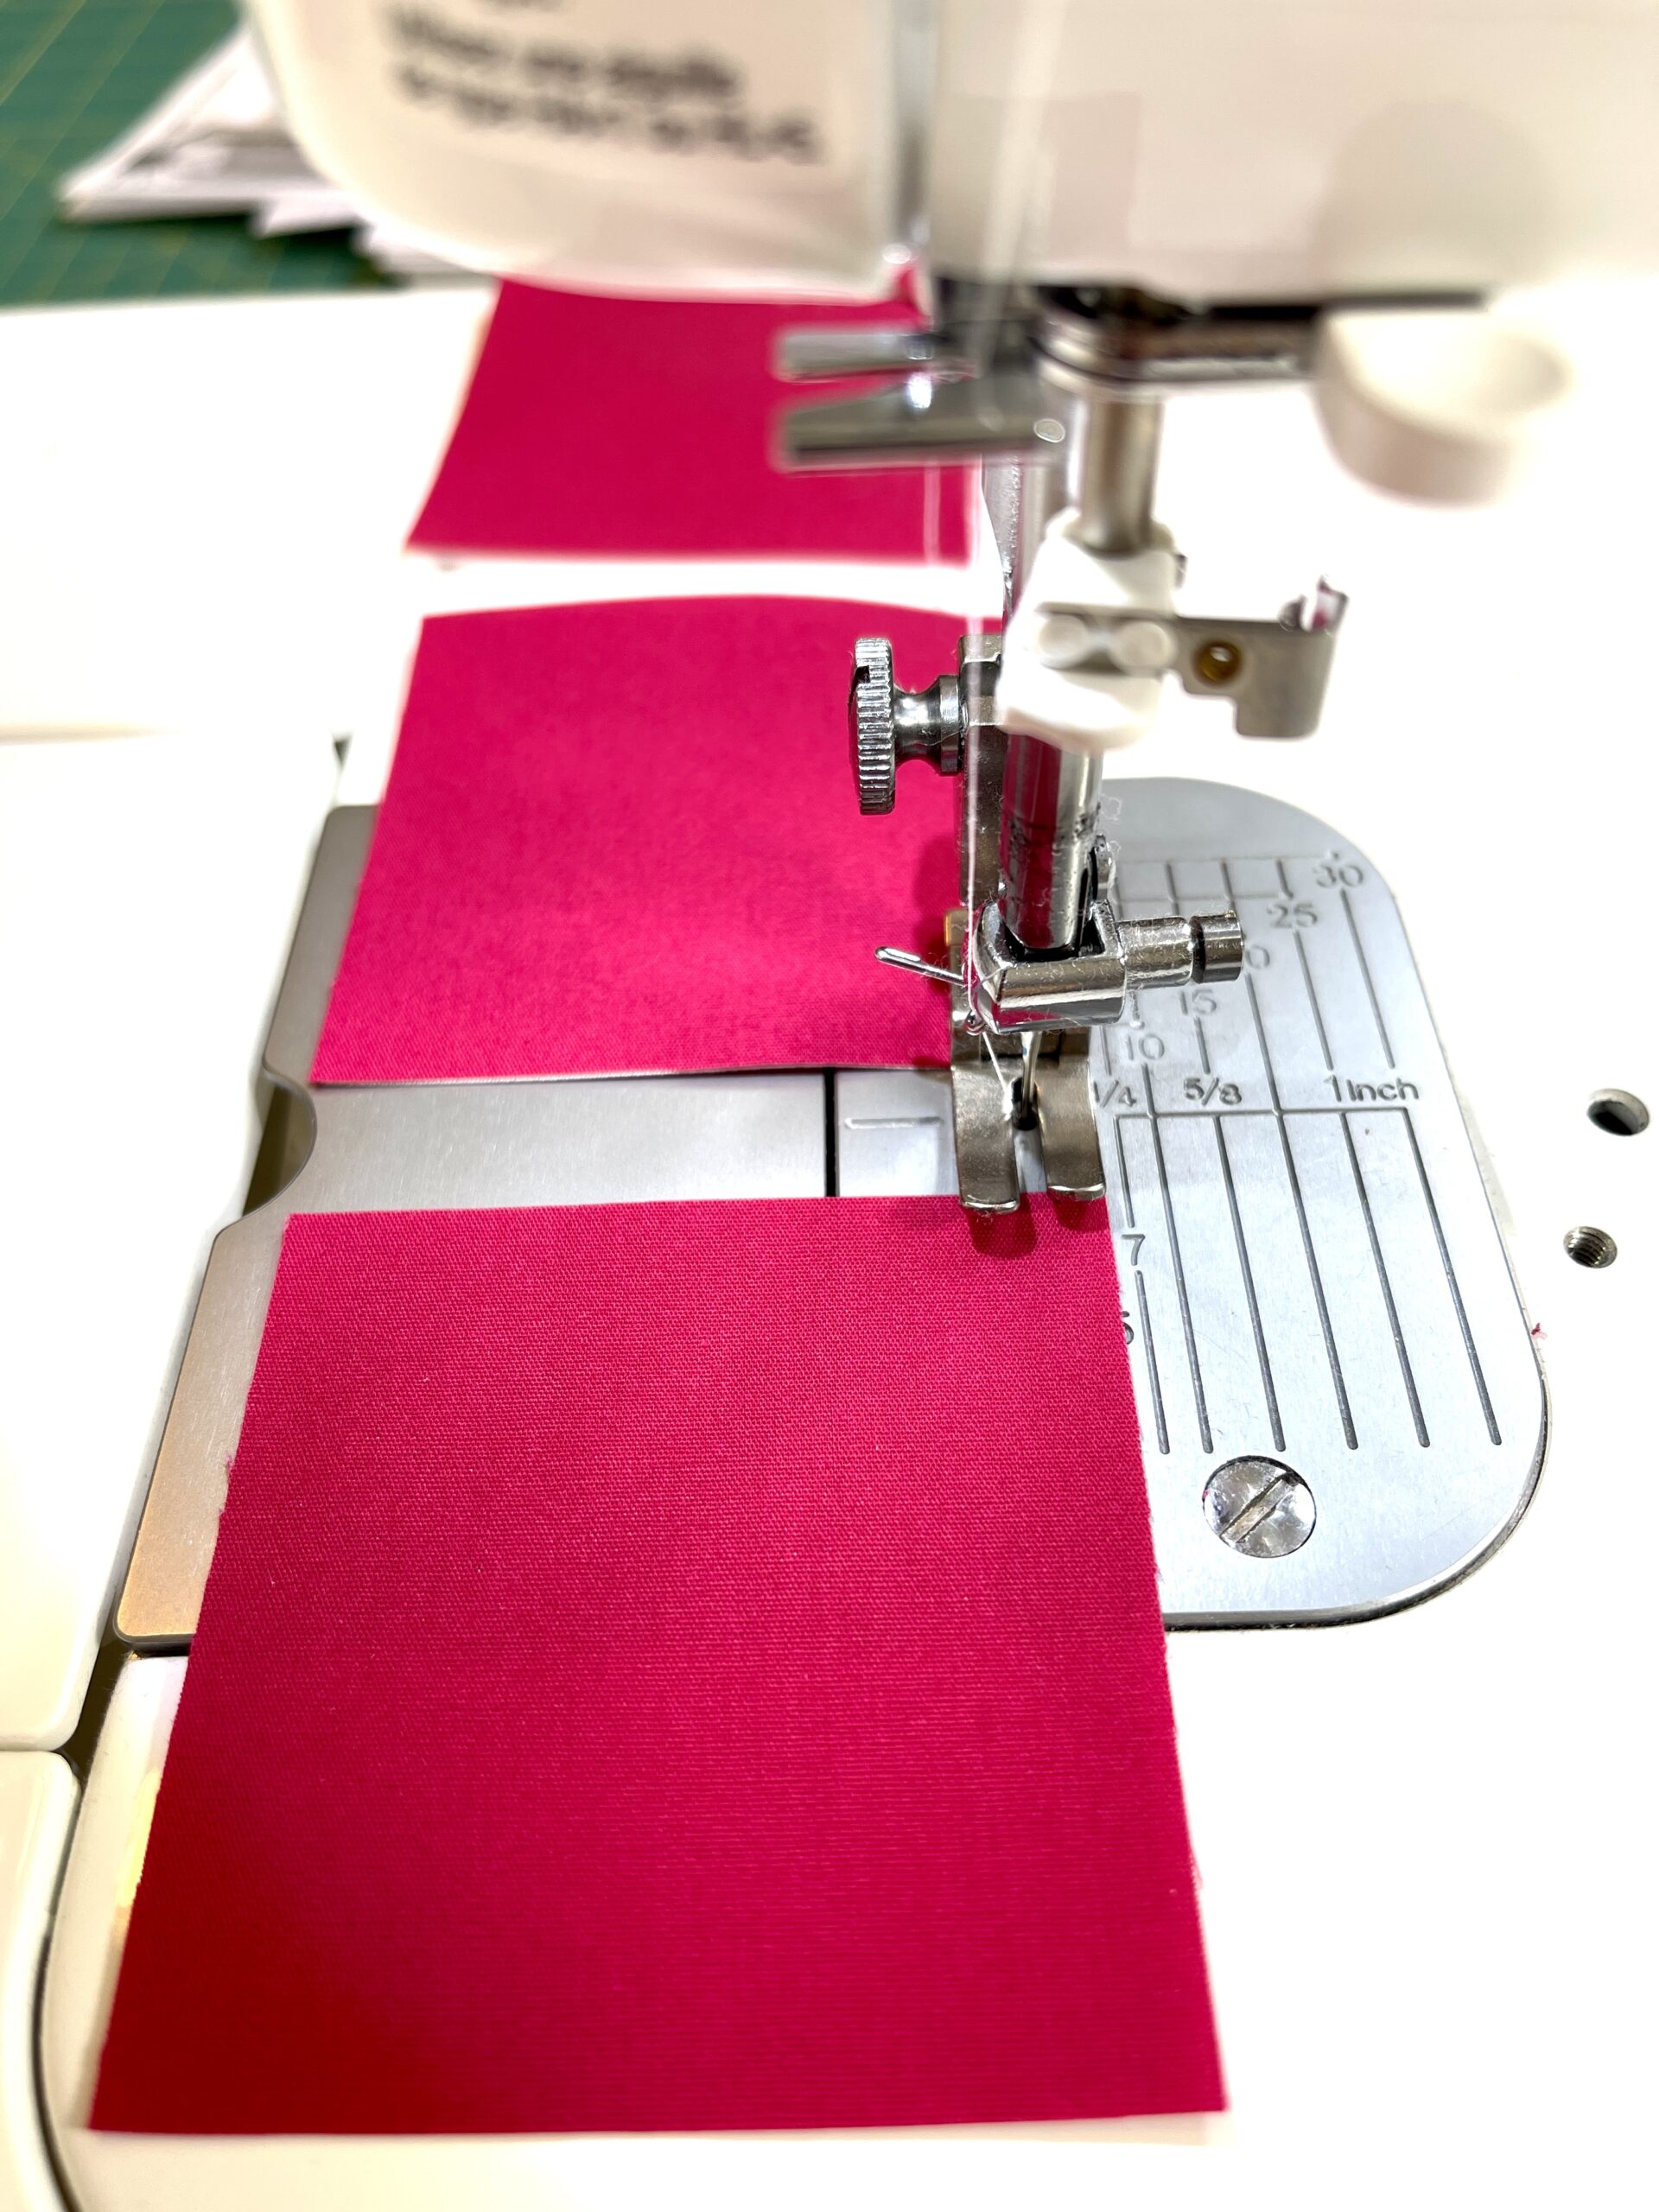
Place this square right side together with your other cut square. I like to pin in areas away from my drawn lines. This holds my fabric together without the need to move the pins as I sew.


Time to take the squares over to the sewing machine. Sew 1/4″ away from both sides of all diagonal drawn lines. DO NOT sew on the horizontal and vertical center lines.
Cutting
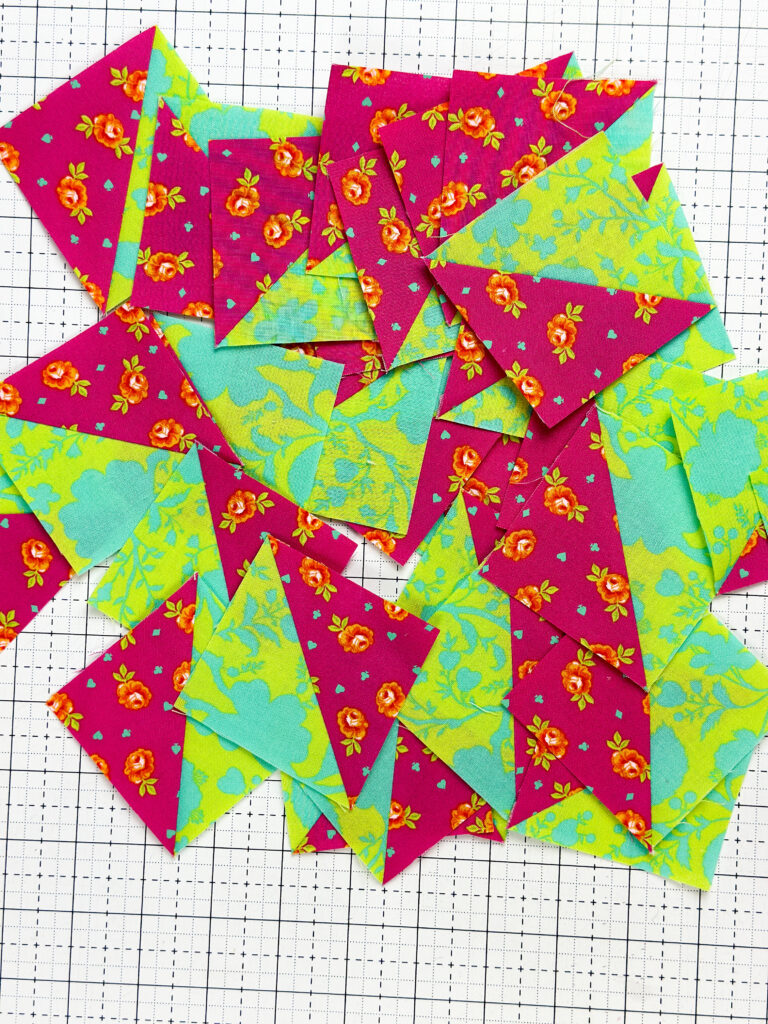
Returning to the visualization of working within quadrants, cut on the center diagonal and vertical lines (you know, the ones you didn’t sew on either side of!) This now gives you 4 identical quadrants to work with. This now resembles the 8 at a time half square triangle making method!

Measure and find the center of your square. Cut down the center horizontally and vertically on each square.

Does this look familiar?
Sure does, they look like the 2 at a time half square triangle method! Now simply cut down the diagonal drawn line. Repeat with the remaining squares.

VIOLA! You have 32 half square triangles ready for trimming and pressing!