Are you a fan of quilting and looking for a fun project to enhance your home or sewing space? Look no further than a raw edge appliqué mug rug! Combining the charm of appliqué with the texture of quilting, this delightful creation will add a touch of personality to your coffee or tea time. In this tutorial, I will show you how to make a raw edge appliqué mug rug, focusing on quilting the background fabric before adding the appliqué. The finished size for this mug rug is 6” x 9”.
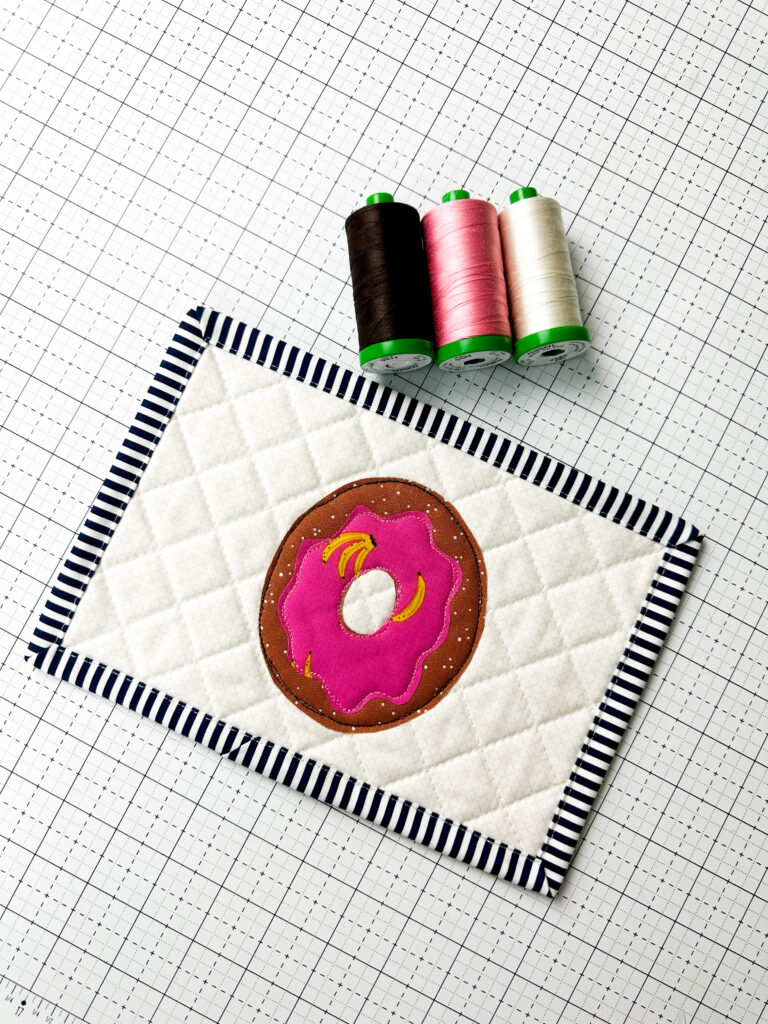
Watch the full YouTube tutorial for more details! So, gather your materials and let’s get started!
Supplies Needed
- Background fabric – (2) 6.5” x 9.5” rectangles
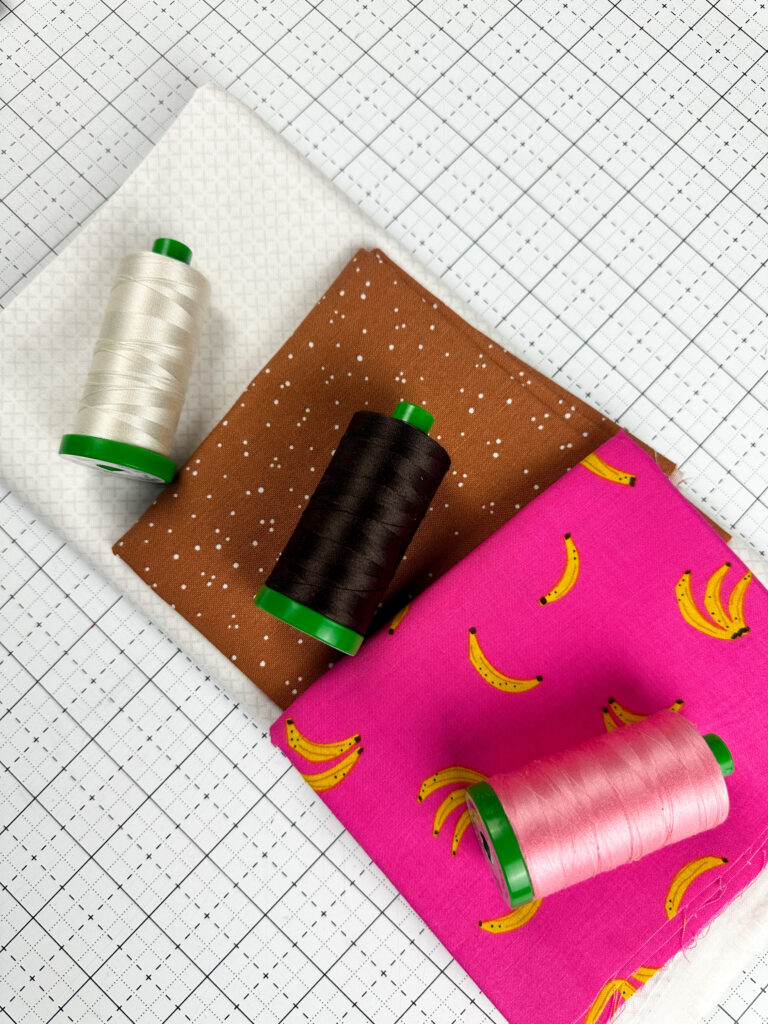
- Appliqué fabric
- Fusible webbing – there are many different brands on the market, today I’m using Flexifuse
- Batting
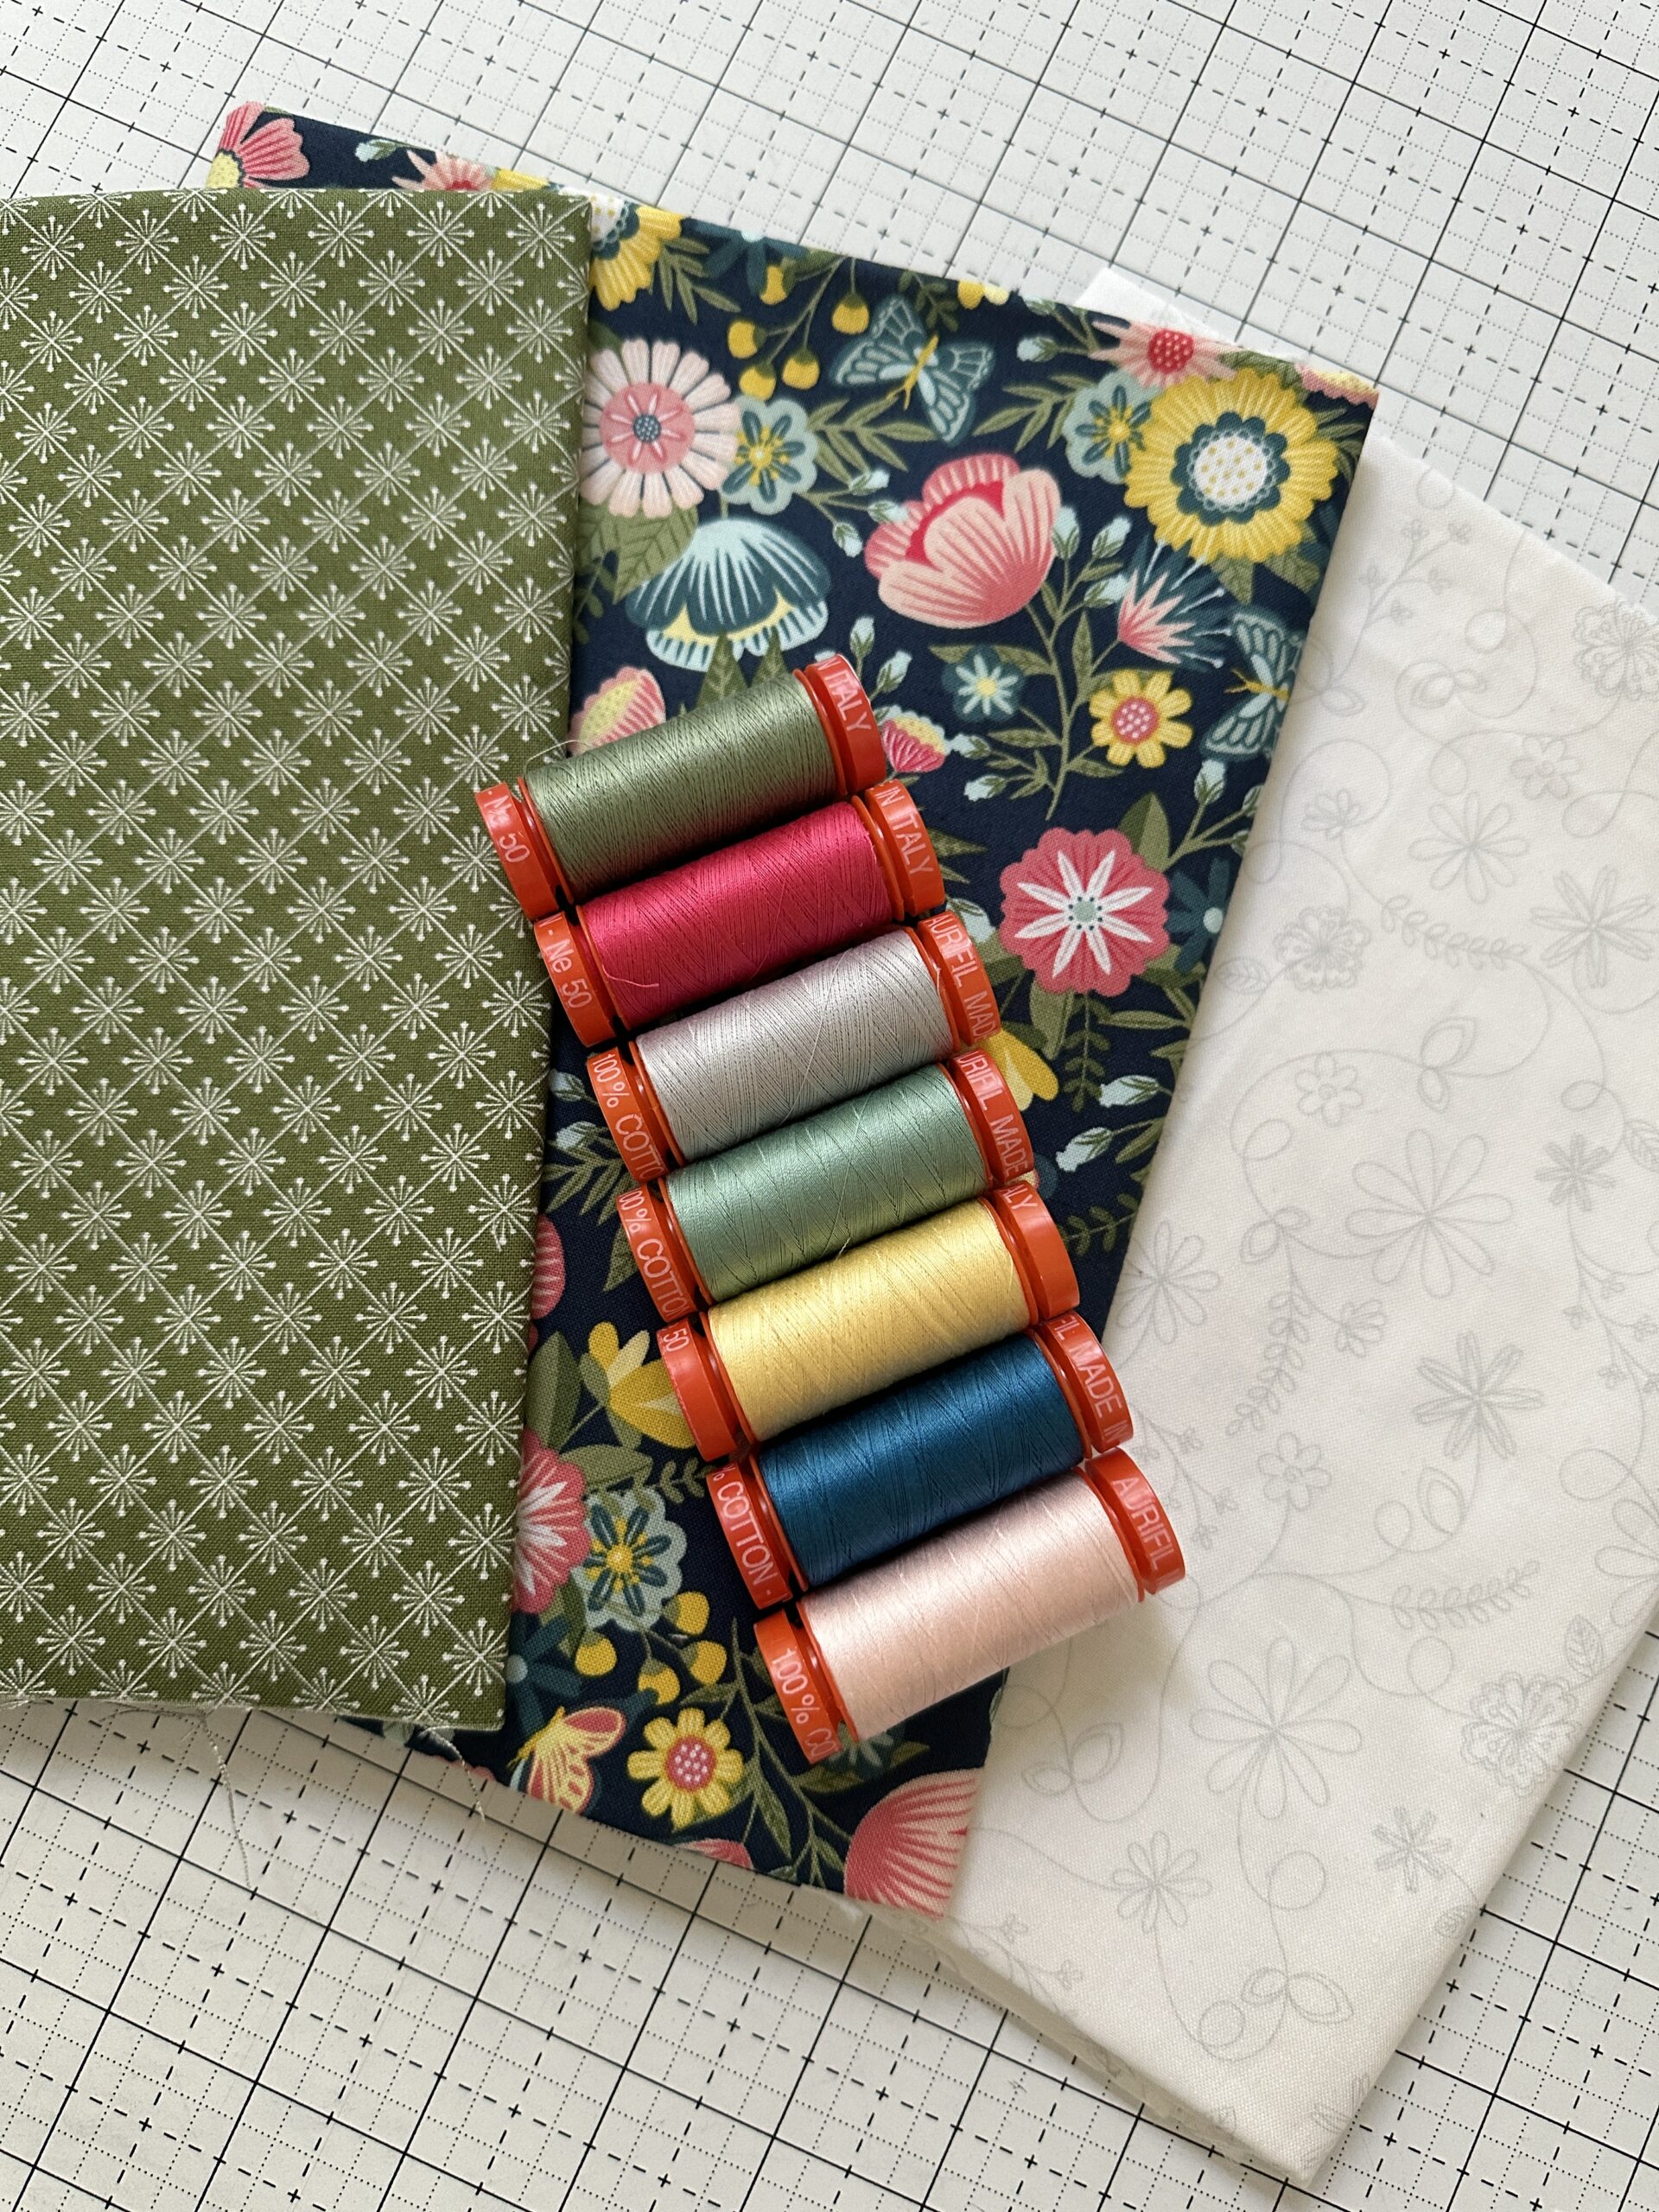
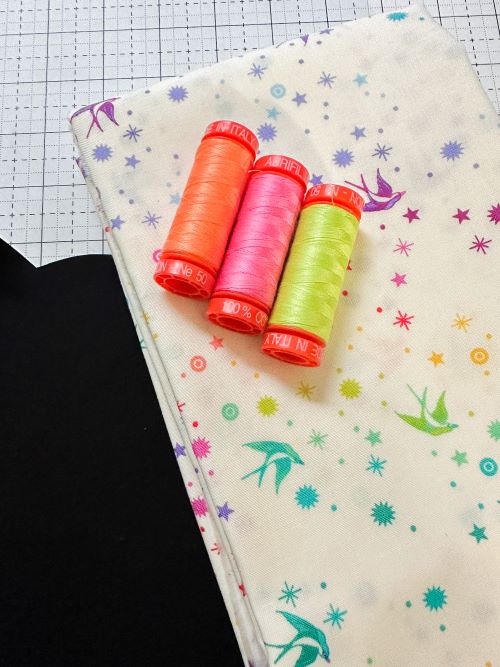
- Thread – I used coordinating Aurifil Thread 40 weight in 2425, 1130 and 2309
- Scissors, pins, wonder clips and a marking tool (I used a Frixon pen to mark my quilting lines) – I also love my Karen Kay Buckley applique scissors for more precise cutting
- Iron and ironing board
Preparing the Background Fabric
- Cut the background fabric: Determine the desired size for your mug rug. My mug rug finishes at 6” x 9”, so I cut my fabric at 6.5” x 9.5” to allow for seam allowances.
- Layer the small quilt sandwich – backing fabric, batting and then your background fabric. Smooth out any wrinkles or folds or iron.
- Pin or baste the layers together to prevent shifting during quilting. This is optional since this is a small project, but I do recommend securing. I used a small amount of Odif 505 basting spray.
Quilting the Background Fabric
- I chose to quilt my background fabric before adding the applique shapes. You could applique the piece and then quilt the entire project instead.
- Mark the quilting lines: Use a marking tool or Frixon pen to lightly mark the quilting lines on the background fabric.
- Quilt the mug rug.
Preparing and Applying the Appliqué
- Always follow the manufacturer’s instructions for your fusible webbing!
- Trace the design: Place the fusible webbing on top of your design, paper side up. Trace in pencil or pen (just make sure it doesn’t bleed or run when heat is applied). Rough cut the pieces.
- Remove the paper backing and iron the pieces on the wrong side of the appliqué fabric. Make sure that your fabric is free from wrinkles before you fuse the shapes. You don’t want to fuse any wrinkles into your shapes!
- Carefully cut out the appliqué shape.
- Fuse the appliqué shape onto the right side of the background fabric. Press with an iron to secure it in place.
Raw Edge Appliqué and Finishing Touches
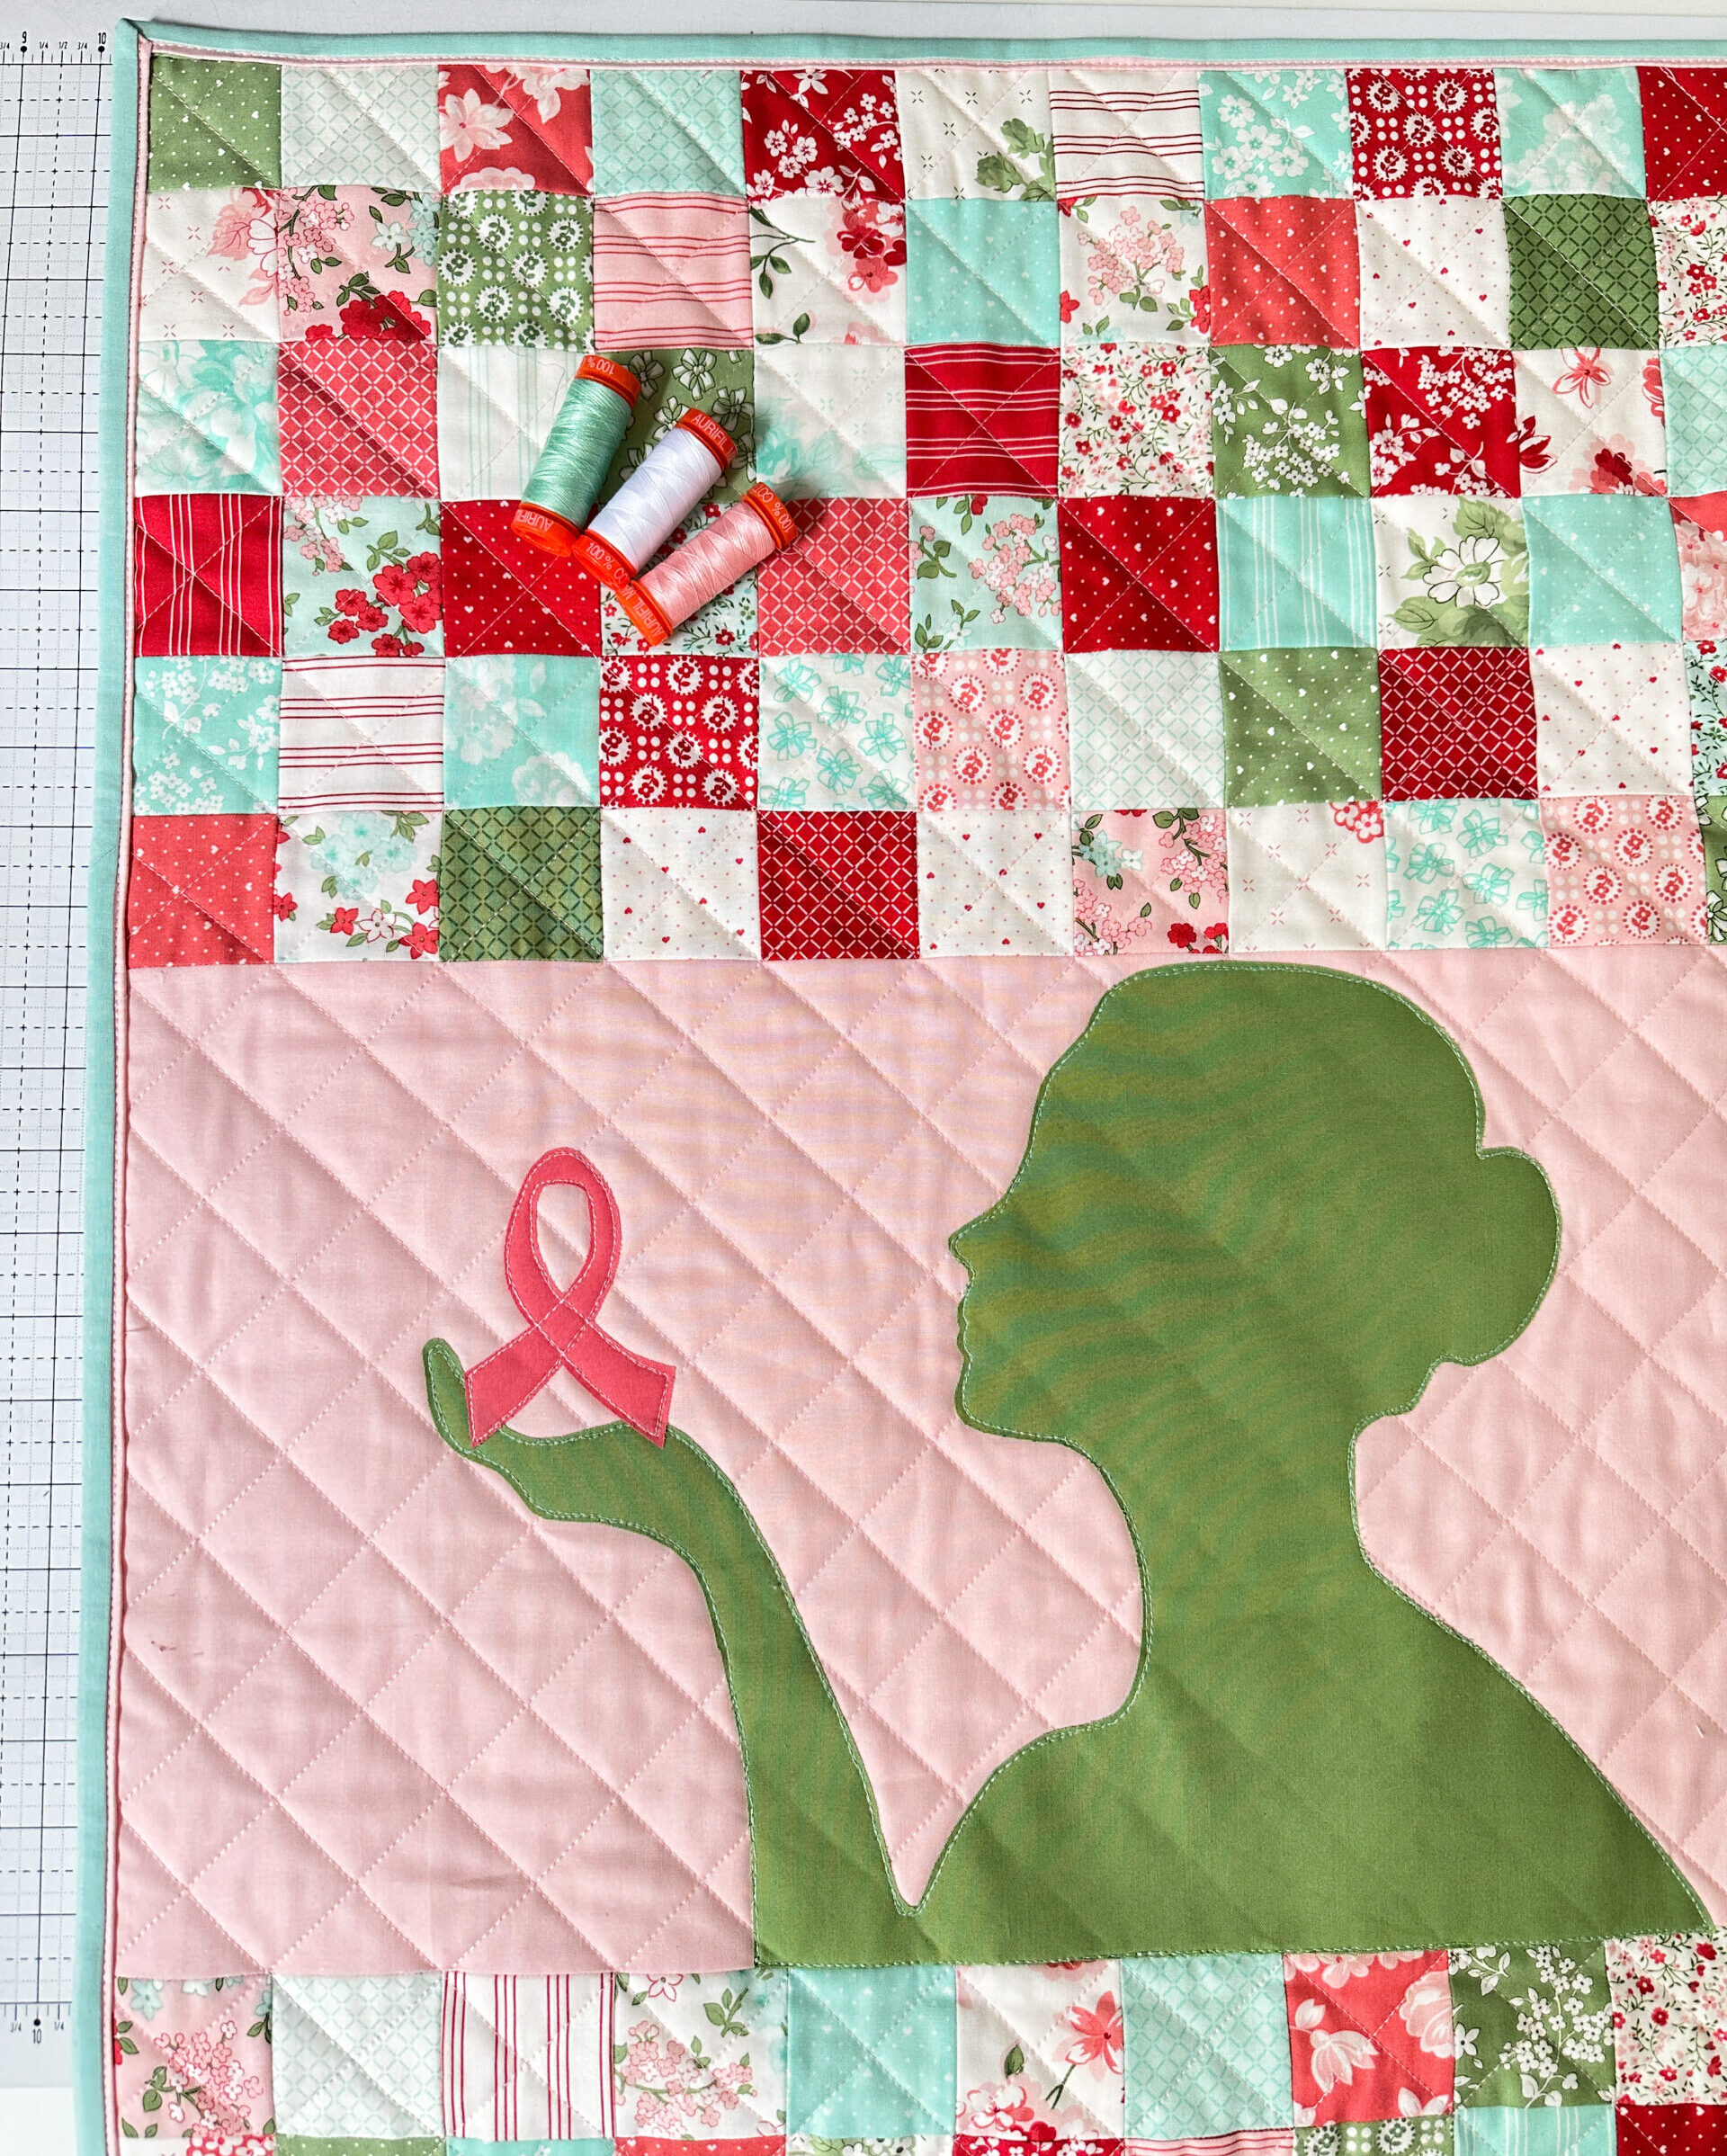
- Secure the appliqué edges. Set your sewing machine to a small zigzag or satin stitch. Stitch around the edge of the appliqué, securing the raw edges and preventing fraying. You can also use free motion stitching around the edges as I did. Since this is a mug rug, this won’t have alot of use that would fray the edges, but if you were using this technique on a quilt, be aware that your edges may fray when using free motion stitching.
- Press the mug rug to remove any wrinkles. If desired, you can add additional embellishments, such as buttons or embroidery, to enhance the design.
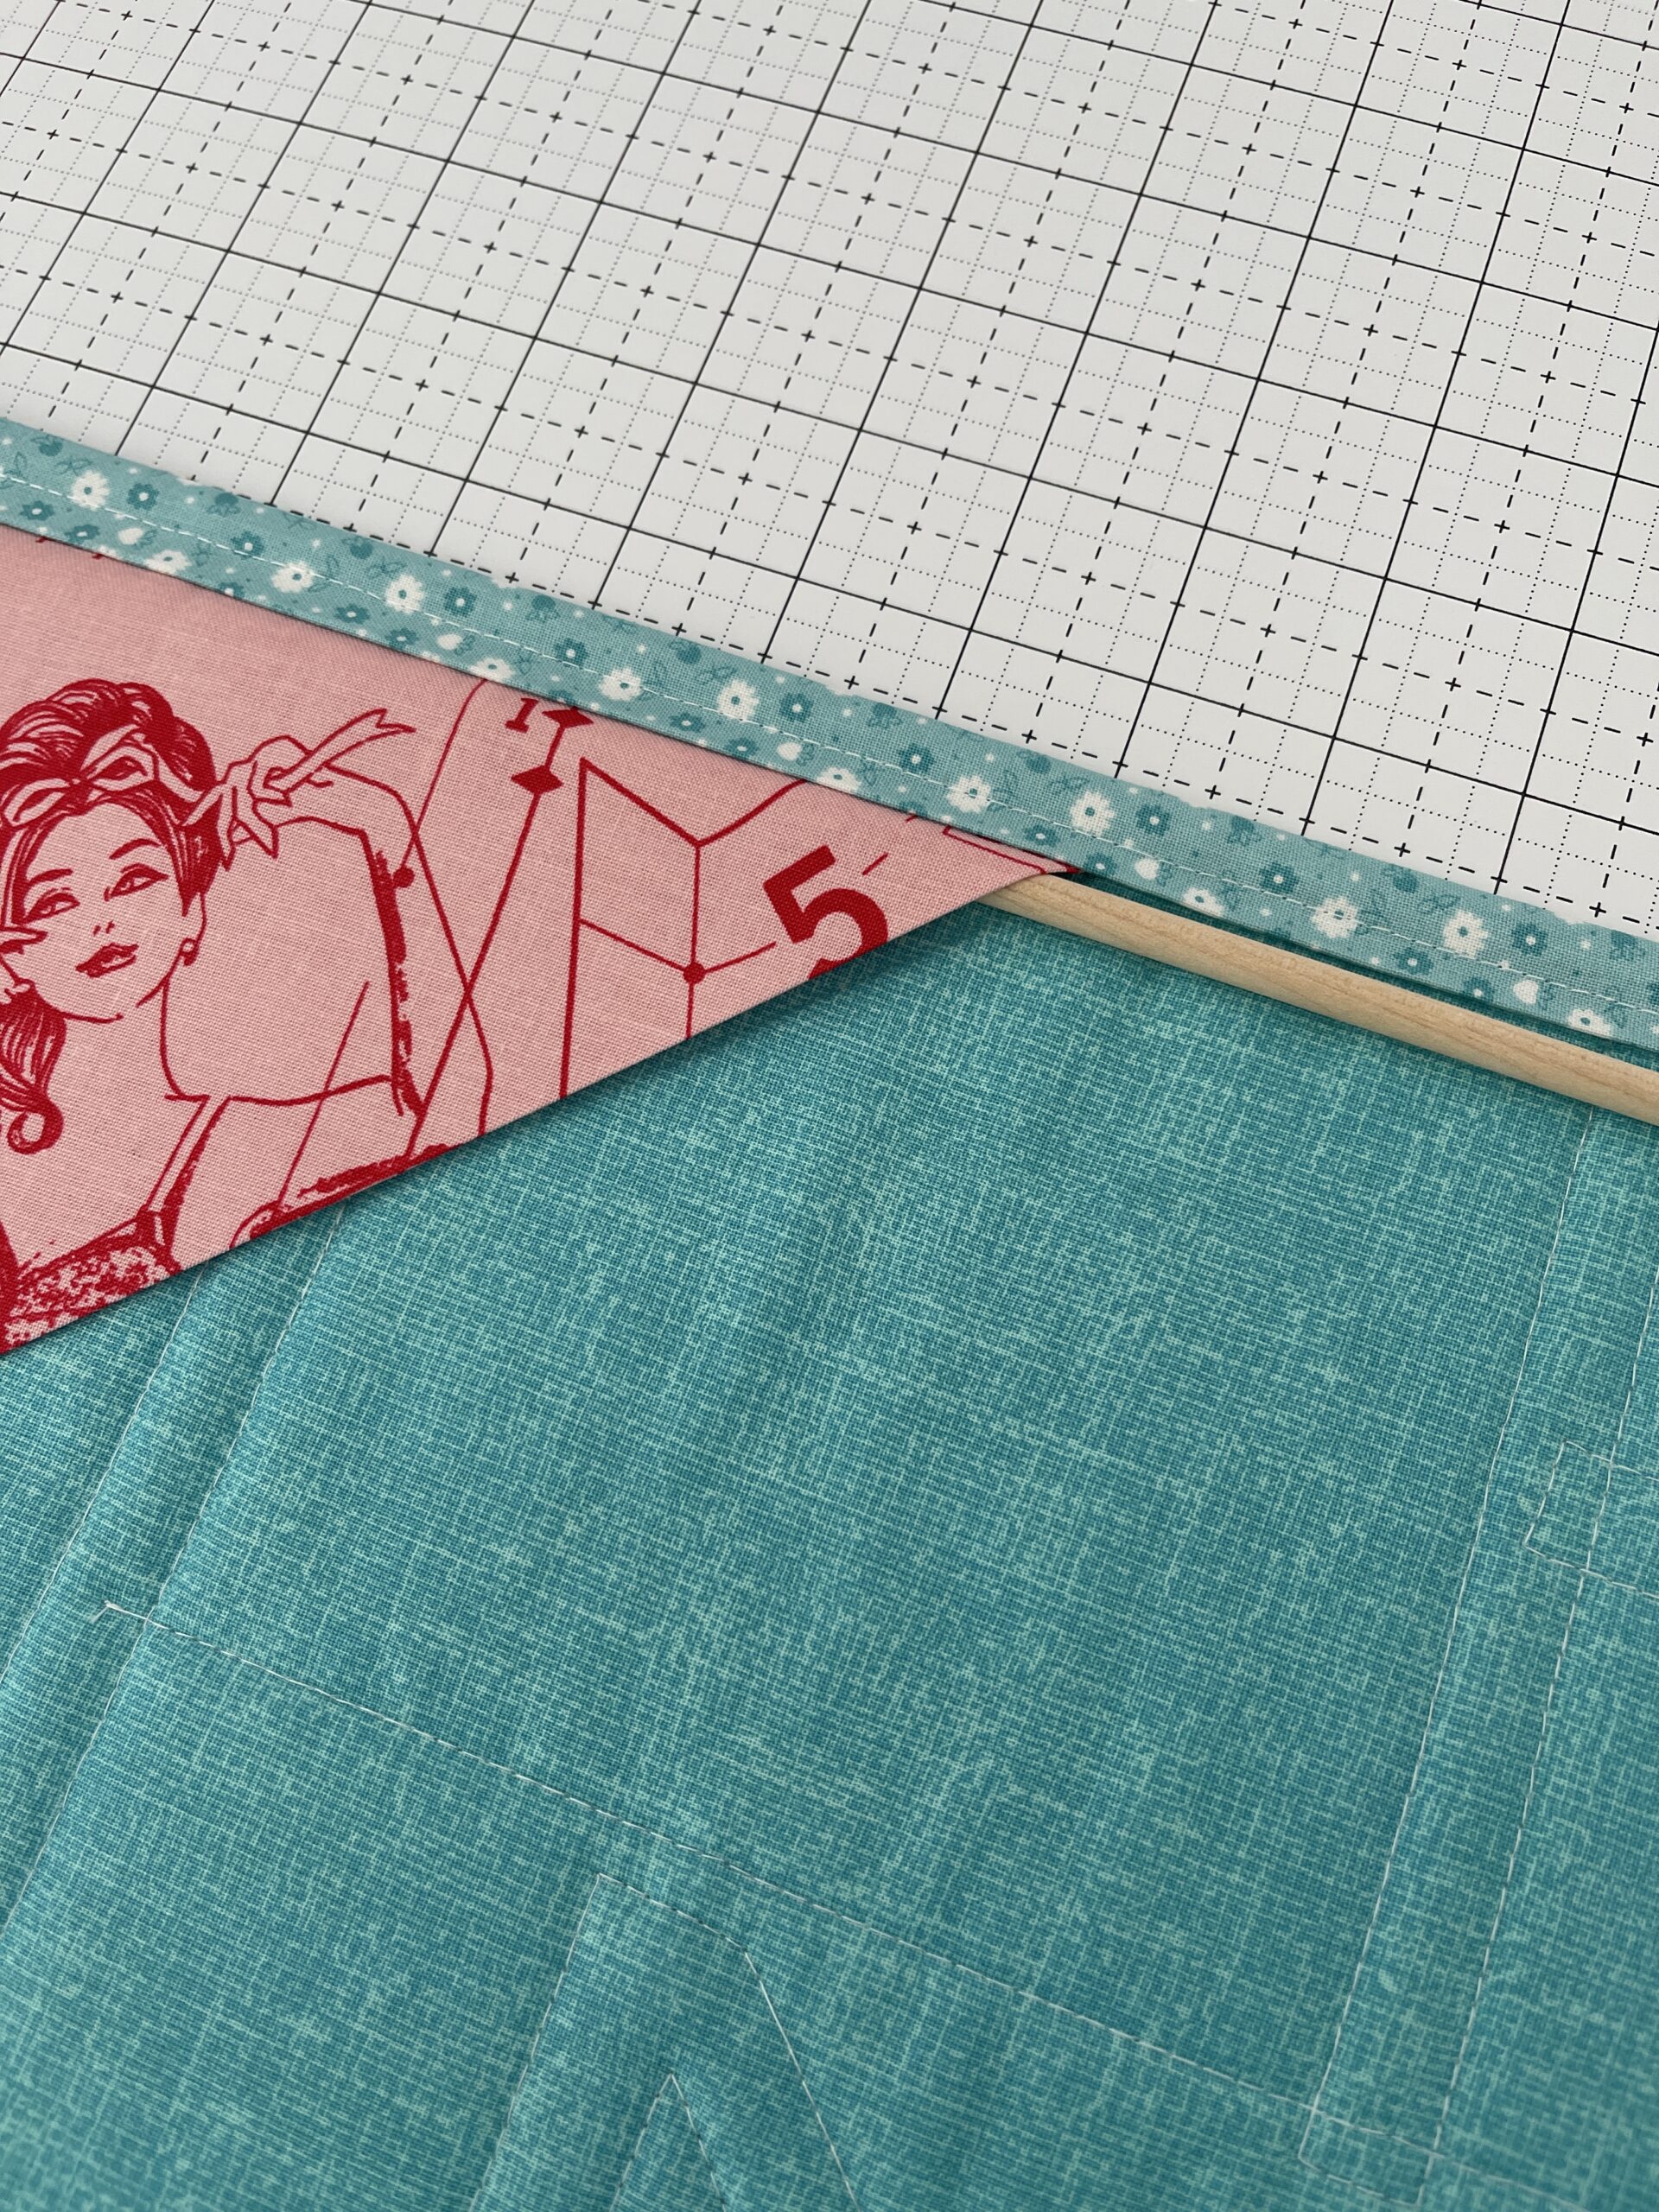
- Bind as you would a quilt.
- Your raw edge appliqué mug rug is now complete! Admire your work and enjoy a cozy cup of your favorite beverage!

