Ready to add a handmade touch to your holiday decor? In this tutorial, I’ll show you how to sew a beautiful quilted Christmas stocking, perfect for bringing festive charm to your home. Whether you’re making stockings for your family or as gifts, this project is fun, easy to customize, and a great way to use up fabric scraps. Let’s get started on creating something special for the holidays!
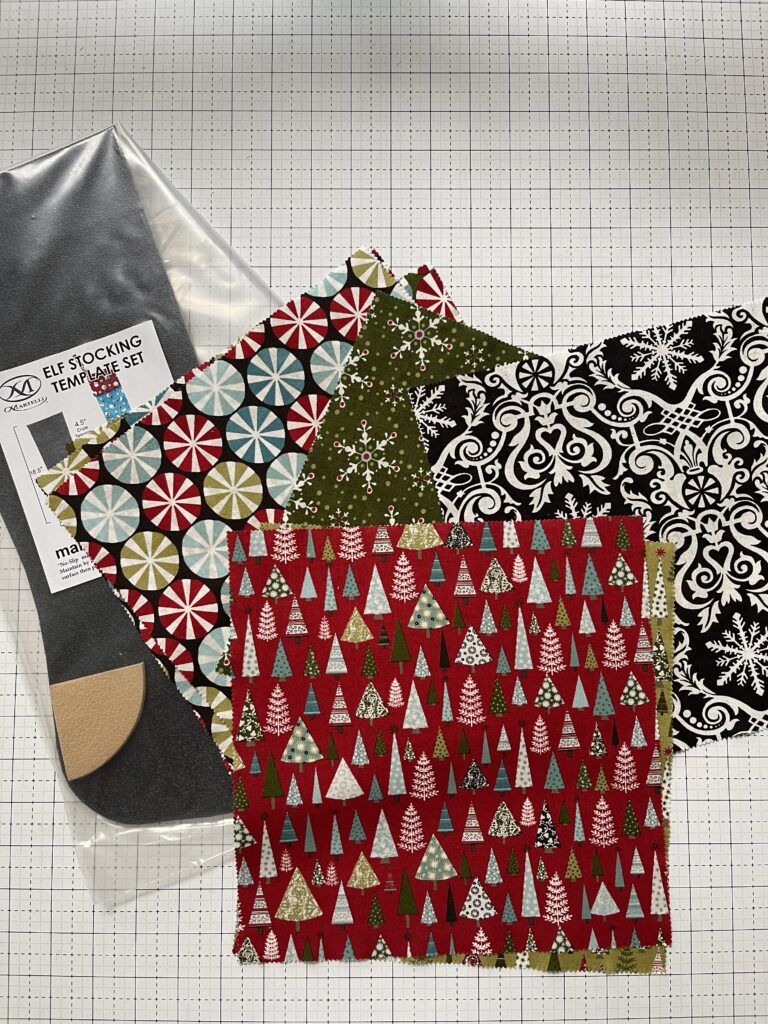
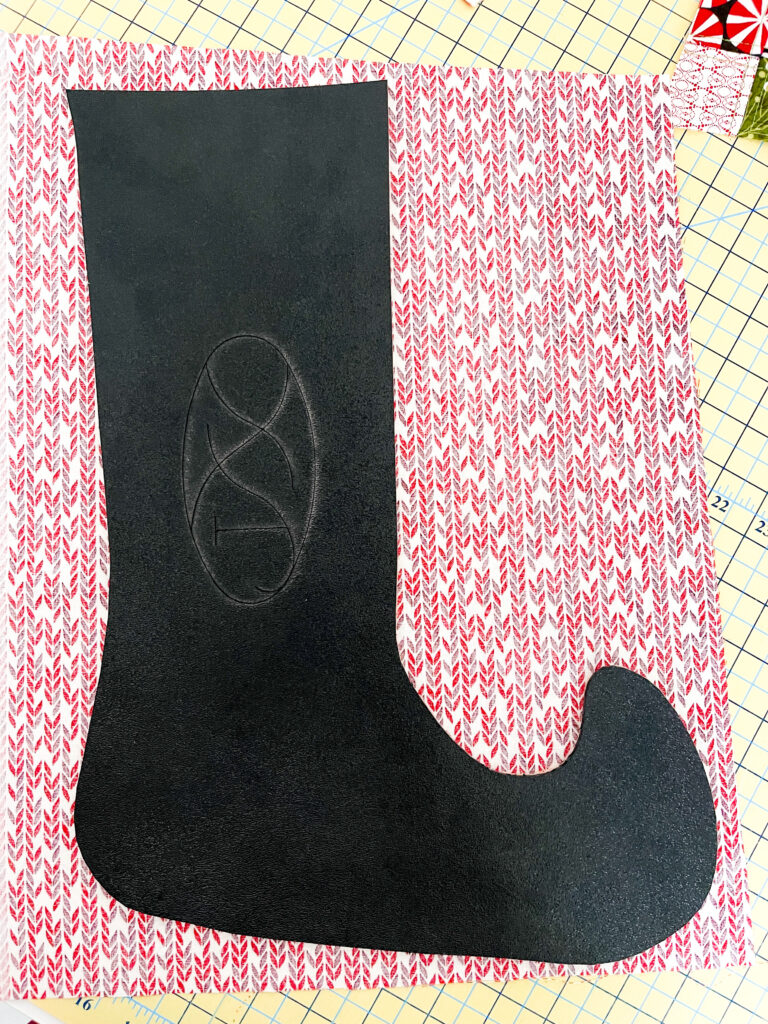
To get the best size and shape of your Christmas stocking, you’ll want to use some type of template. You can find many free templates on the internet or make your own! I love Martelli Notions templates for projects that I know I will make more than once. No cutting paper or dealing with larger pieces to tape together! With this template, you also have the option of drawing around the edges and cutting with scissors or I prefer to use a smaller 28mm rotary cutter and get the job done quickly!
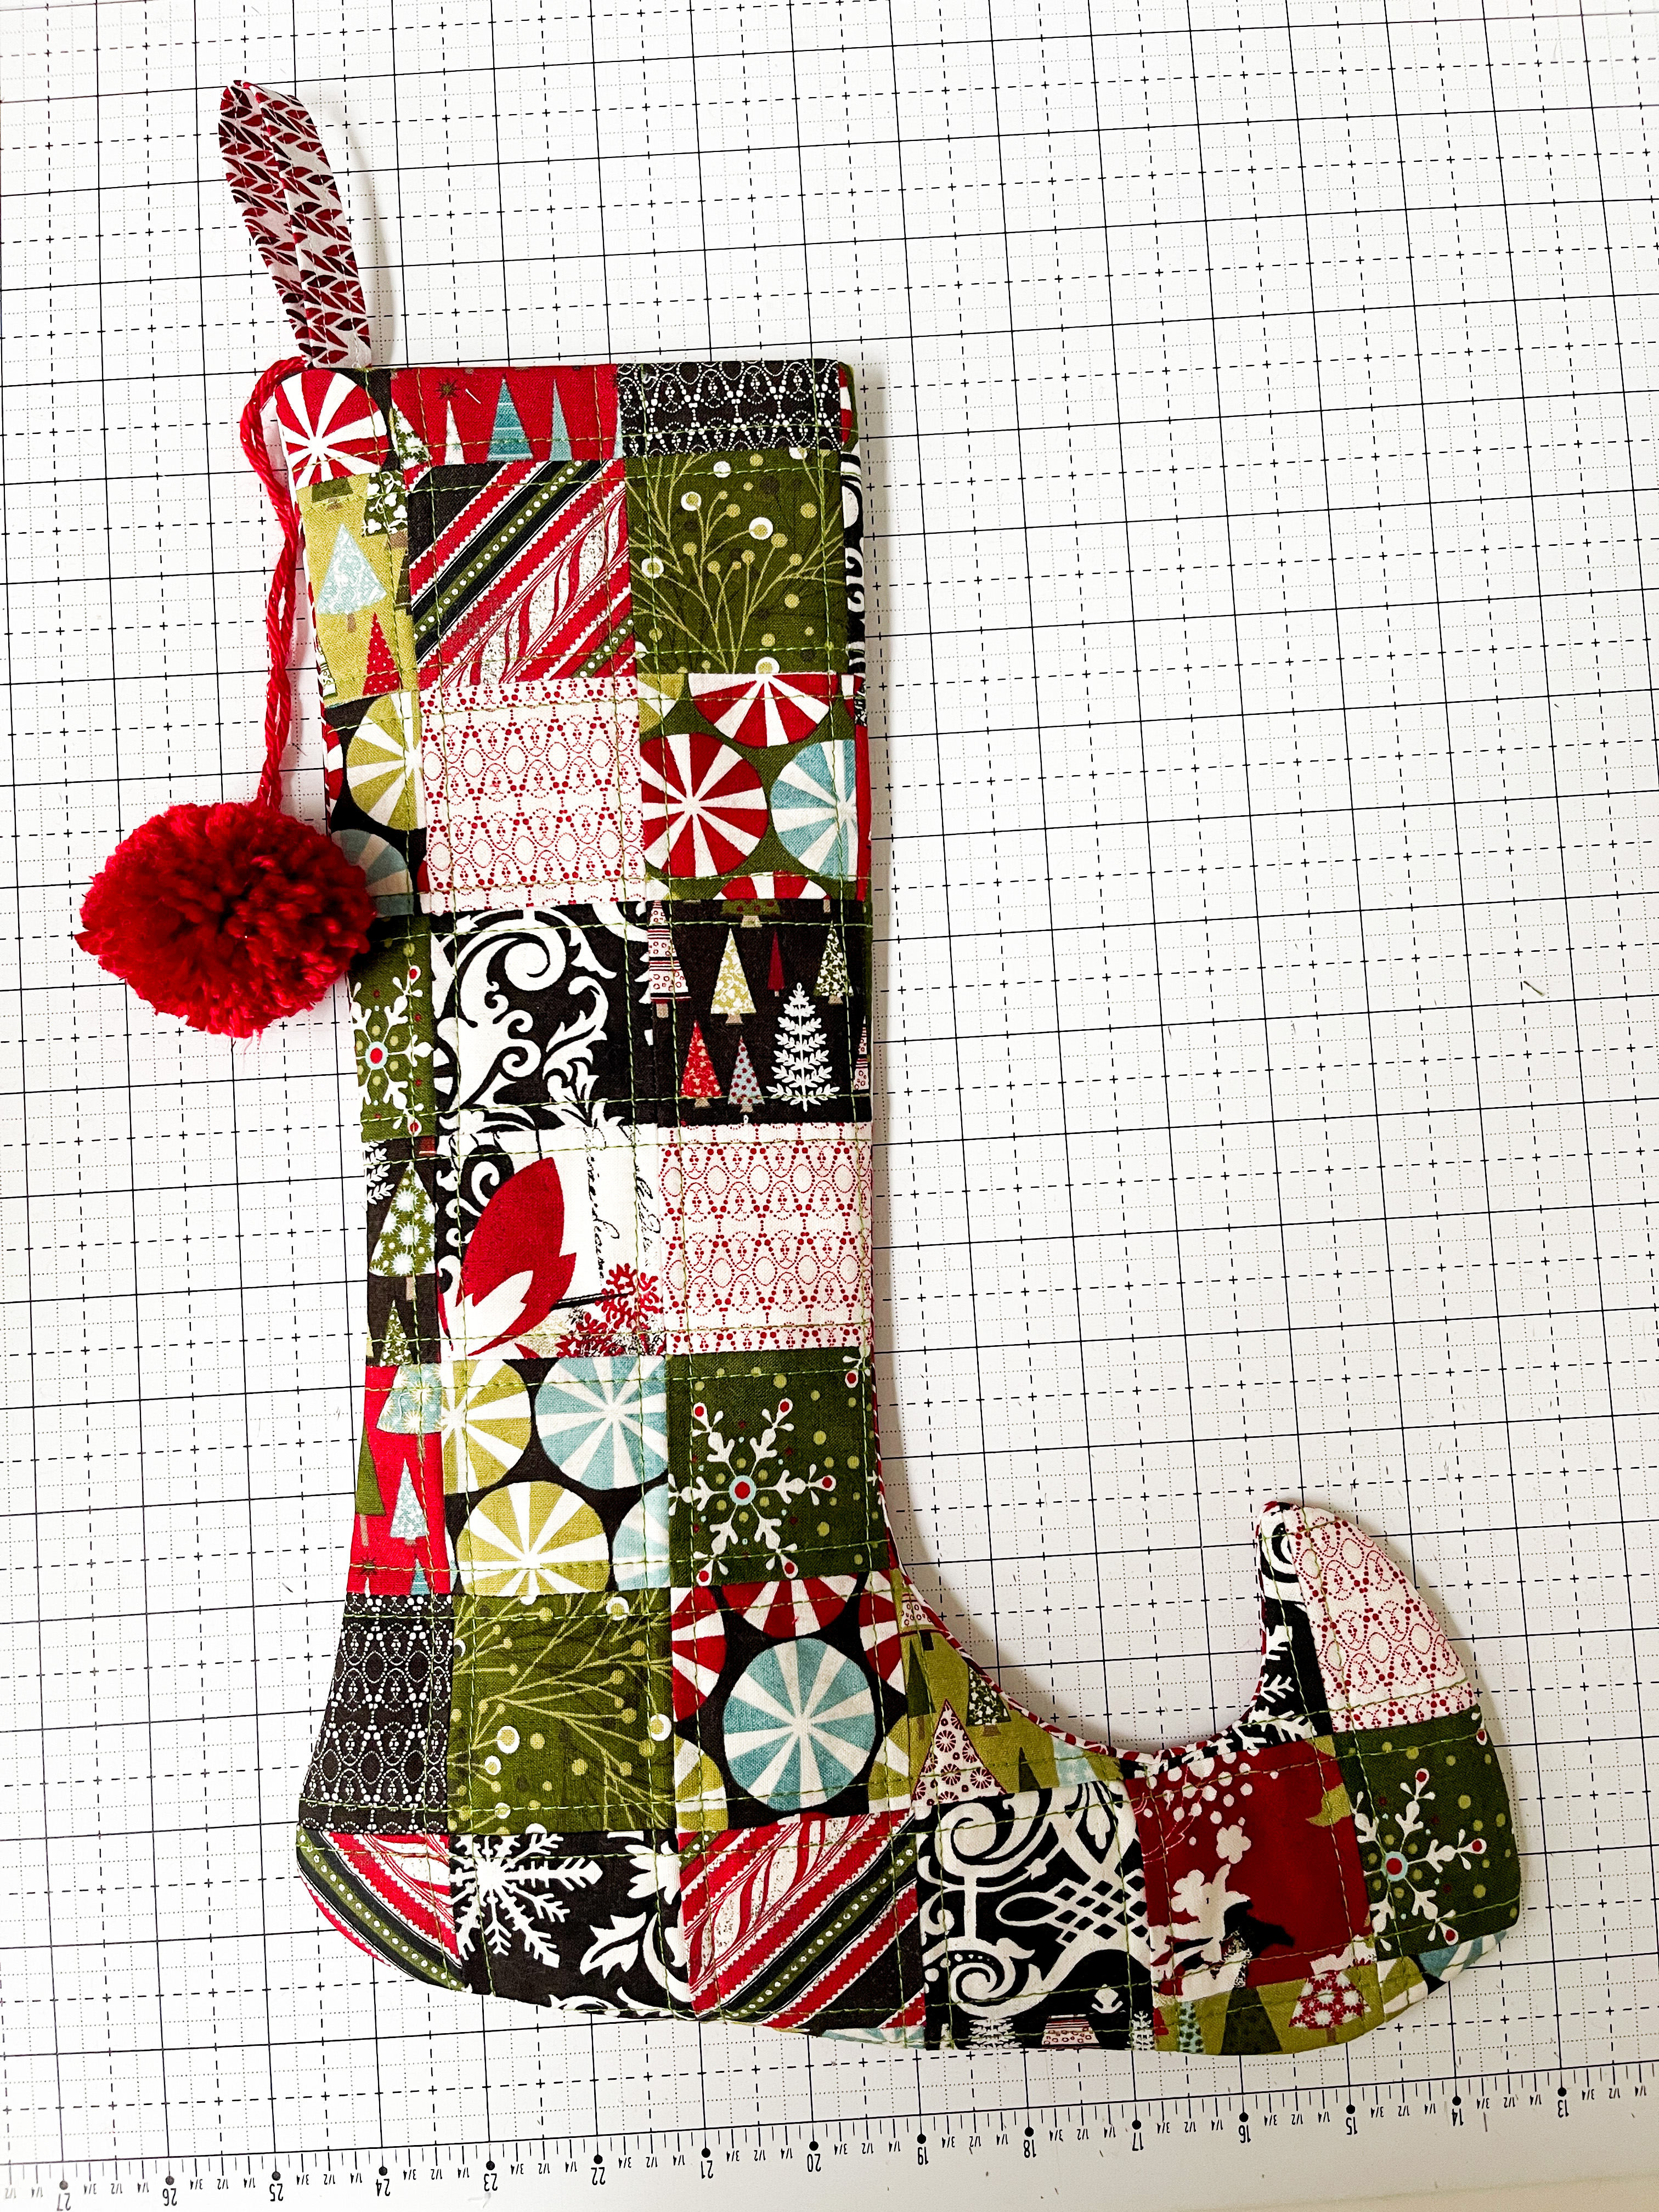
I chose their Elf Stocking Template – it adds an extra touch of fun to these stockings!

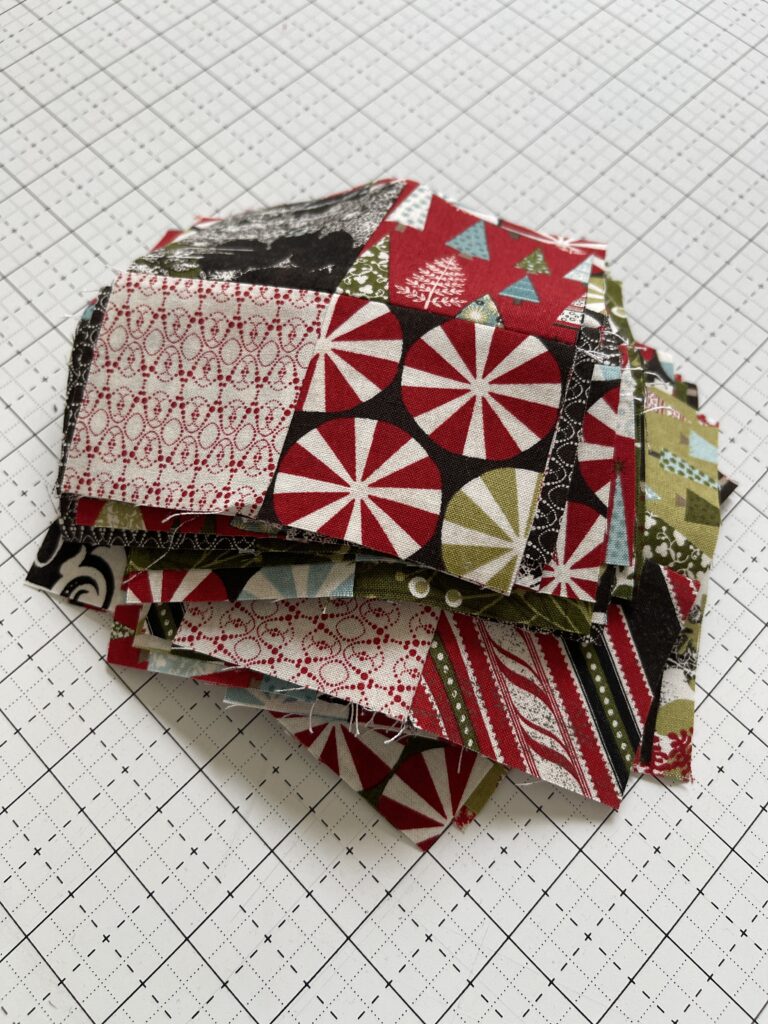
I used leftover precuts from the Moda Fabrics Peppermint Bark Collection and cut them into 5″ squares. I wanted a smaller patchwork look so instead of cutting all of the small 2.5″ squares, I used this fun method to make the 4 patches. Read the tutorial here!
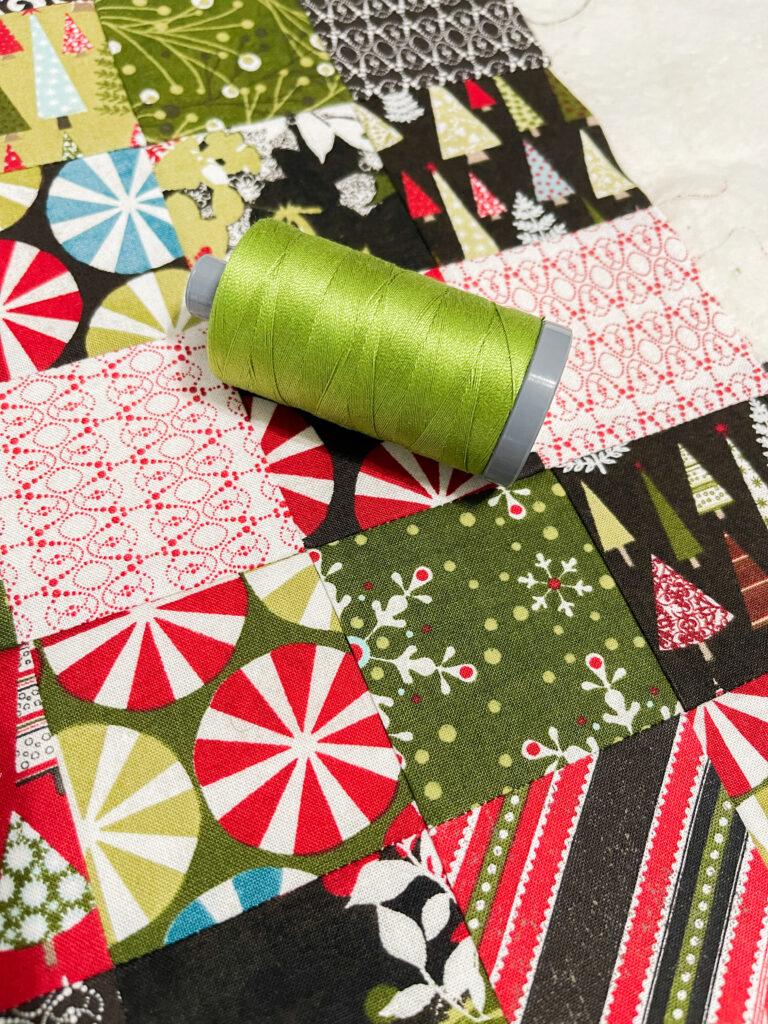
Using my template as a guide, I sewed the 4 patches together and I laid everything out to make sure I was happy with the placement of the fabrics and the size around the template.
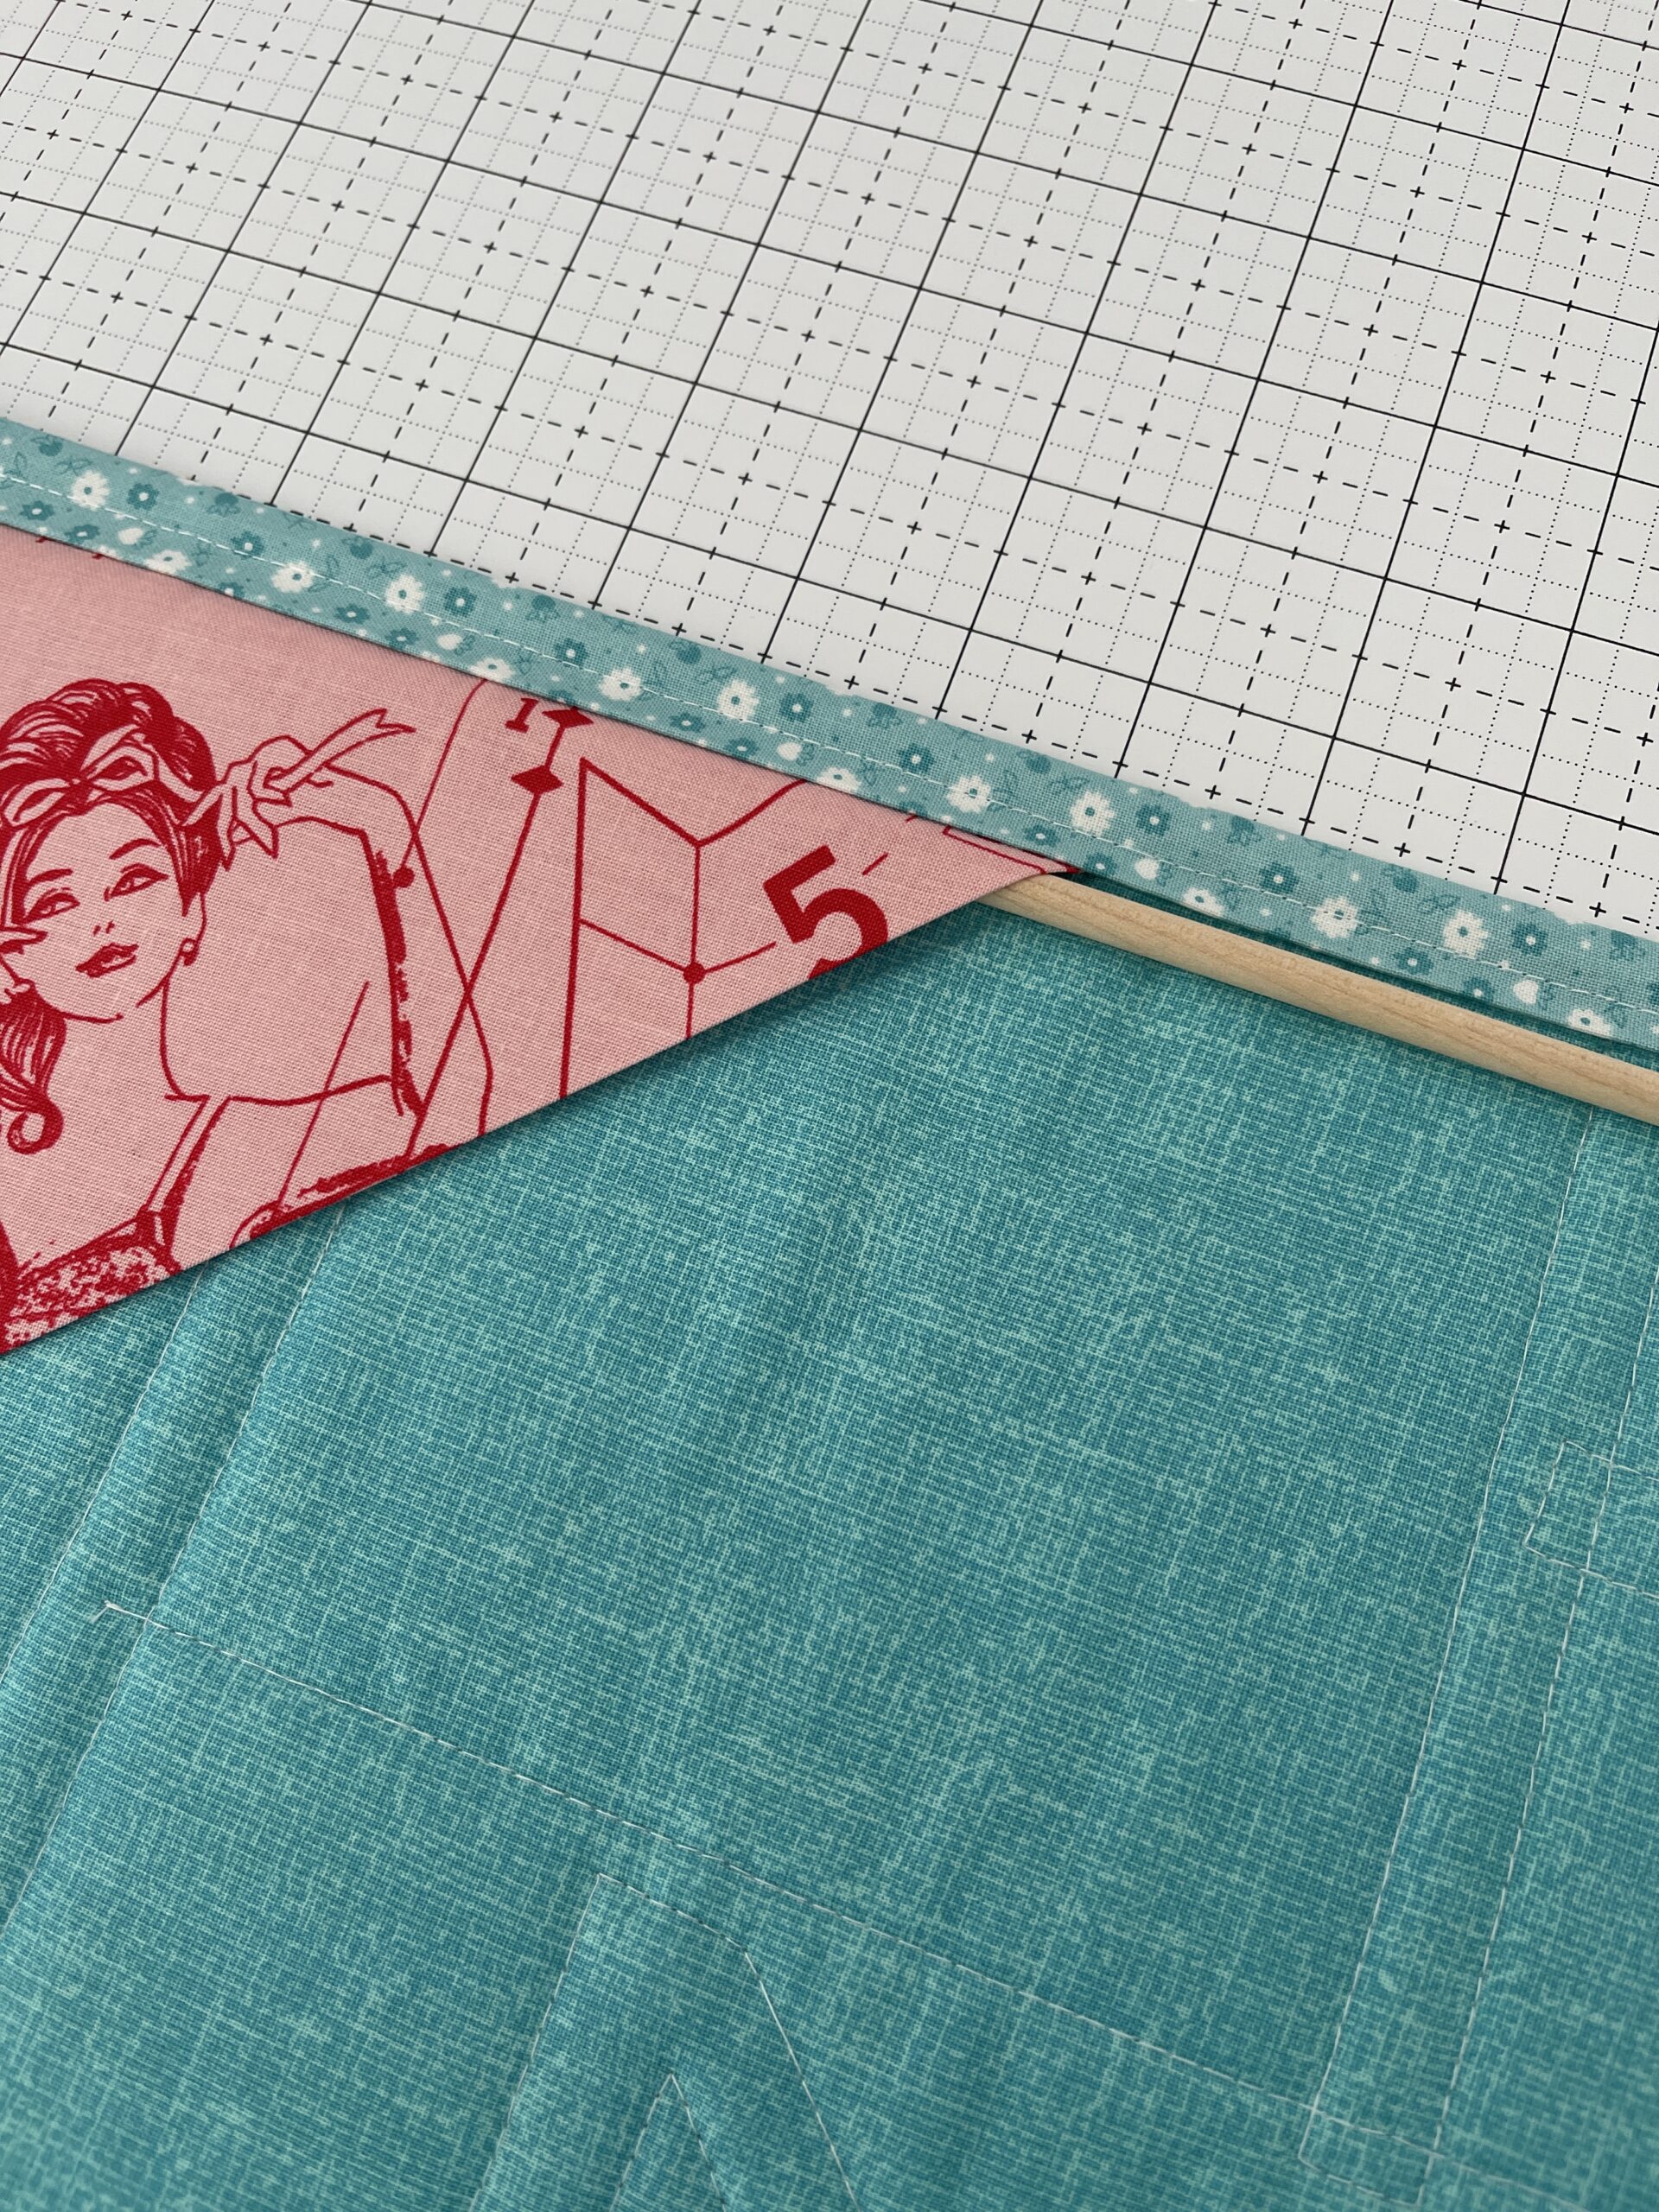
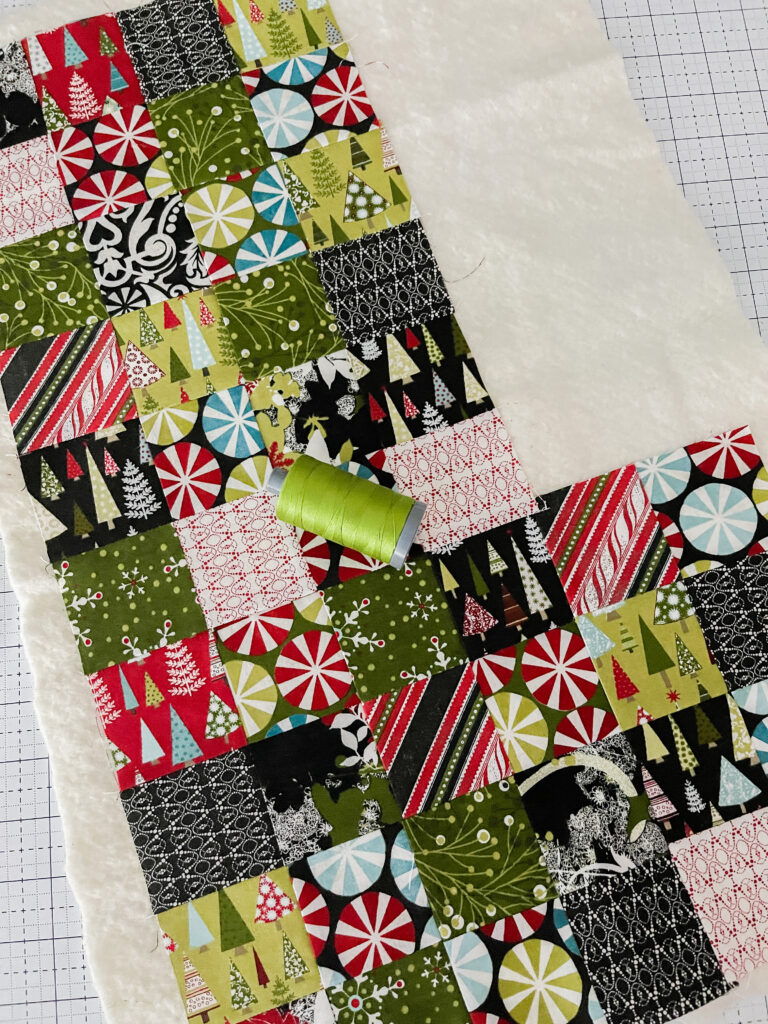
After laying everything out and sewing them together, I basted the patchwork onto a small piece of batting. I quilted simple but beautiful straight lines with this pretty Fern Green Aurifil Thread in 28 wt.

If you don’t already know, there are MANY different ways to make quilted stockings. I wanted to keep this process simple and I made the decision not to add a cuff on the stocking. Since I won’t have a cuff to cover the top stitching, we need to make sure and enclose the raw edges.
I confused myself the first time I did this (very easy to do), so stay with me here! TIP: Pay attention to the right side of your fabric and the direction of the template!
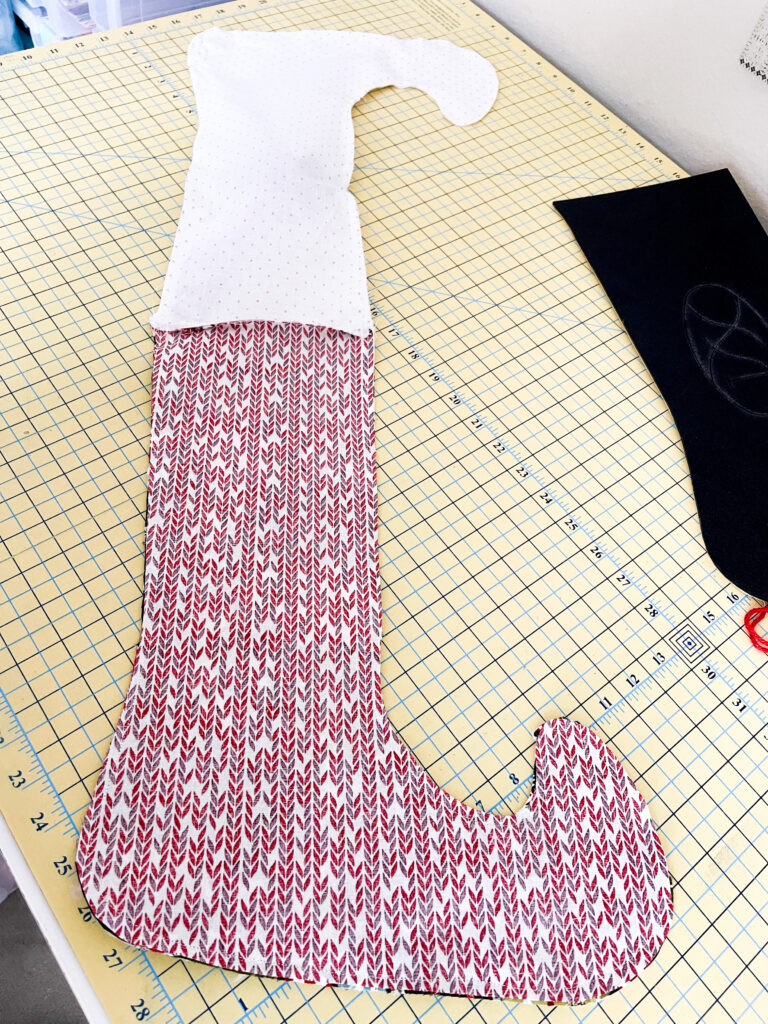
-Cut (2) template pieces for the front and back of your stocking. I only quilted the front, but you could certainly quilt the back as well. For the back of the stocking, you will need to lay your fabric right side down and place the template on the top to ensure the back is facing the proper direction.
Cut (2) template pieces for the inside lining of your stocking. For these pieces, you can double your fabric right side together and cut around the template. This will ensure everything is facing the proper direction.
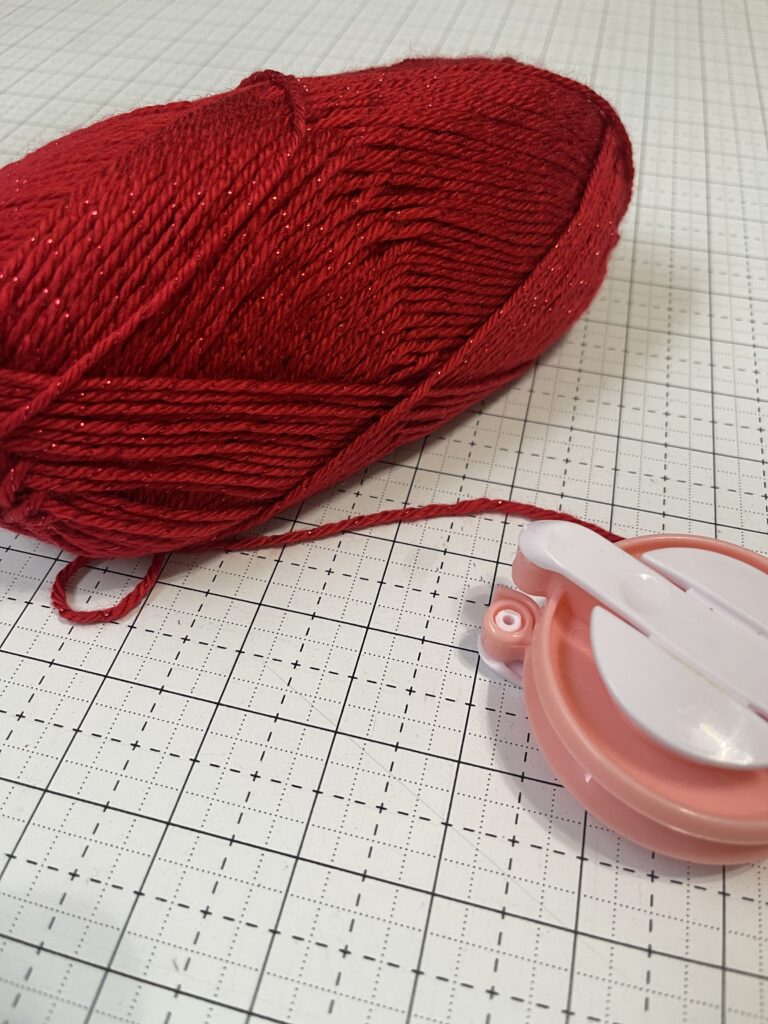
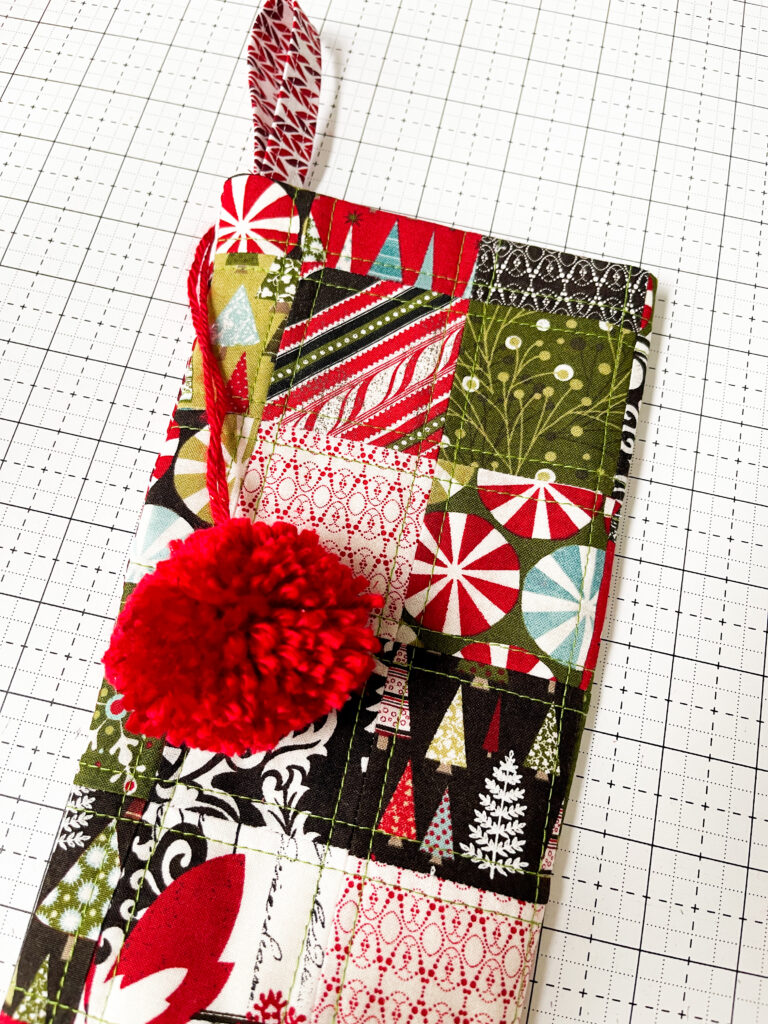
FUN EXTRAS: I used a small piece of fabric for the stocking hanger (2.5″ x 6.5″ rectangle folded in thirds and sewn). I also added a yarn pom pom. Any items such as these that you want on the exterior of the stocking should be pinned in place before sewing into place. You could also baste these in place to prevent them from moving as you are assembling your stocking.
I use the Clover Pom Pom Maker to perfect my little yarn poms! So easy!
Don’t forget: Pin the hanger and pom pom facing downward on the inside of the two back layers of the stocking
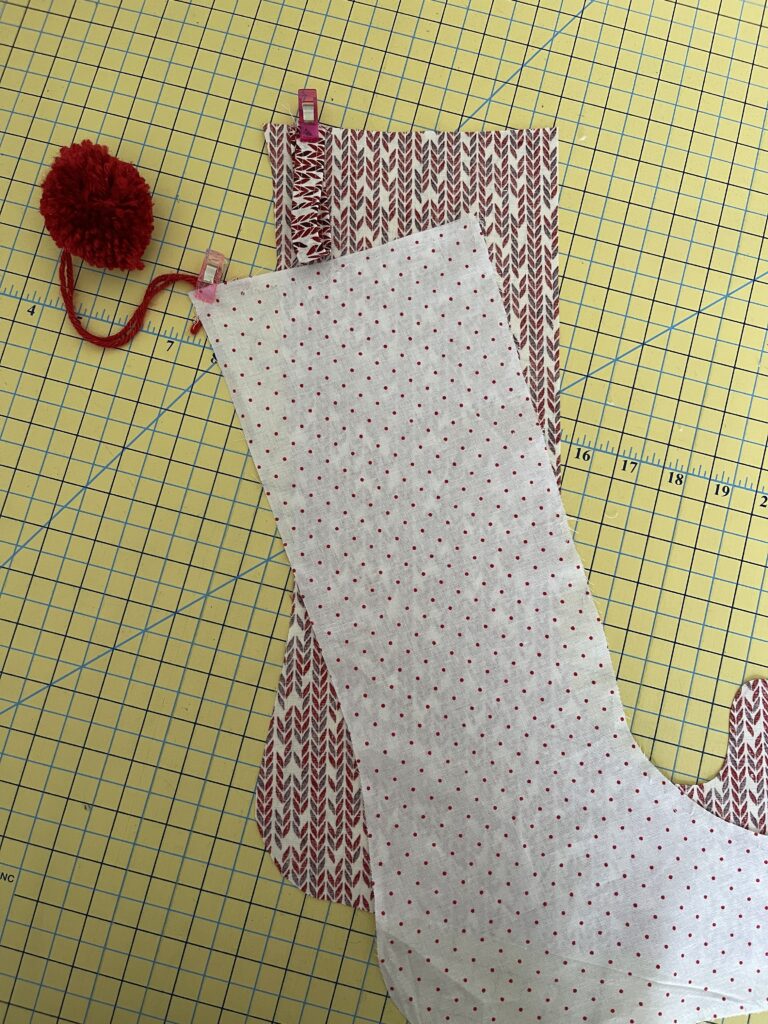
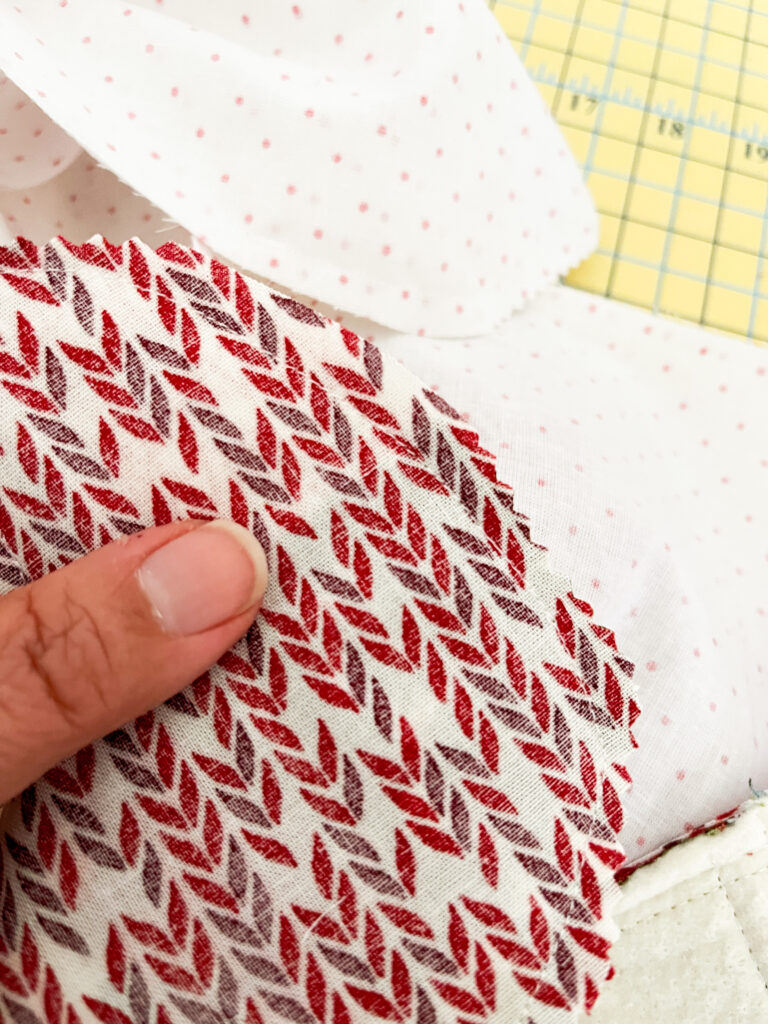
Now that we have all of our pieces ready for our stocking, it’s time to line everything up for sewing! On your workstation, place your stocking front and the front lining piece right side together and sew only the TOP seam, 1/4″ from the edge. Repeat with the back of your stocking and the back lining, place them right side together and sew only the TOP seam, 1/4″ from the edge.
Make sure that your hanger (and pom pom if you have one) are secure in their position before sewing. Remember, we want them facing down and on the inside between the layers so that they come out in the right position when we flip the stocking outside!
Place the stocking front/lining section on your workstation, right side up. Line up the back/lining section right side together with the front/lining section. We now have one long section of the two “feet” on top of each other. I pin or clip the edges at this point, making sure to nest your seams in the middle (which will be the top of your stocking). Sew 1/4″ all the way around the unit leaving an approximate 3″ opening at the bottom of the lining foot. This will allow you to turn the stocking inside out.
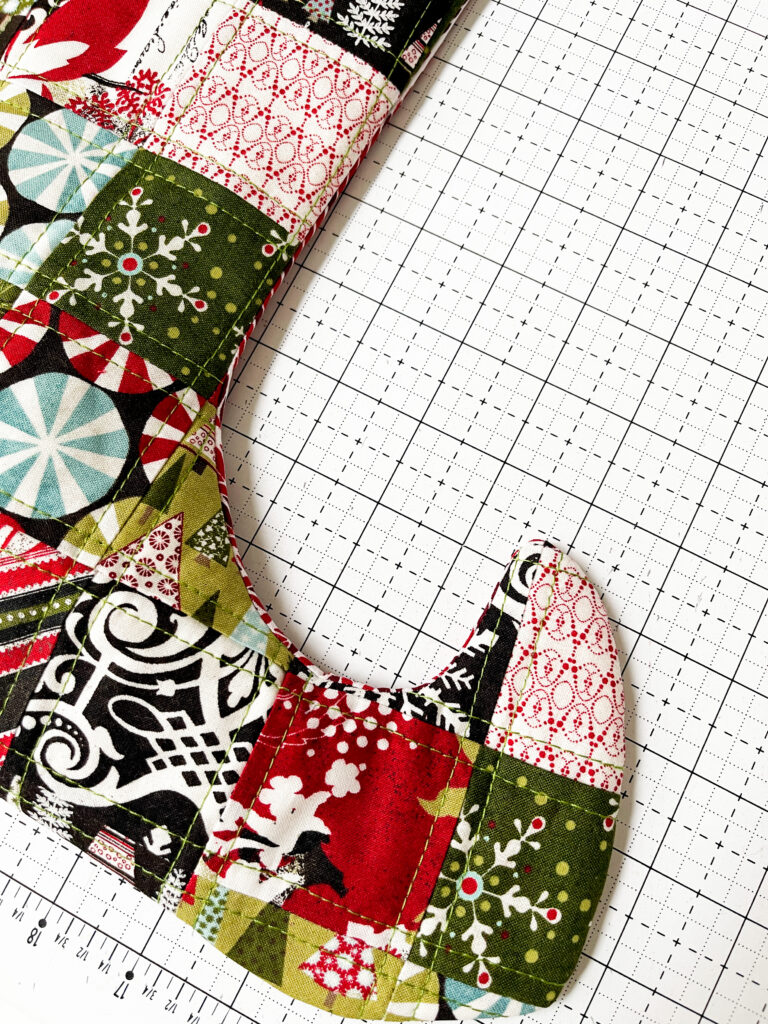
To make sure the rounded edges stay nice and rounded after they are flipped, either clip a few notches into the curved edges of your stocking, near the front and back of the foot and heel. Be careful not to cut into your sewn line. I use pinking shears, they are much quicker!
Now turn the stocking inside out. Simply reach inside the gap you left open and pull the stocking right side out. Smooth the edges and press nicely! Line up the edges of the bottom opening and proceed sewing this closed. You can sew this by hand or since this is the bottom of the inside lining of the stocking, I simply sew by machine and it’s not noticeable at all.
Once your stocking is sewn together, we are almost finished! The last step is to push the completed sewn lining into the inside of the stocking! Give it one last press if you’d like. VIOLA! You have a beautiful handmade elf stocking!

What do you think of my elf stocking? Do you have handmade Christmas stockings or are they on your project list? Drop me a comment and let me know!
More of my favorite tools used in this project
Baby Lock Sewing Machine (I sew on a Baby Lock Jazz II and a Ballad)
Thread-I use Aurifil 50 wt for all of my piecing
Mechanical pencil/fabric marking pen, i.e. Frixon Pens or Sewline Erasable Pens
Scissors or rotary cutter
Cutting mat – I like using a rotating cutting mat
Straight pins – I like ultra-fine Magic Pins or Clover extra-fine patchwork pins
Seam ripper
Affiliate Disclosure Policy: This website uses affiliate links, and I may earn a small commission if you purchase through these links. Please note that I’ve linked to these products purely because I recommend them and they are from companies I trust. There is no additional cost to you.